
Part 2: Complete the Inspection
In this part you load the work pack into the Inspection App, complete the check sheets, and create a transfer file. The steps follow the desktop app — mobile is very similar with small UI differences.
Load the work pack
Section titled “Load the work pack”If you scanned the QR code in Part 1, the work pack is already loaded. Continue to Browse the equipment list.
If you downloaded an .iwp file, open it in the app using these steps:
-
Open the Inspection App.
-
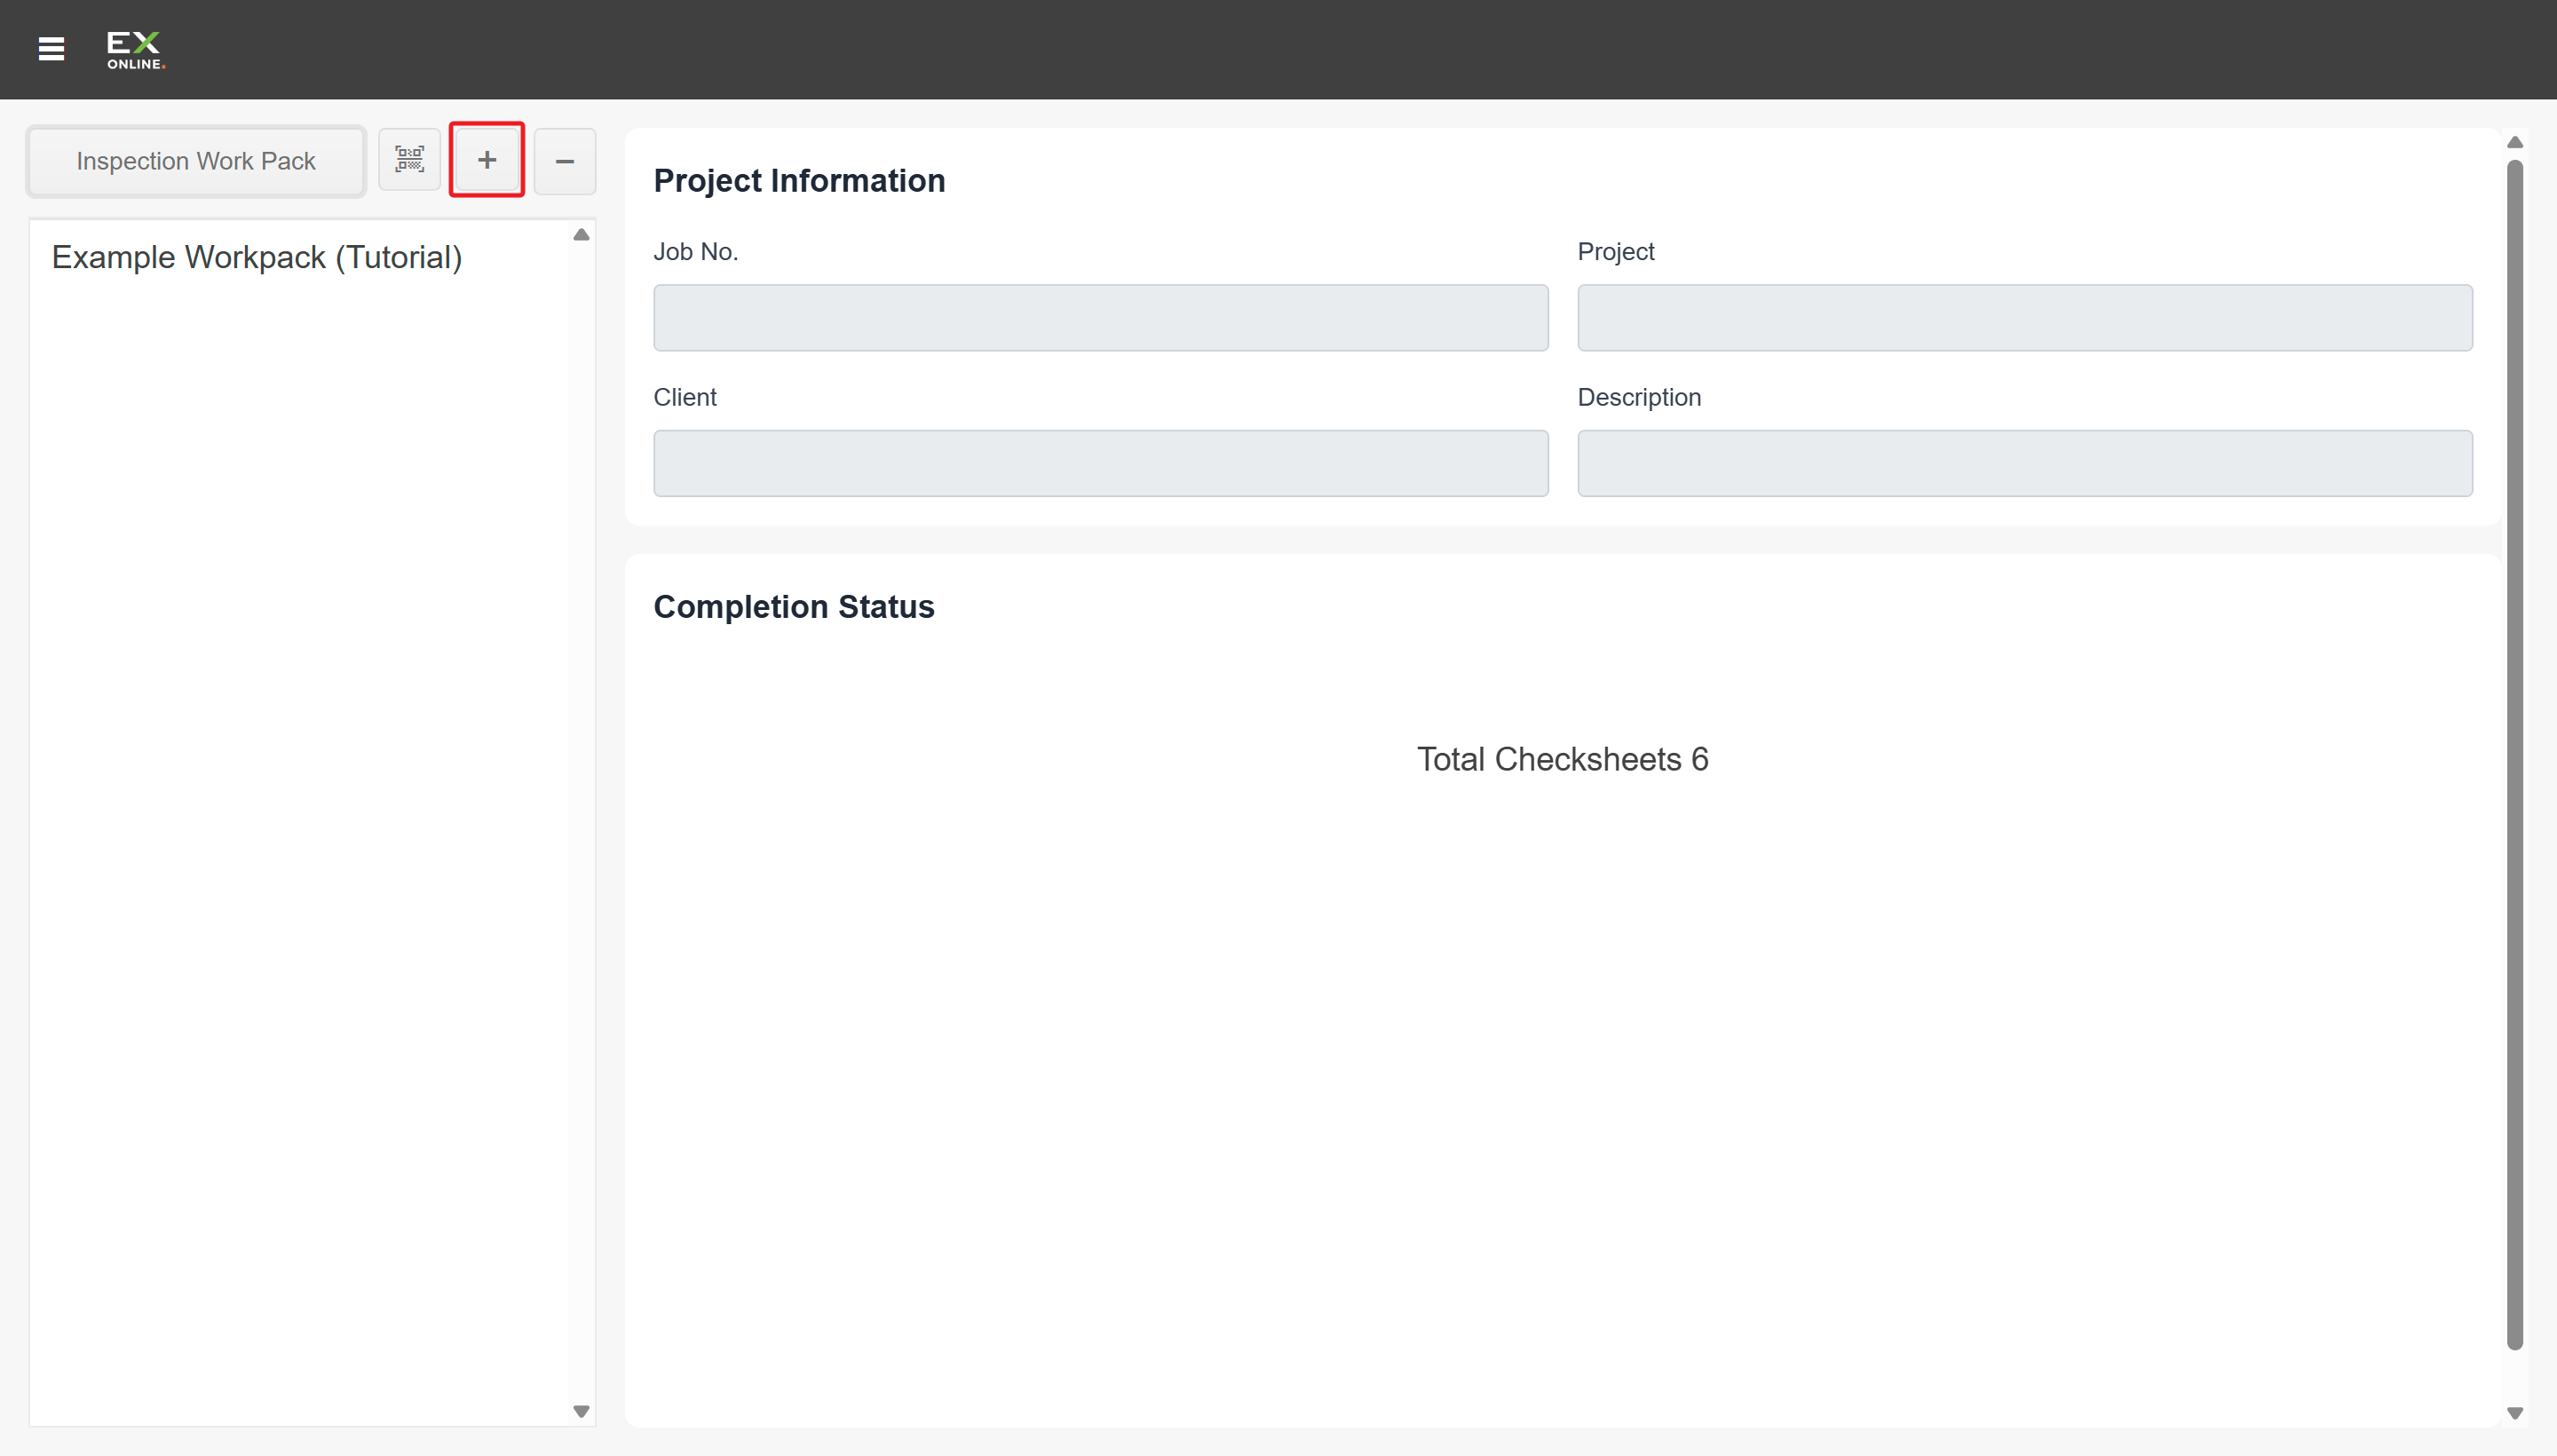
Click the + button in the top-left to open an IWP file from the inspection device’s storage.
-
Select your downloaded
.iwpfile and click Open.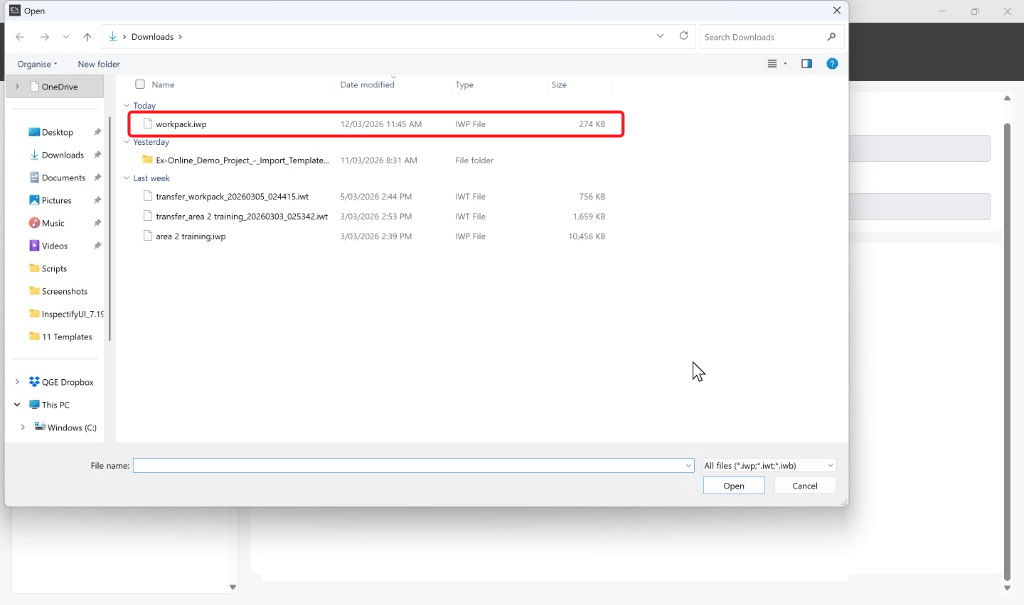
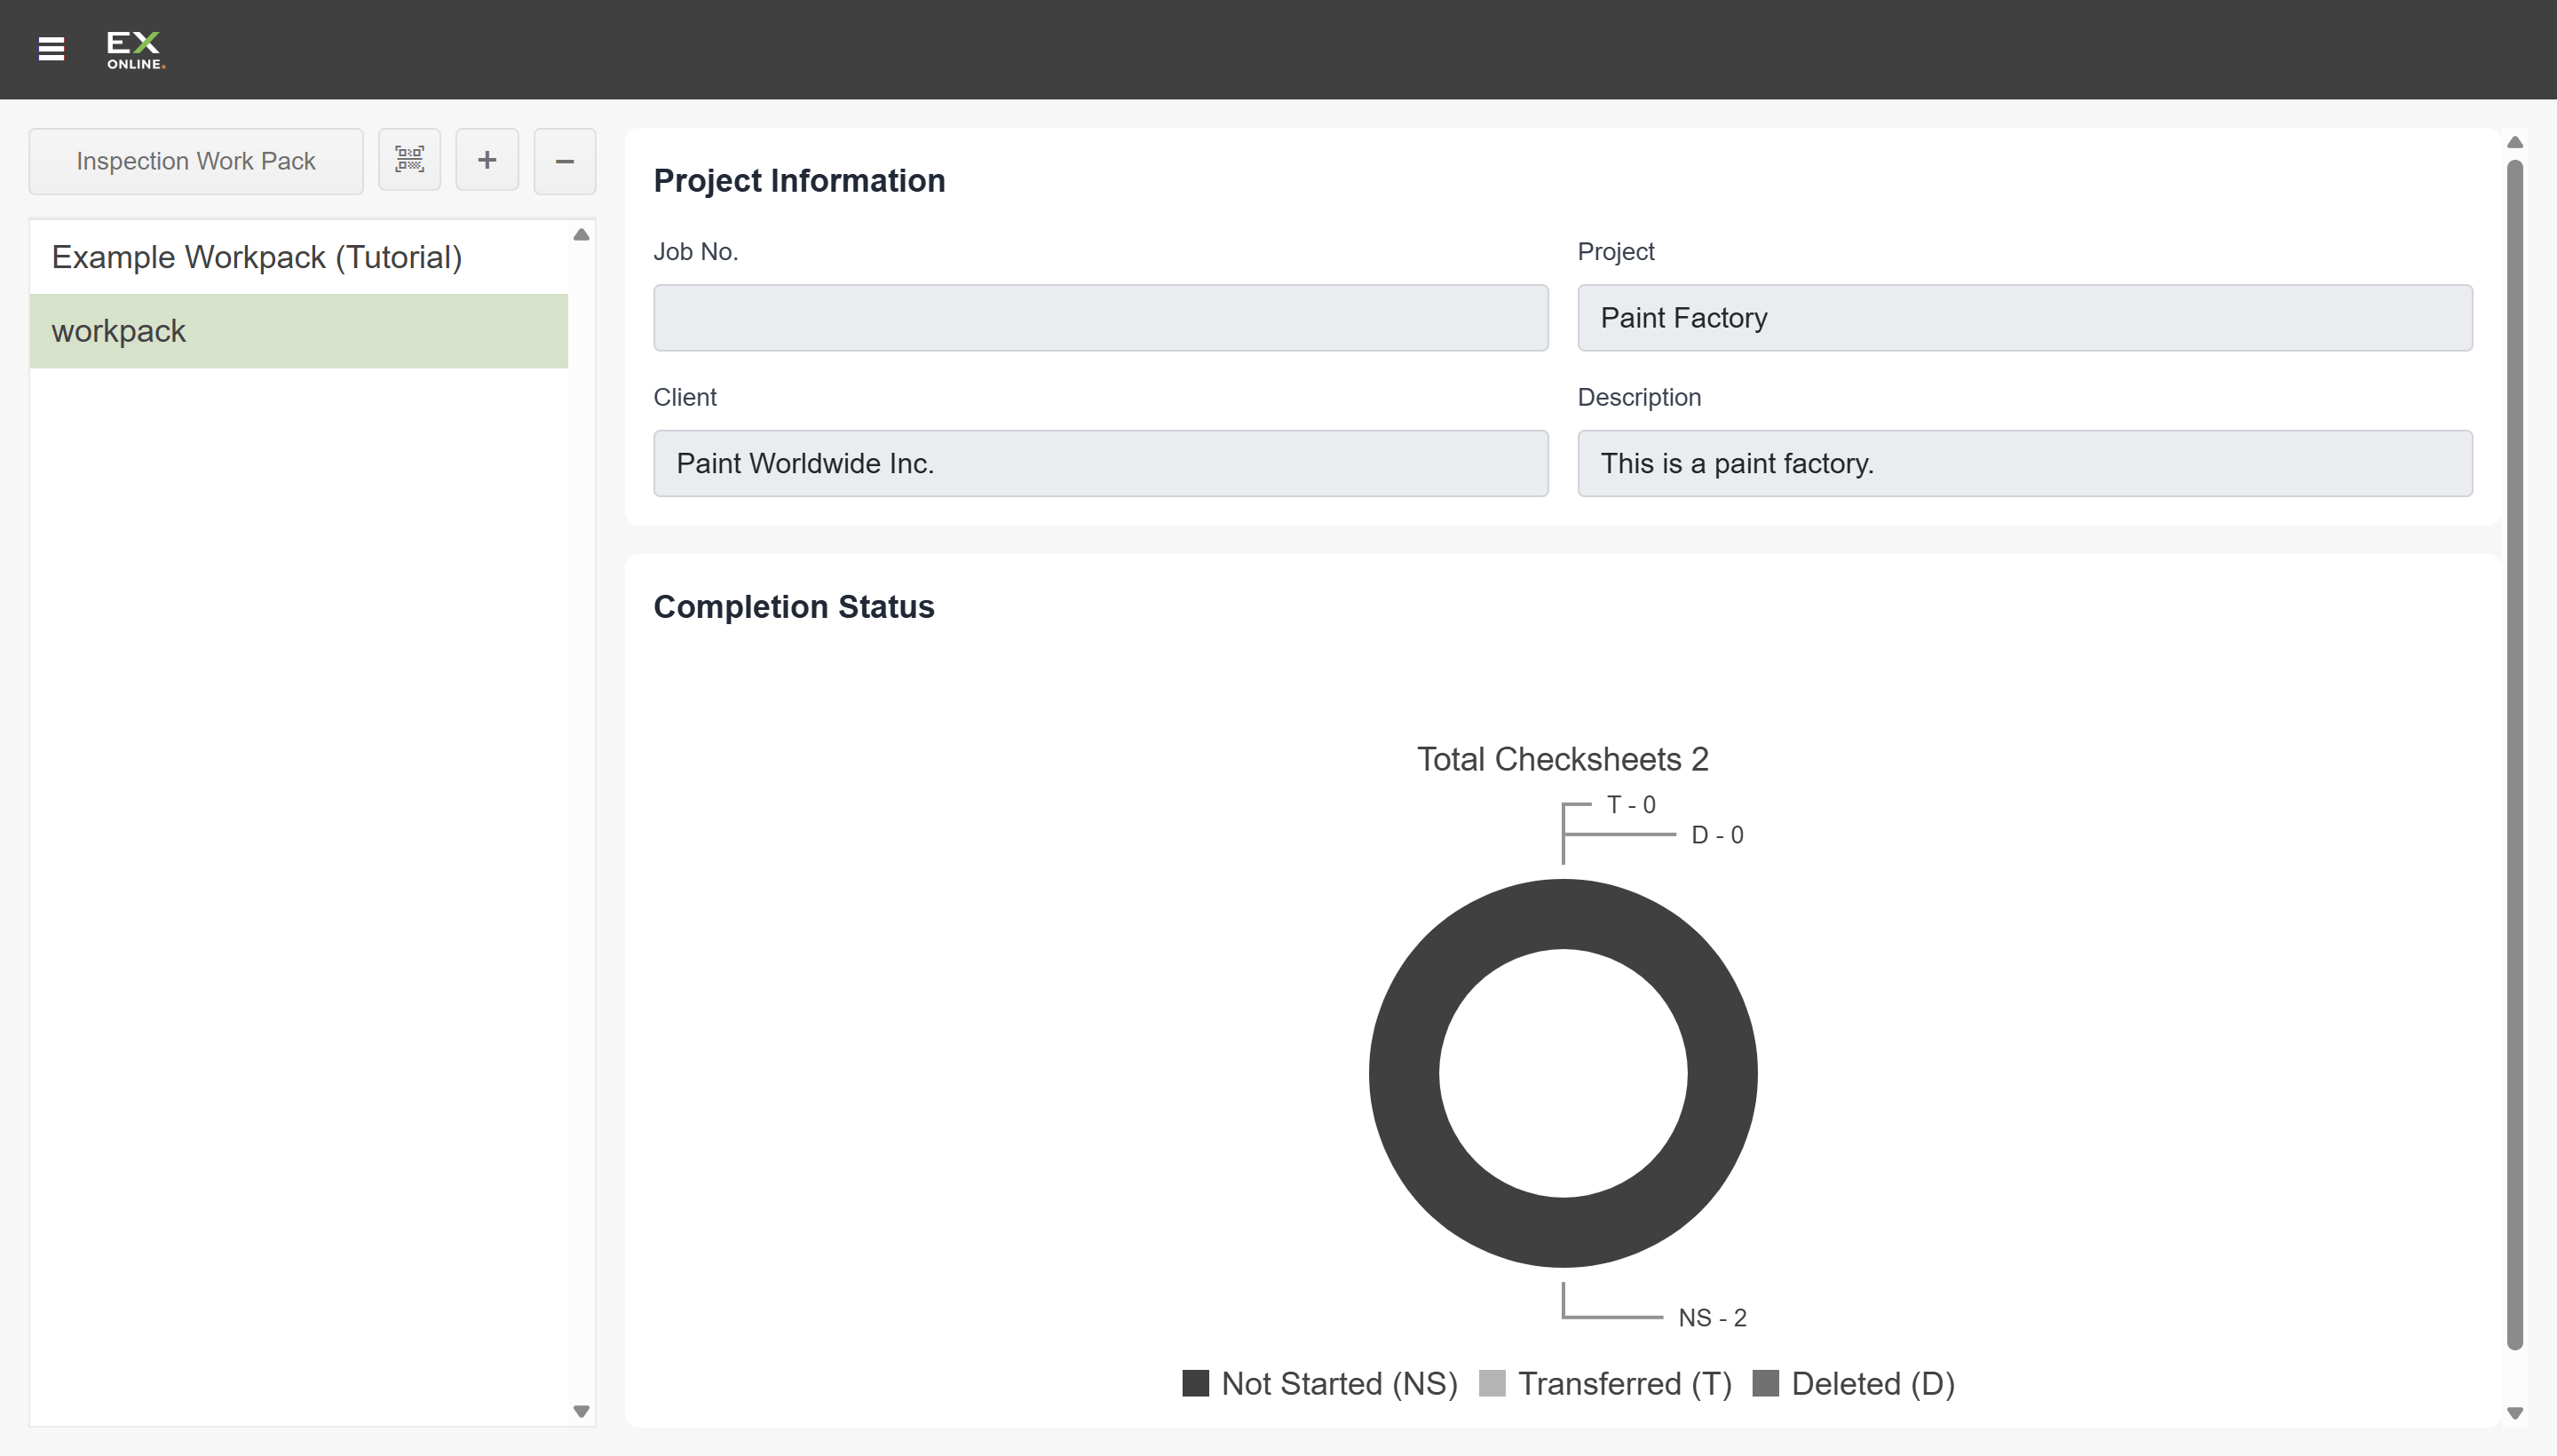
Click the work pack in the left panel to see Project Information and Completion Status.
Browse the equipment list
Section titled “Browse the equipment list”Double-click the work pack name in the left panel to open the ICS (Inspection Check Sheet) tab.
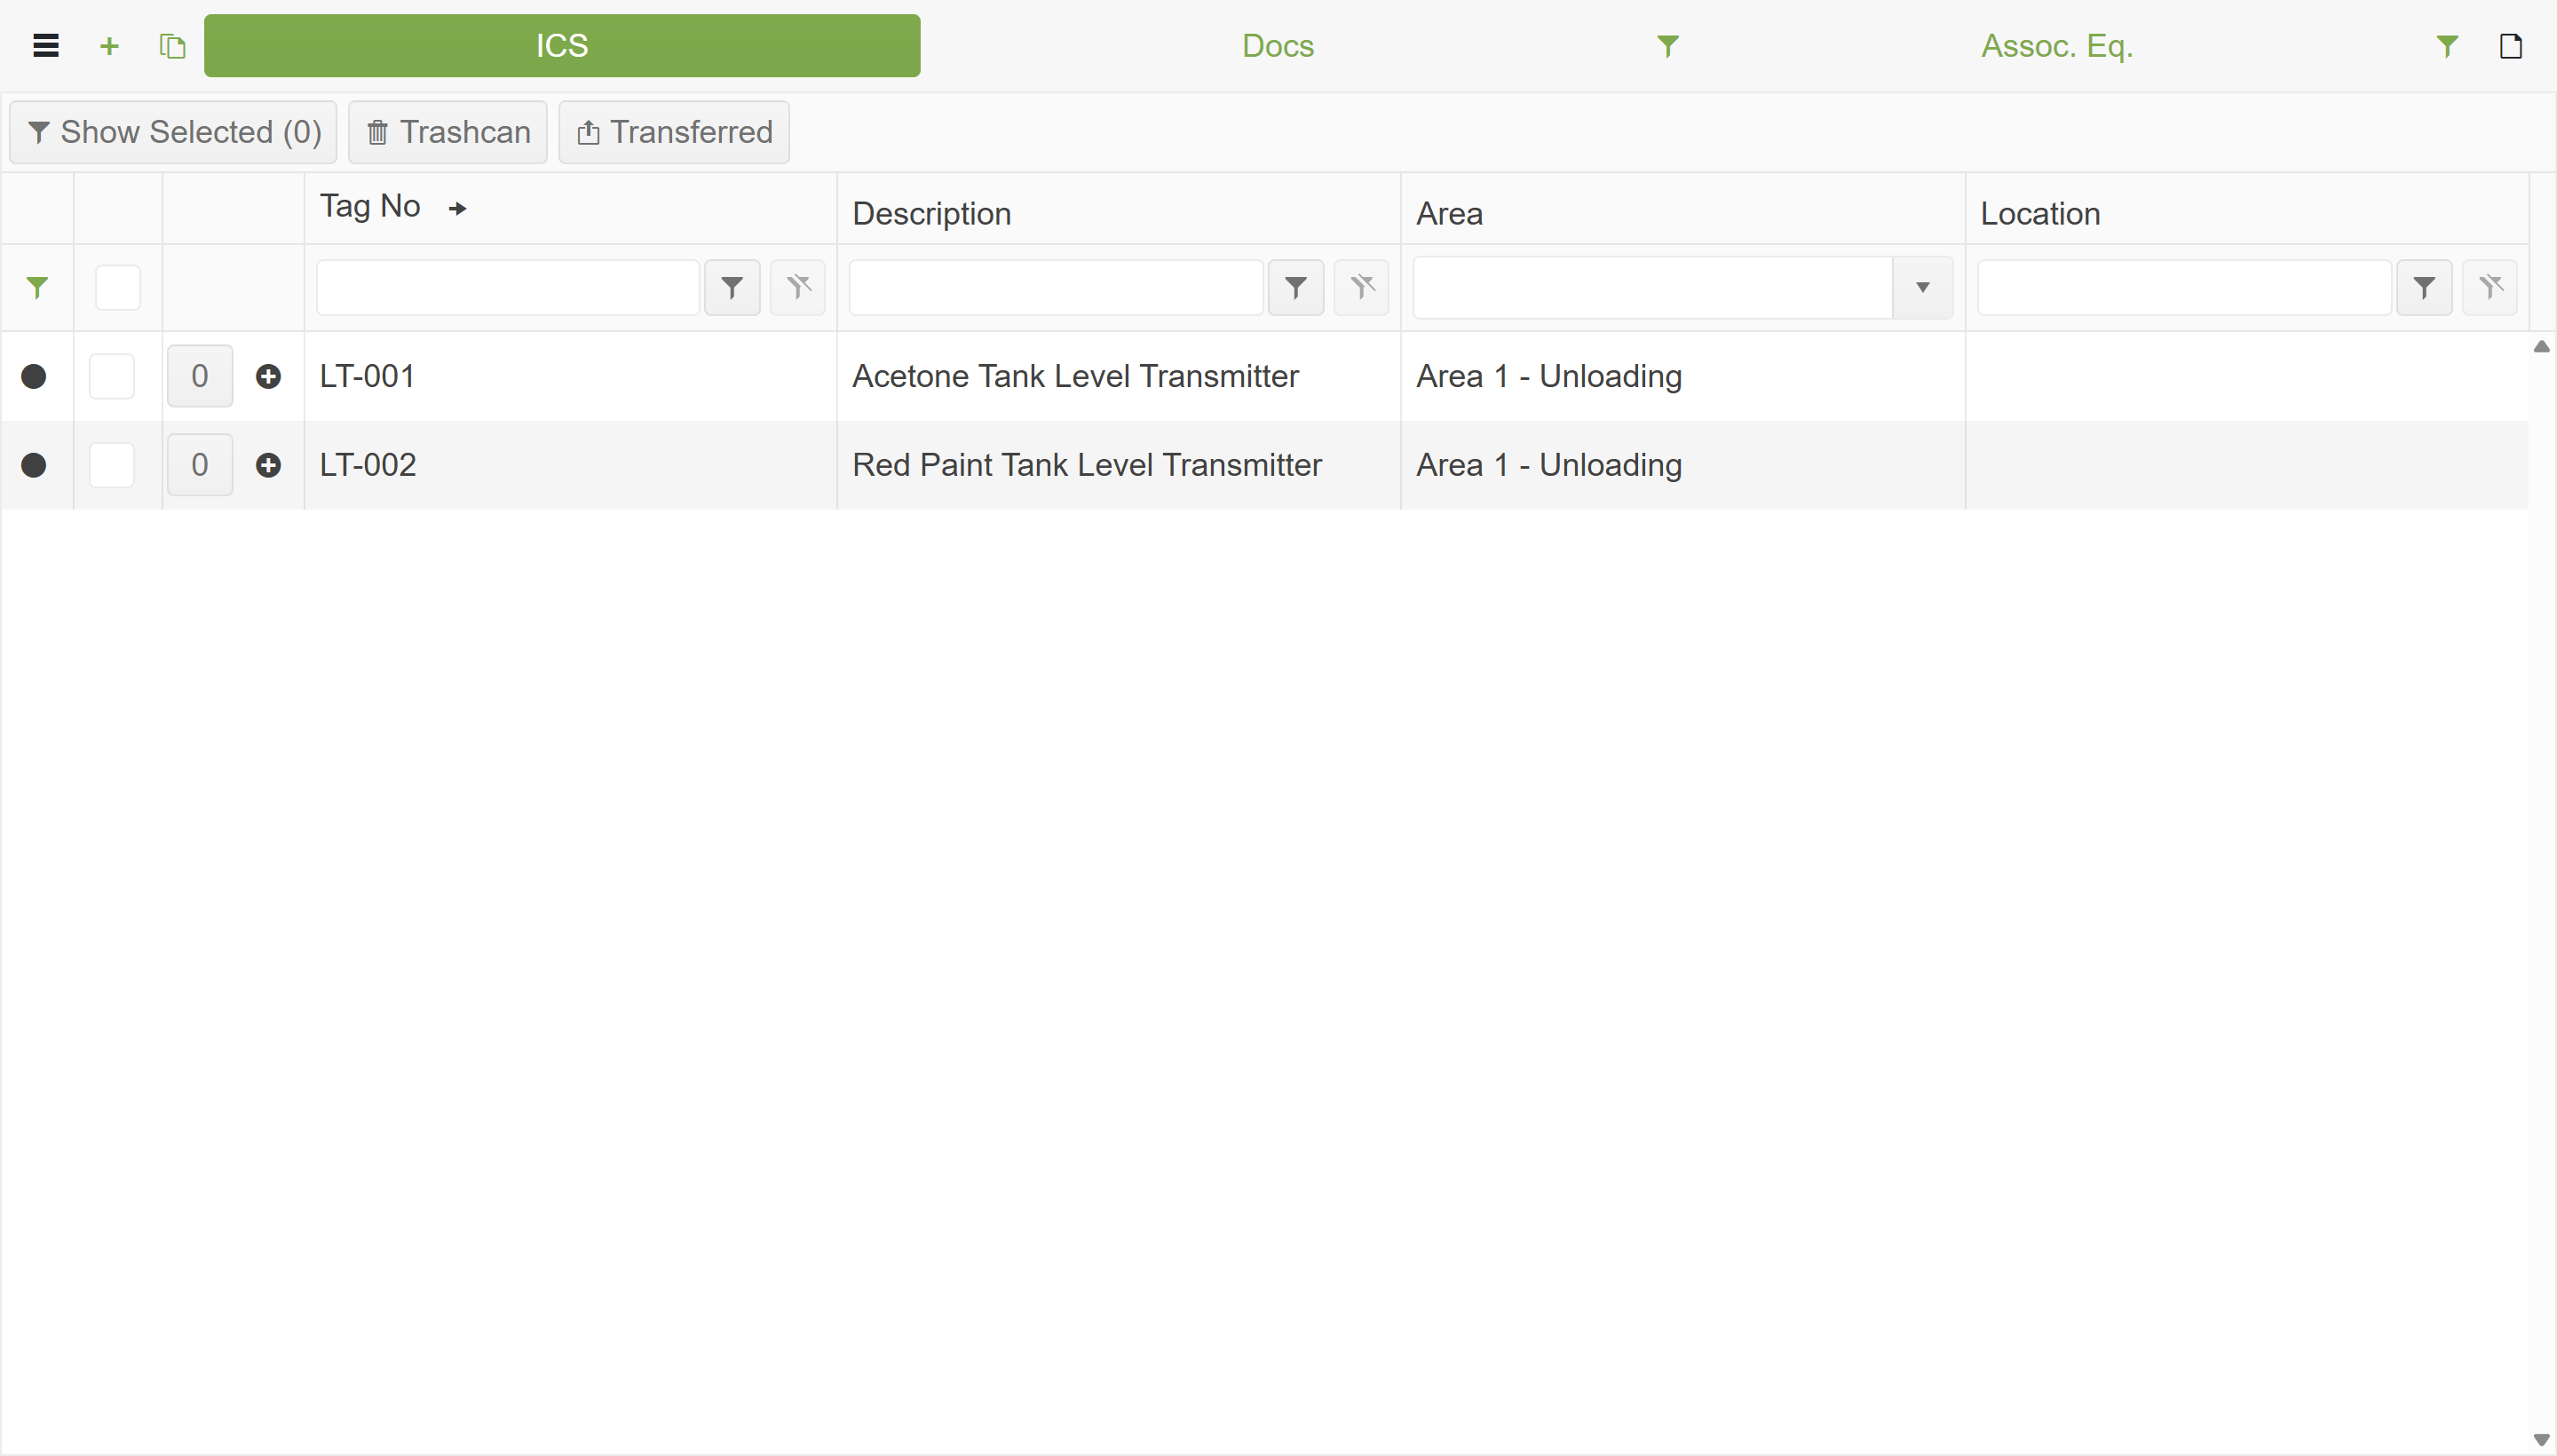
Each row lists the tag number, description, area, and location. The dots on the left are status indicators:
| Status | Colour | Meaning |
|---|---|---|
| Not Started | Black | Check sheet hasn’t been opened yet |
| In Progress | Orange | Check sheet opened but not signed off |
| Completed | Green | Inspection signed off |
Complete the check sheet
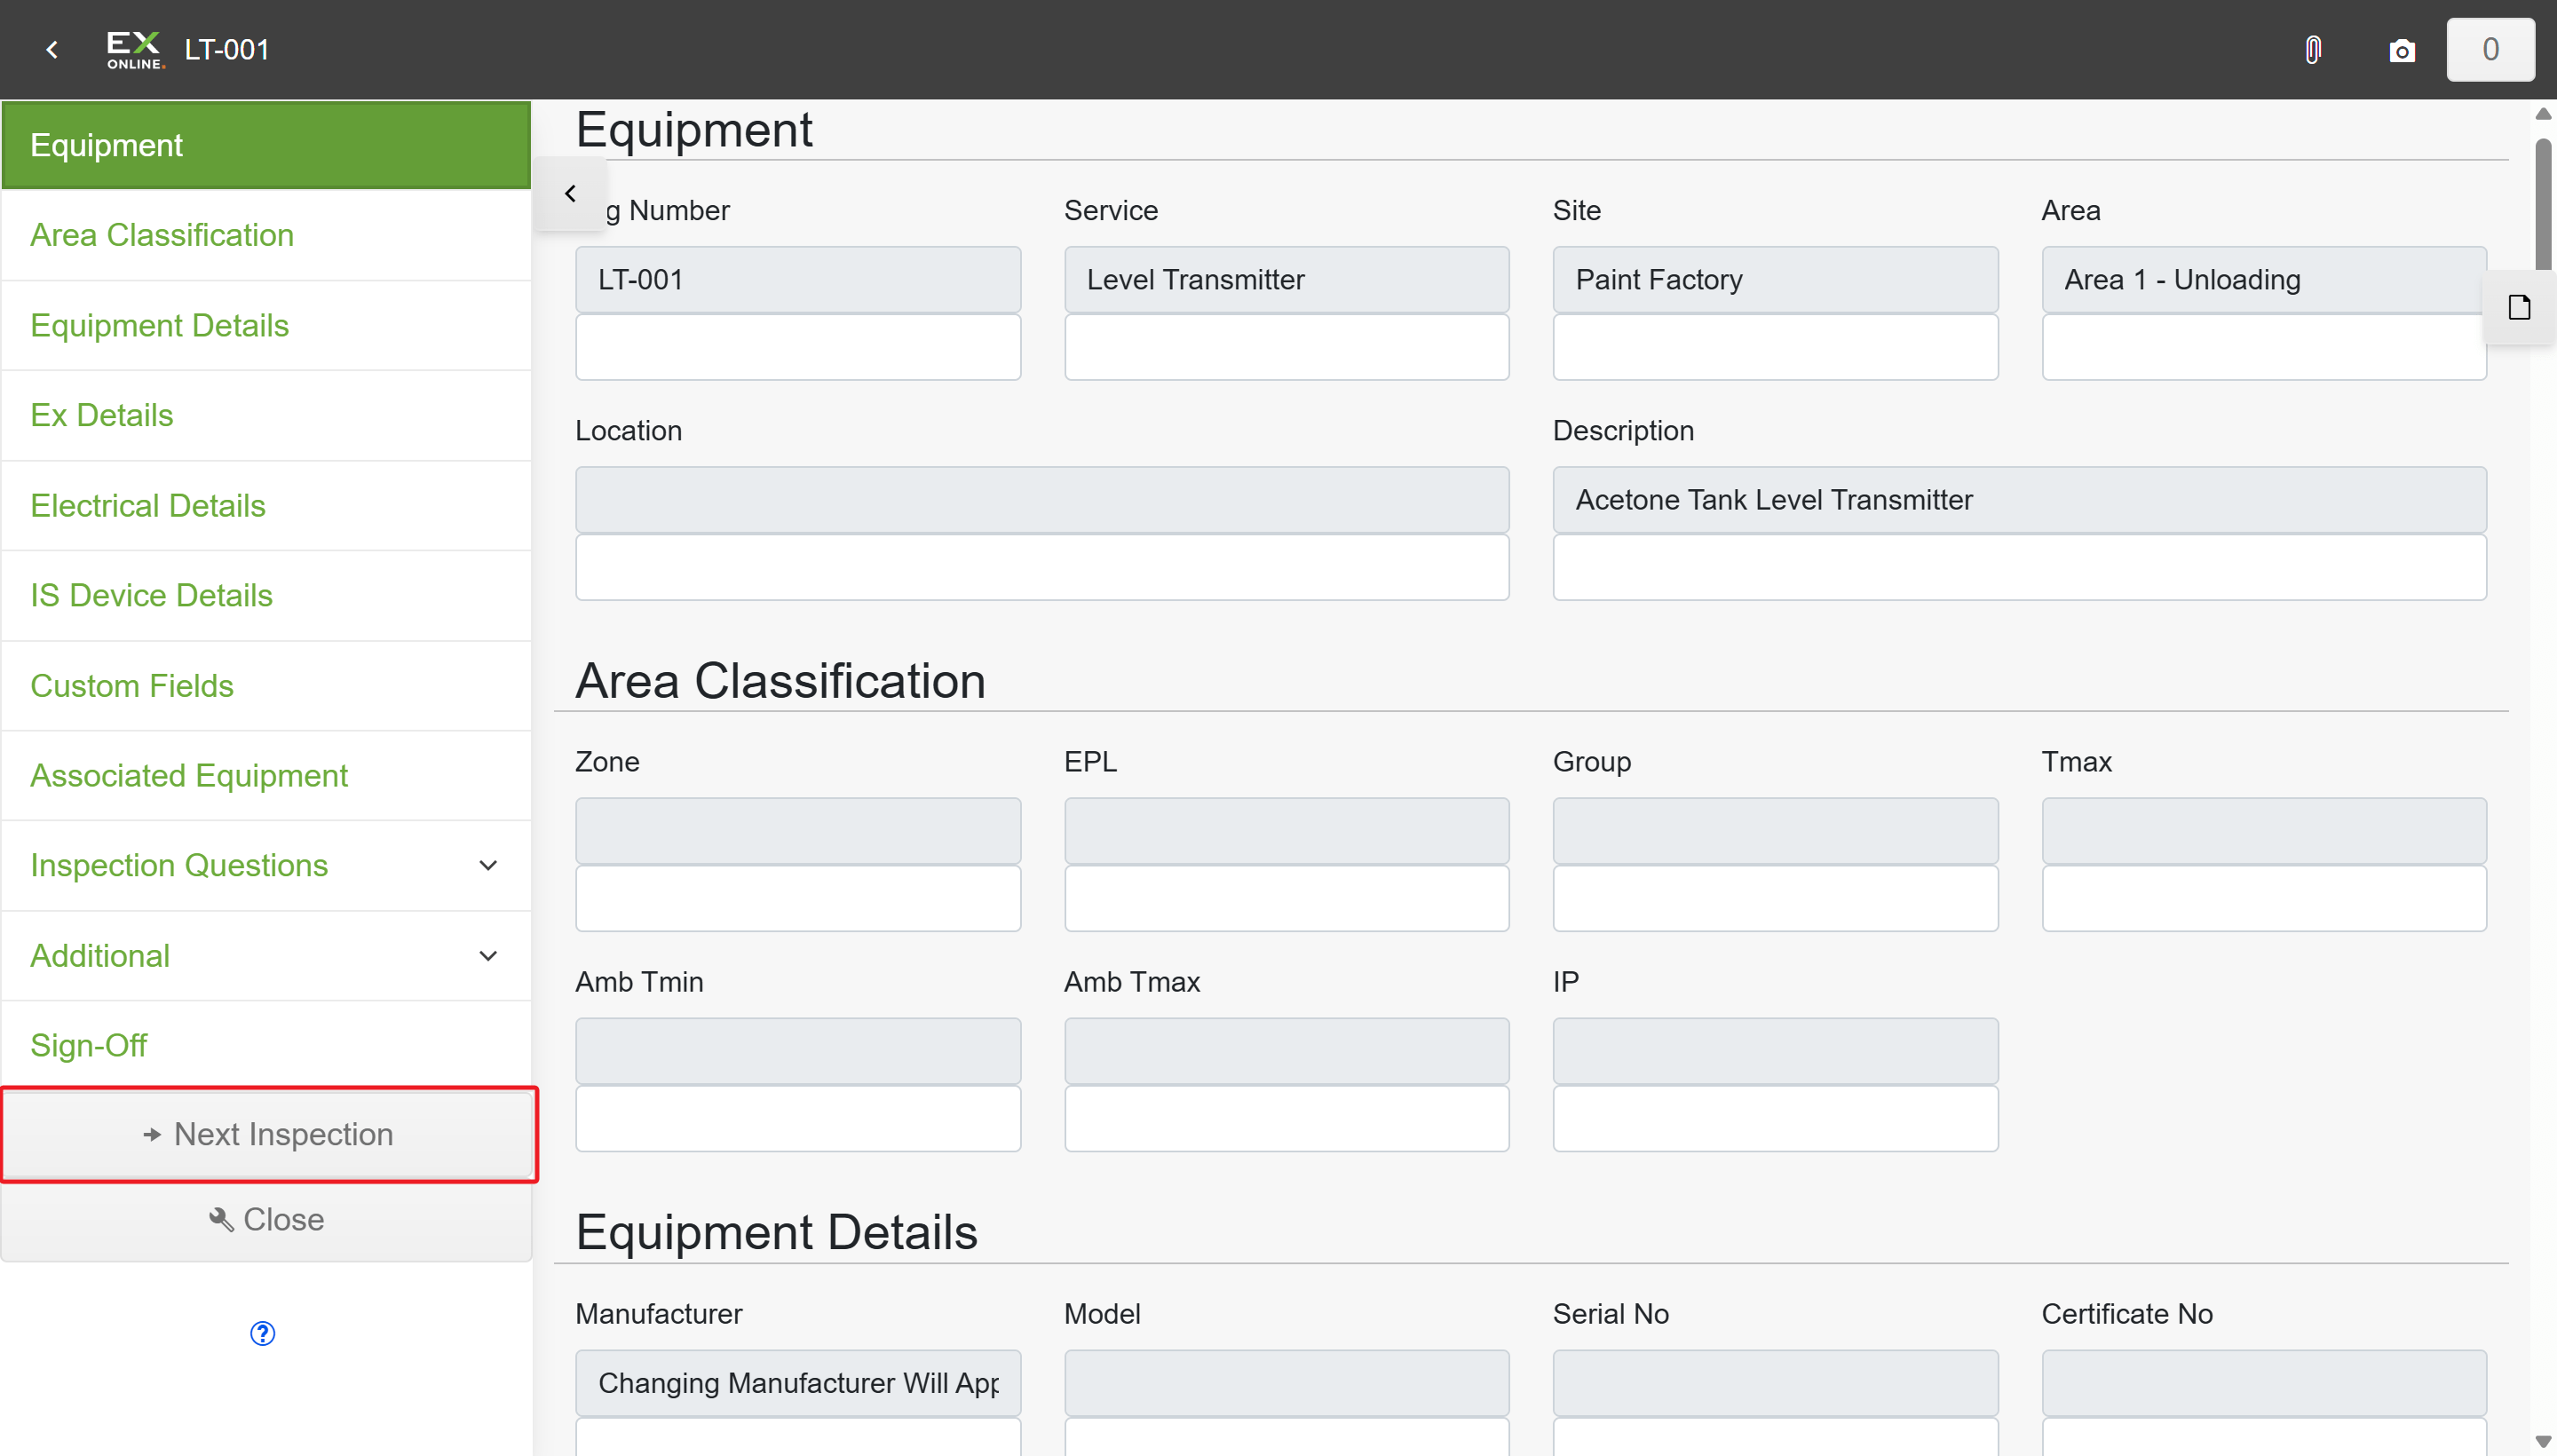
Section titled “Complete the check sheet”Double-click a row to open its dossier. The sidebar lists every section — equipment data, inspection questions, sign-off, and more. See the Inspection App Reference for a full breakdown.
Click Next Inspection at the bottom of the sidebar to jump to the next unfinished inspection check.
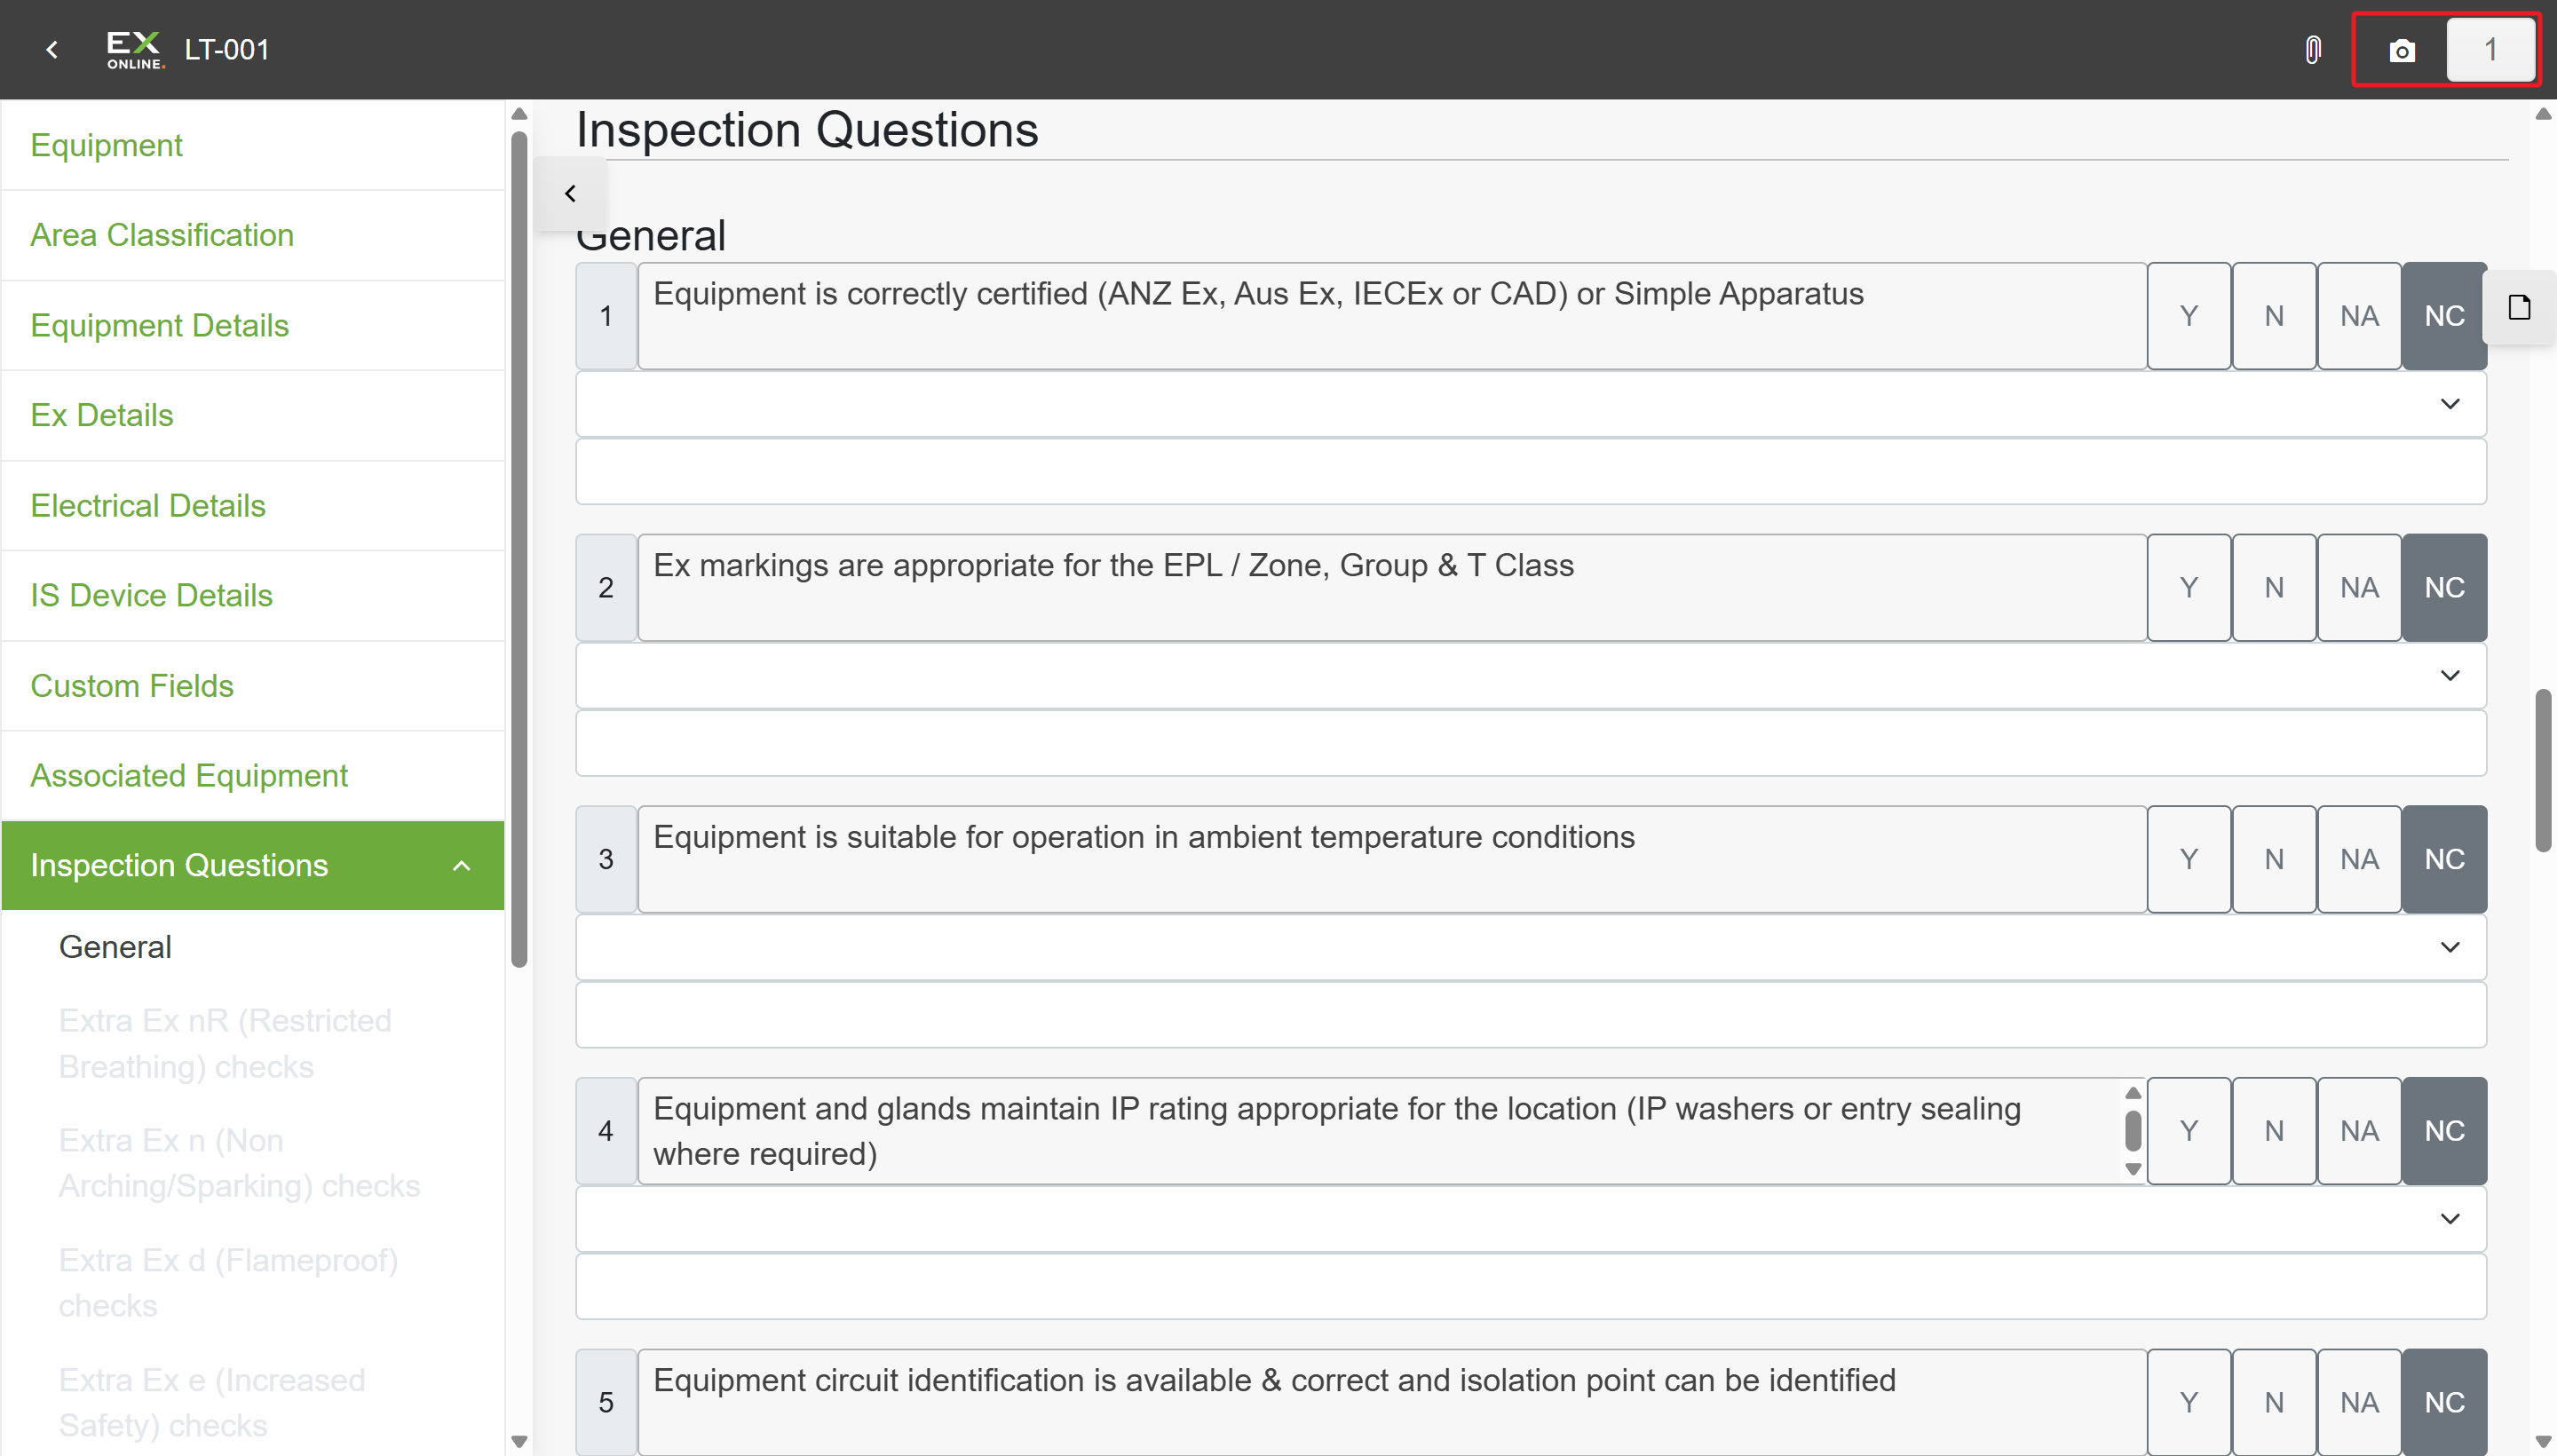
Each question can be answered Y (Compliant), N (Non-Conformity), NA (Not Applicable), or NC (Not Checked). When you mark a question N, choose a reason from the dropdown and add detail in the text field.
Record answers that reflect your actual inspection findings.
The screenshots use sample inspection data with five defects. You can review the defects from your own inspection after uploading in Part 3; your counts may differ.
Add a photo
Section titled “Add a photo”Photos attach to the current item and travel with the transfer file, so capture anything you need before sign-off.
Click the camera icon in the top-right toolbar to capture a photo.
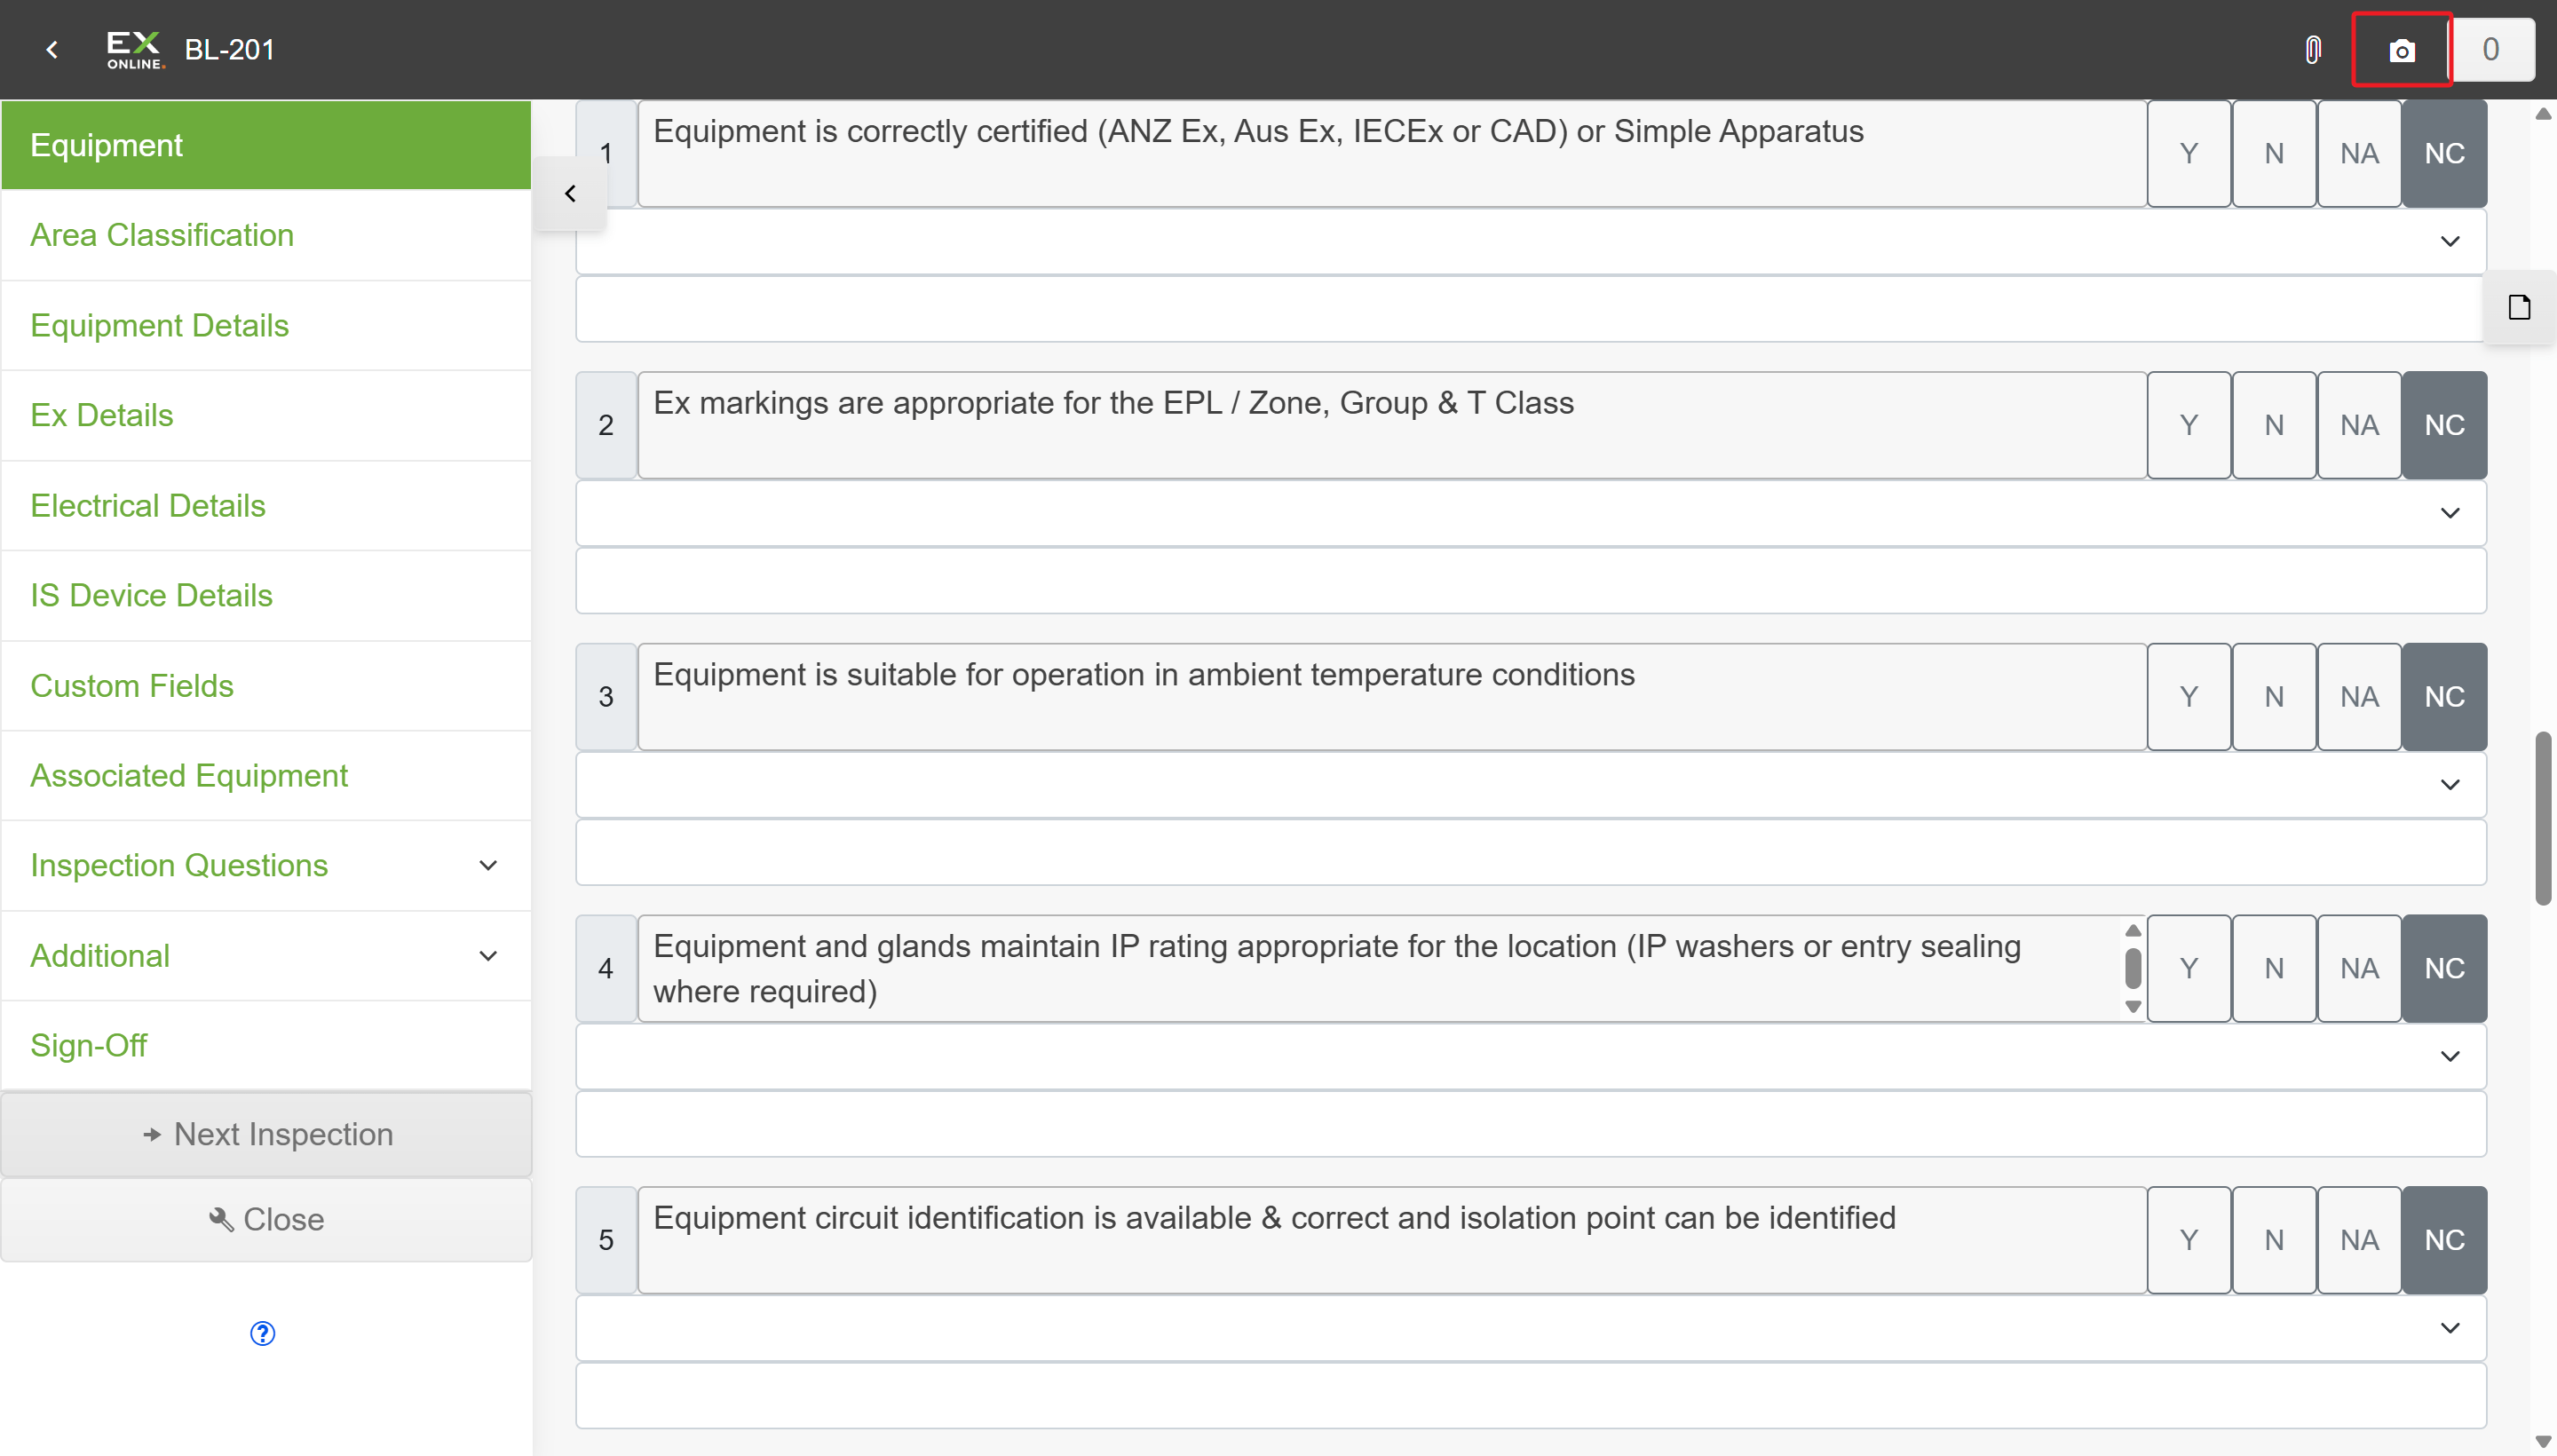
After taking a photo, the badge updates to show the count.
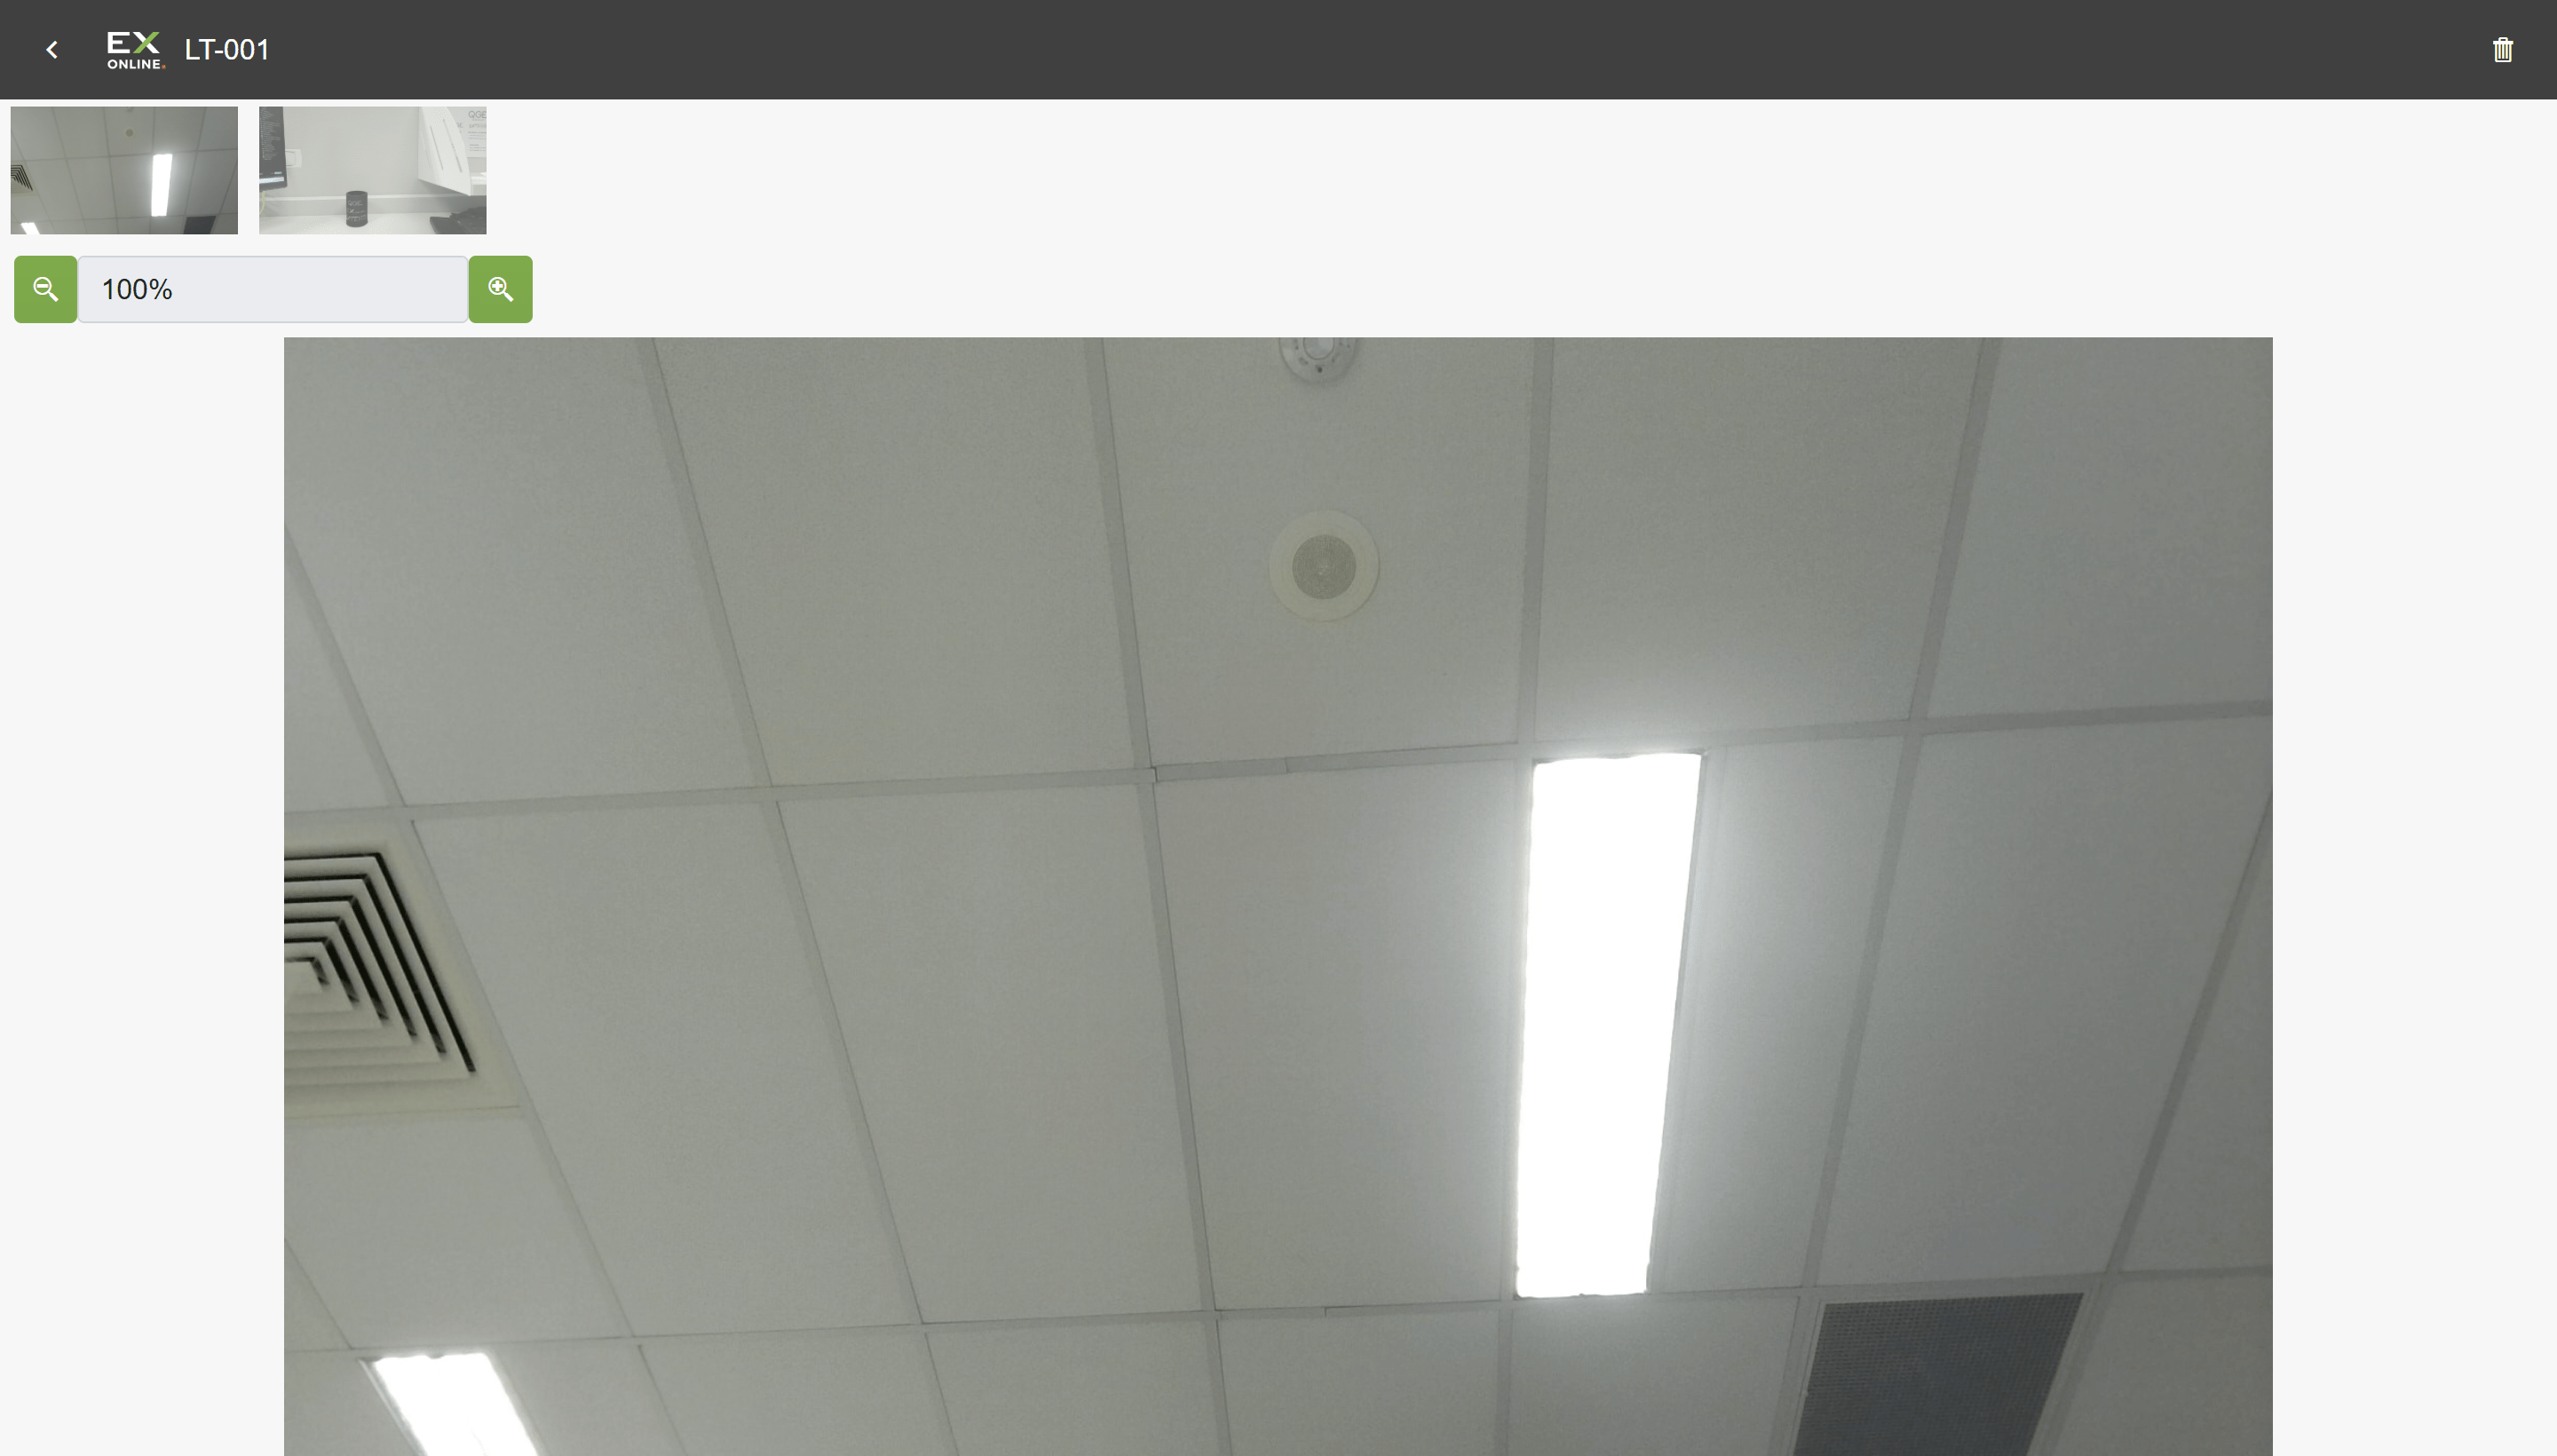
Click the number to open the photo viewer. From here you can browse your photos and tap the delete icon (top-right) to remove any you don’t need.
Sign off
Section titled “Sign off”Click Sign-Off in the sidebar. You’ll see columns for Inspector, Reviewer, and Approver.
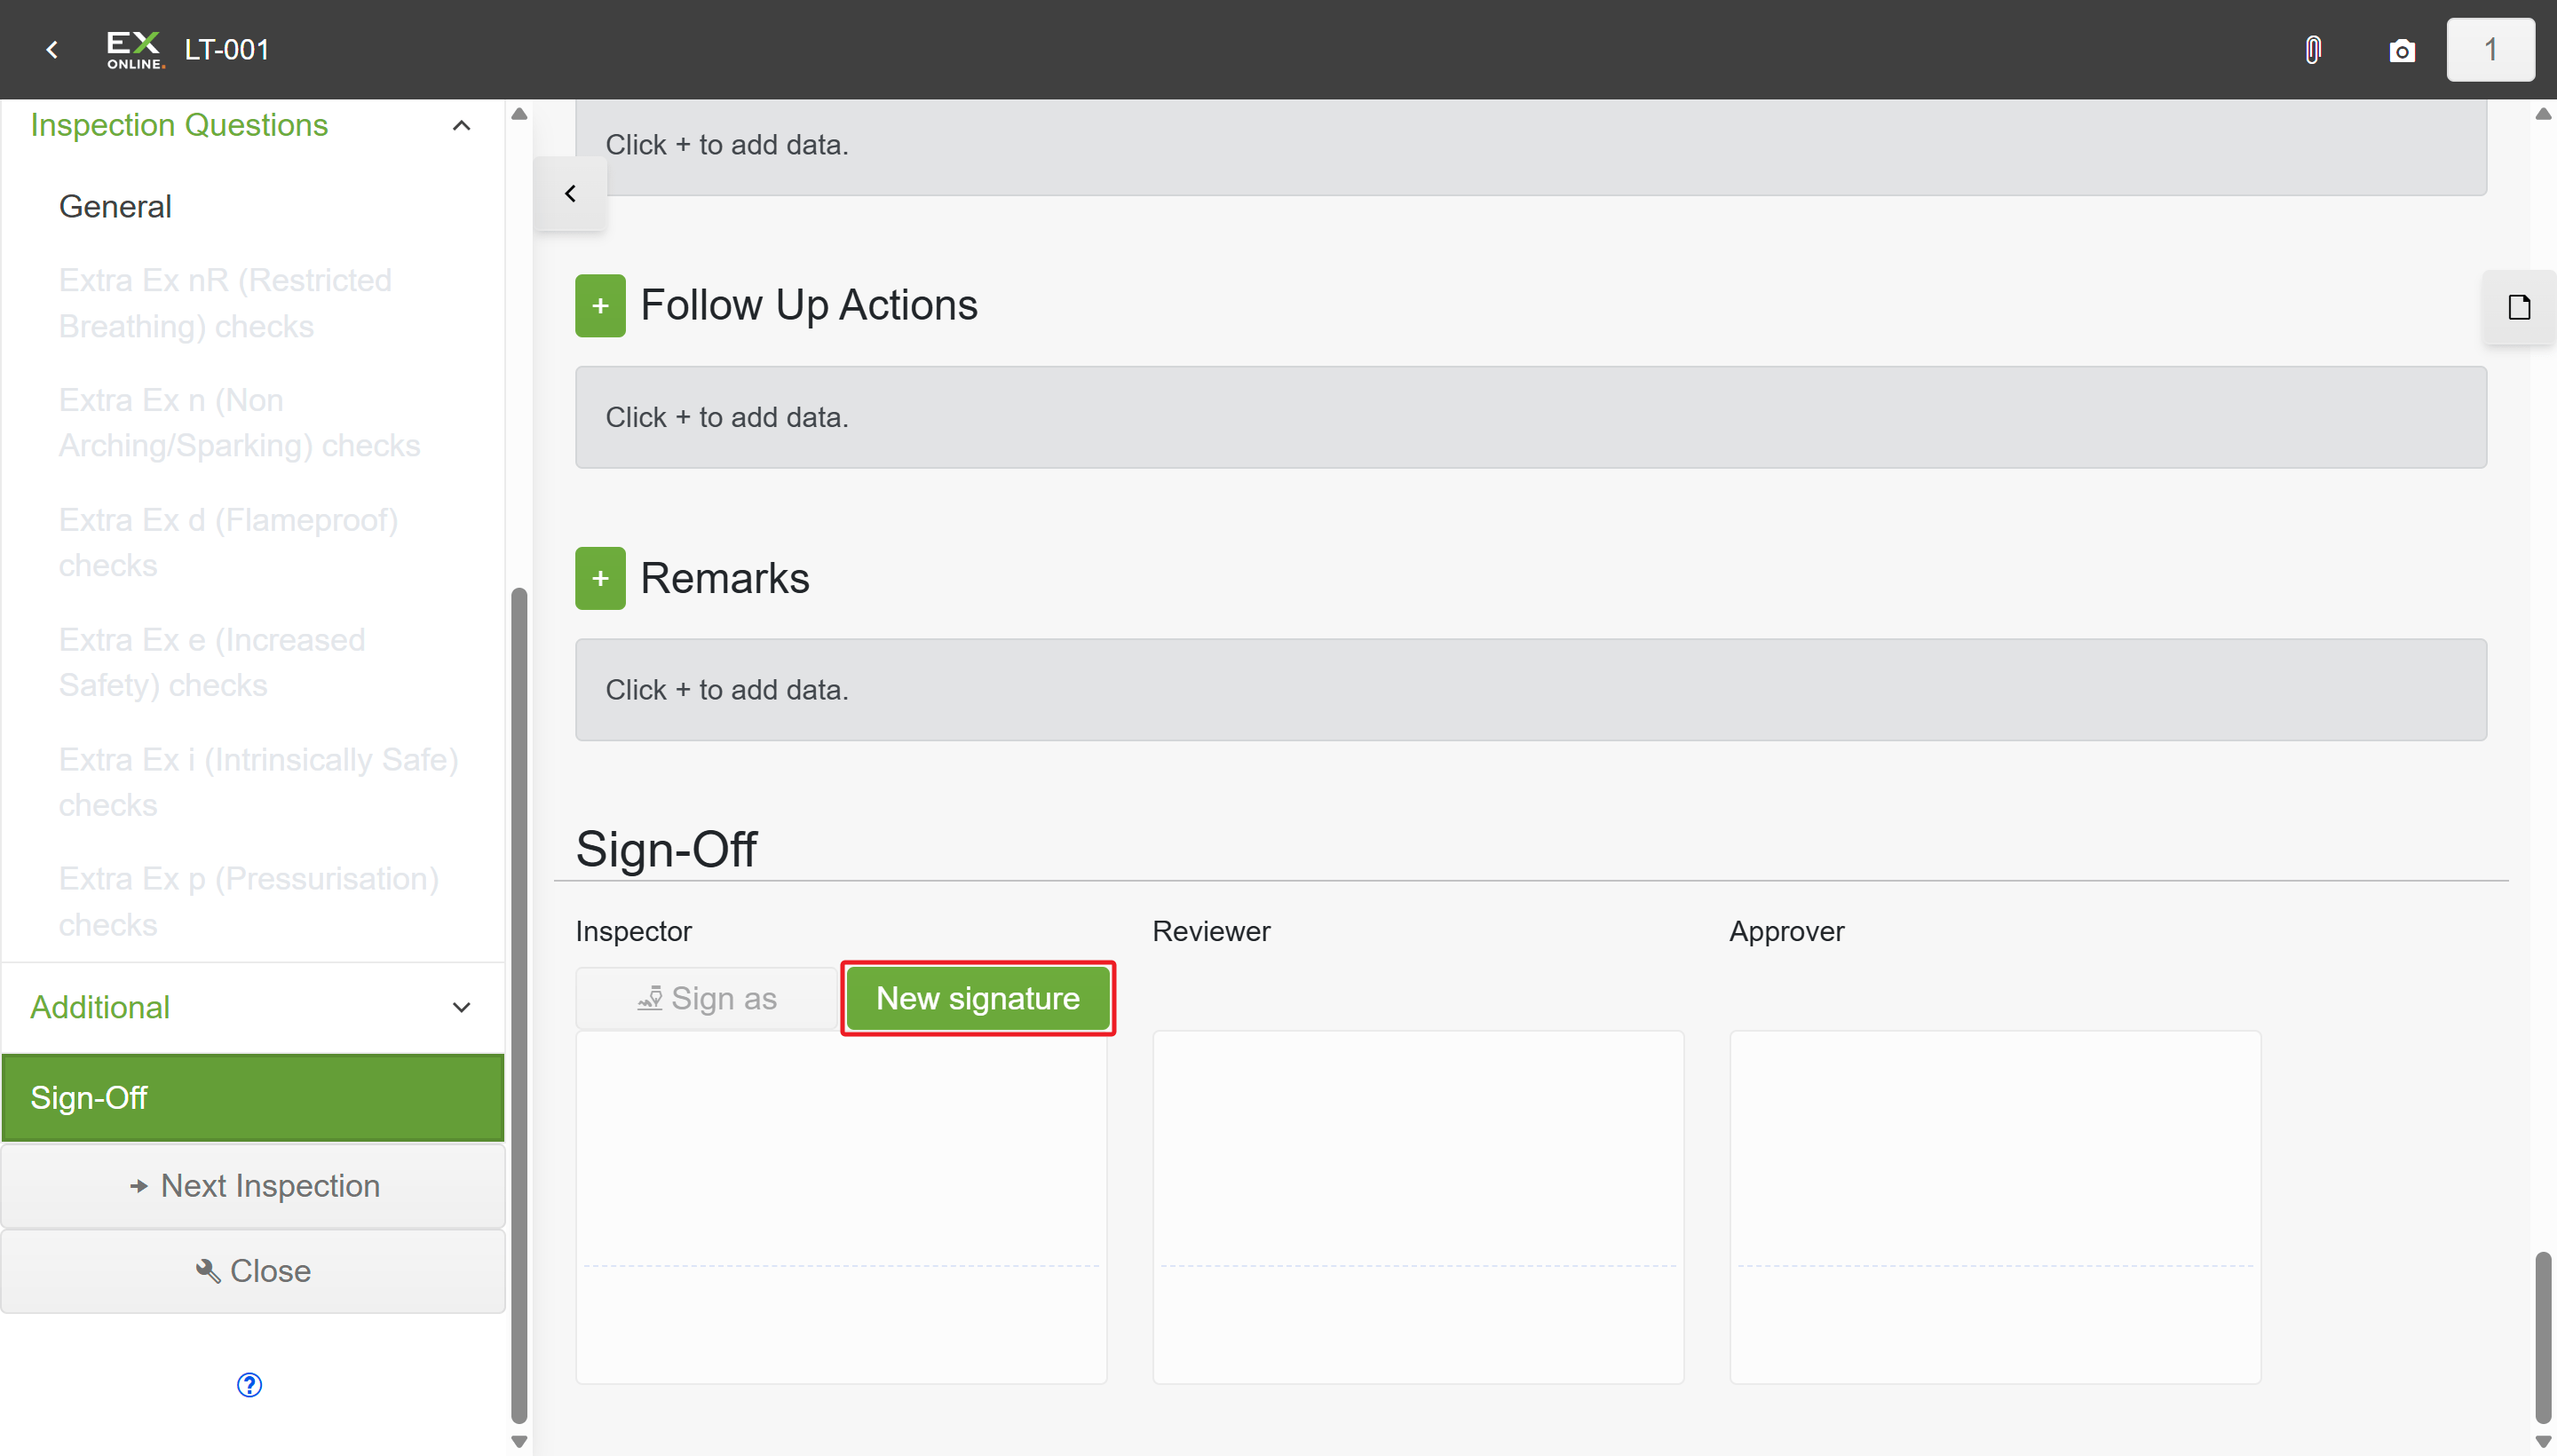
- Click New signature to enter your name and draw your signature.
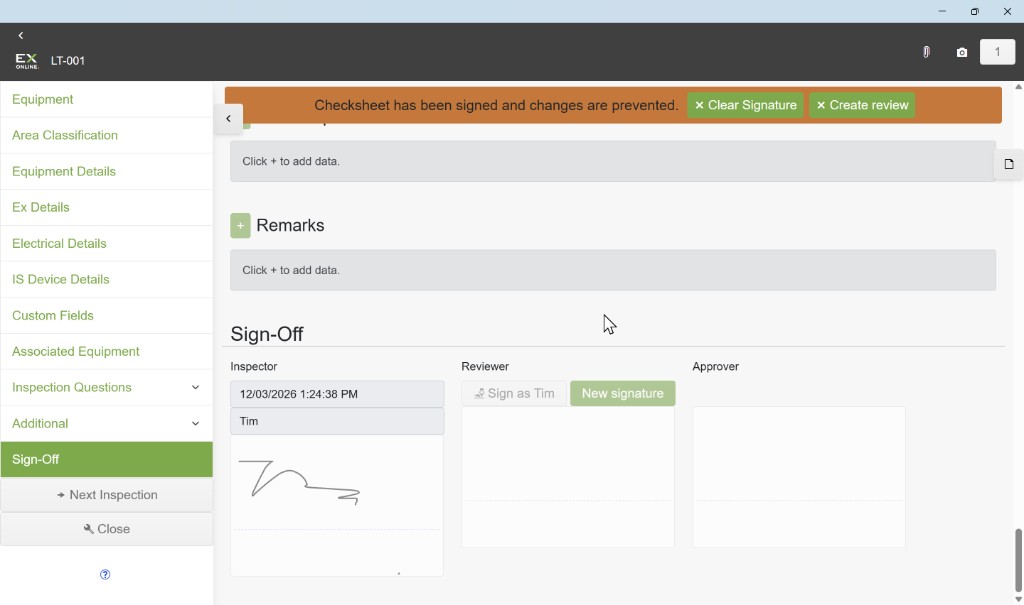
- Click Sign as [your name] to finish the inspection for the Inspector column.
Your name, time, and signature appear under Inspector, and an orange banner confirms the check sheet is locked.
Click the back button or Ex-Online logo to return to the ICS list. The item’s status turns green (Completed).
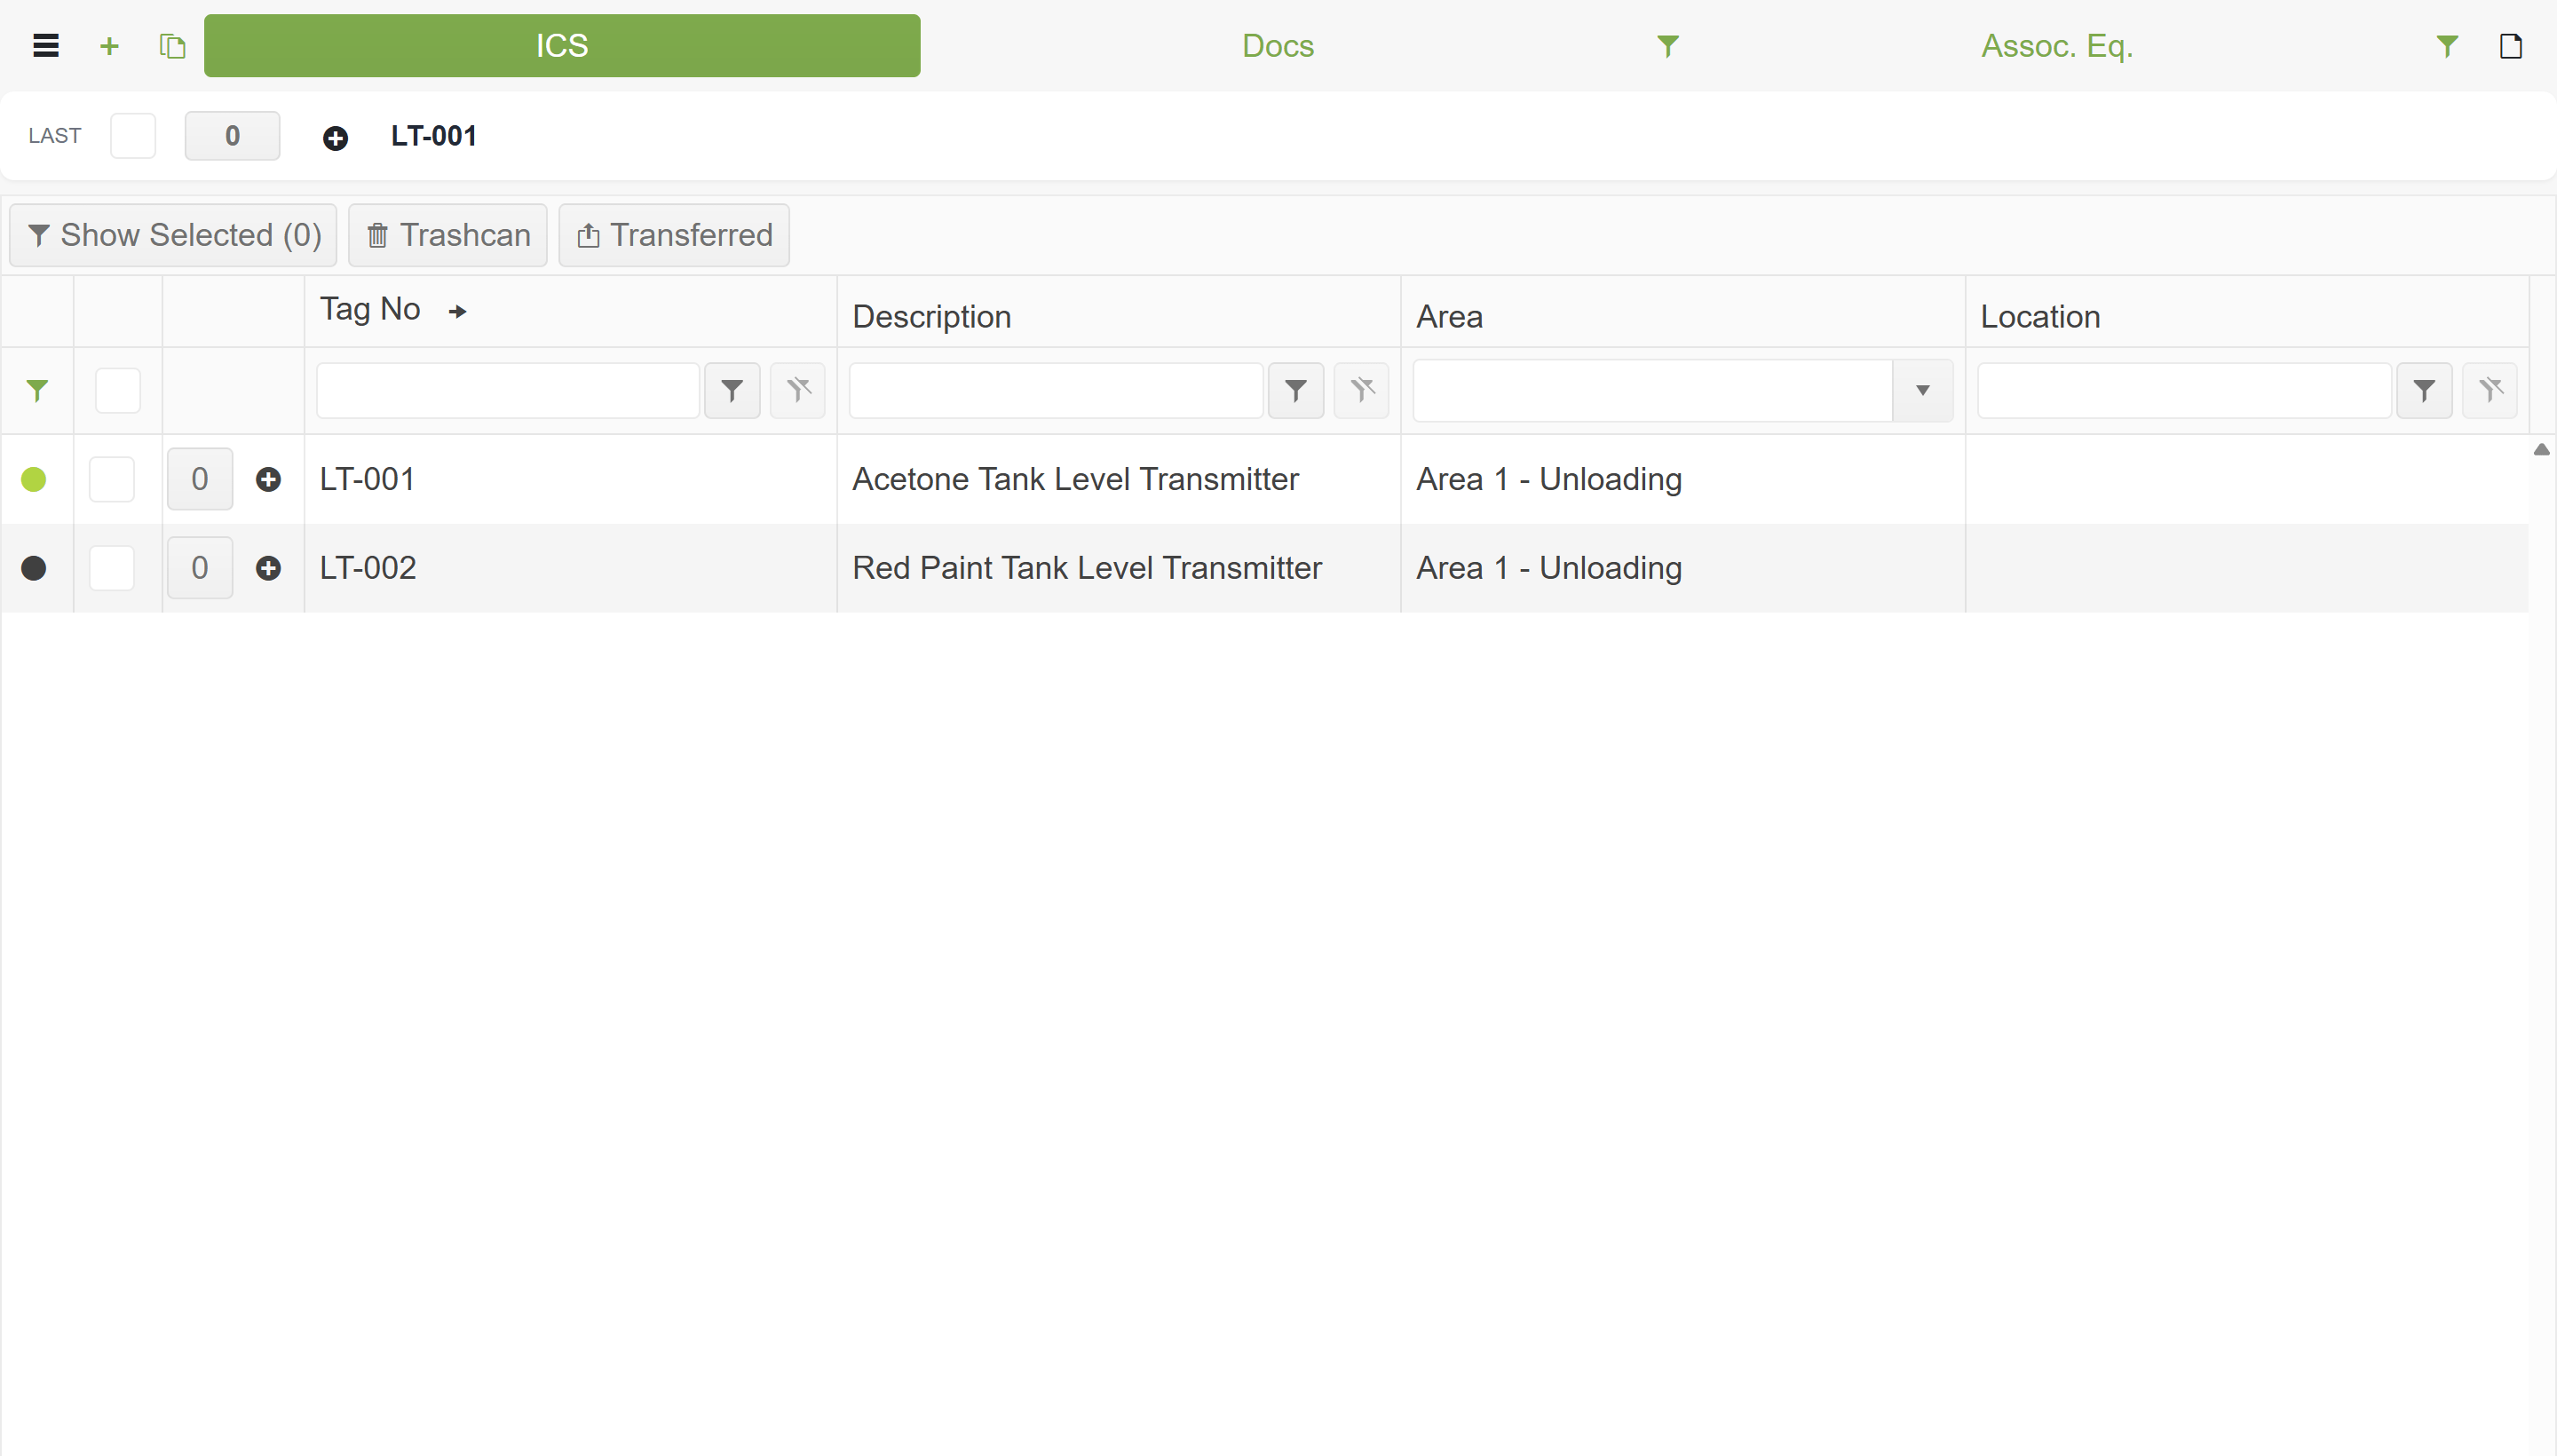
Repeat for each remaining row — double-click, complete, sign off.
Create a transfer file
Section titled “Create a transfer file”Package your completed inspections into a transfer file to upload back to the Tag Browser.
-
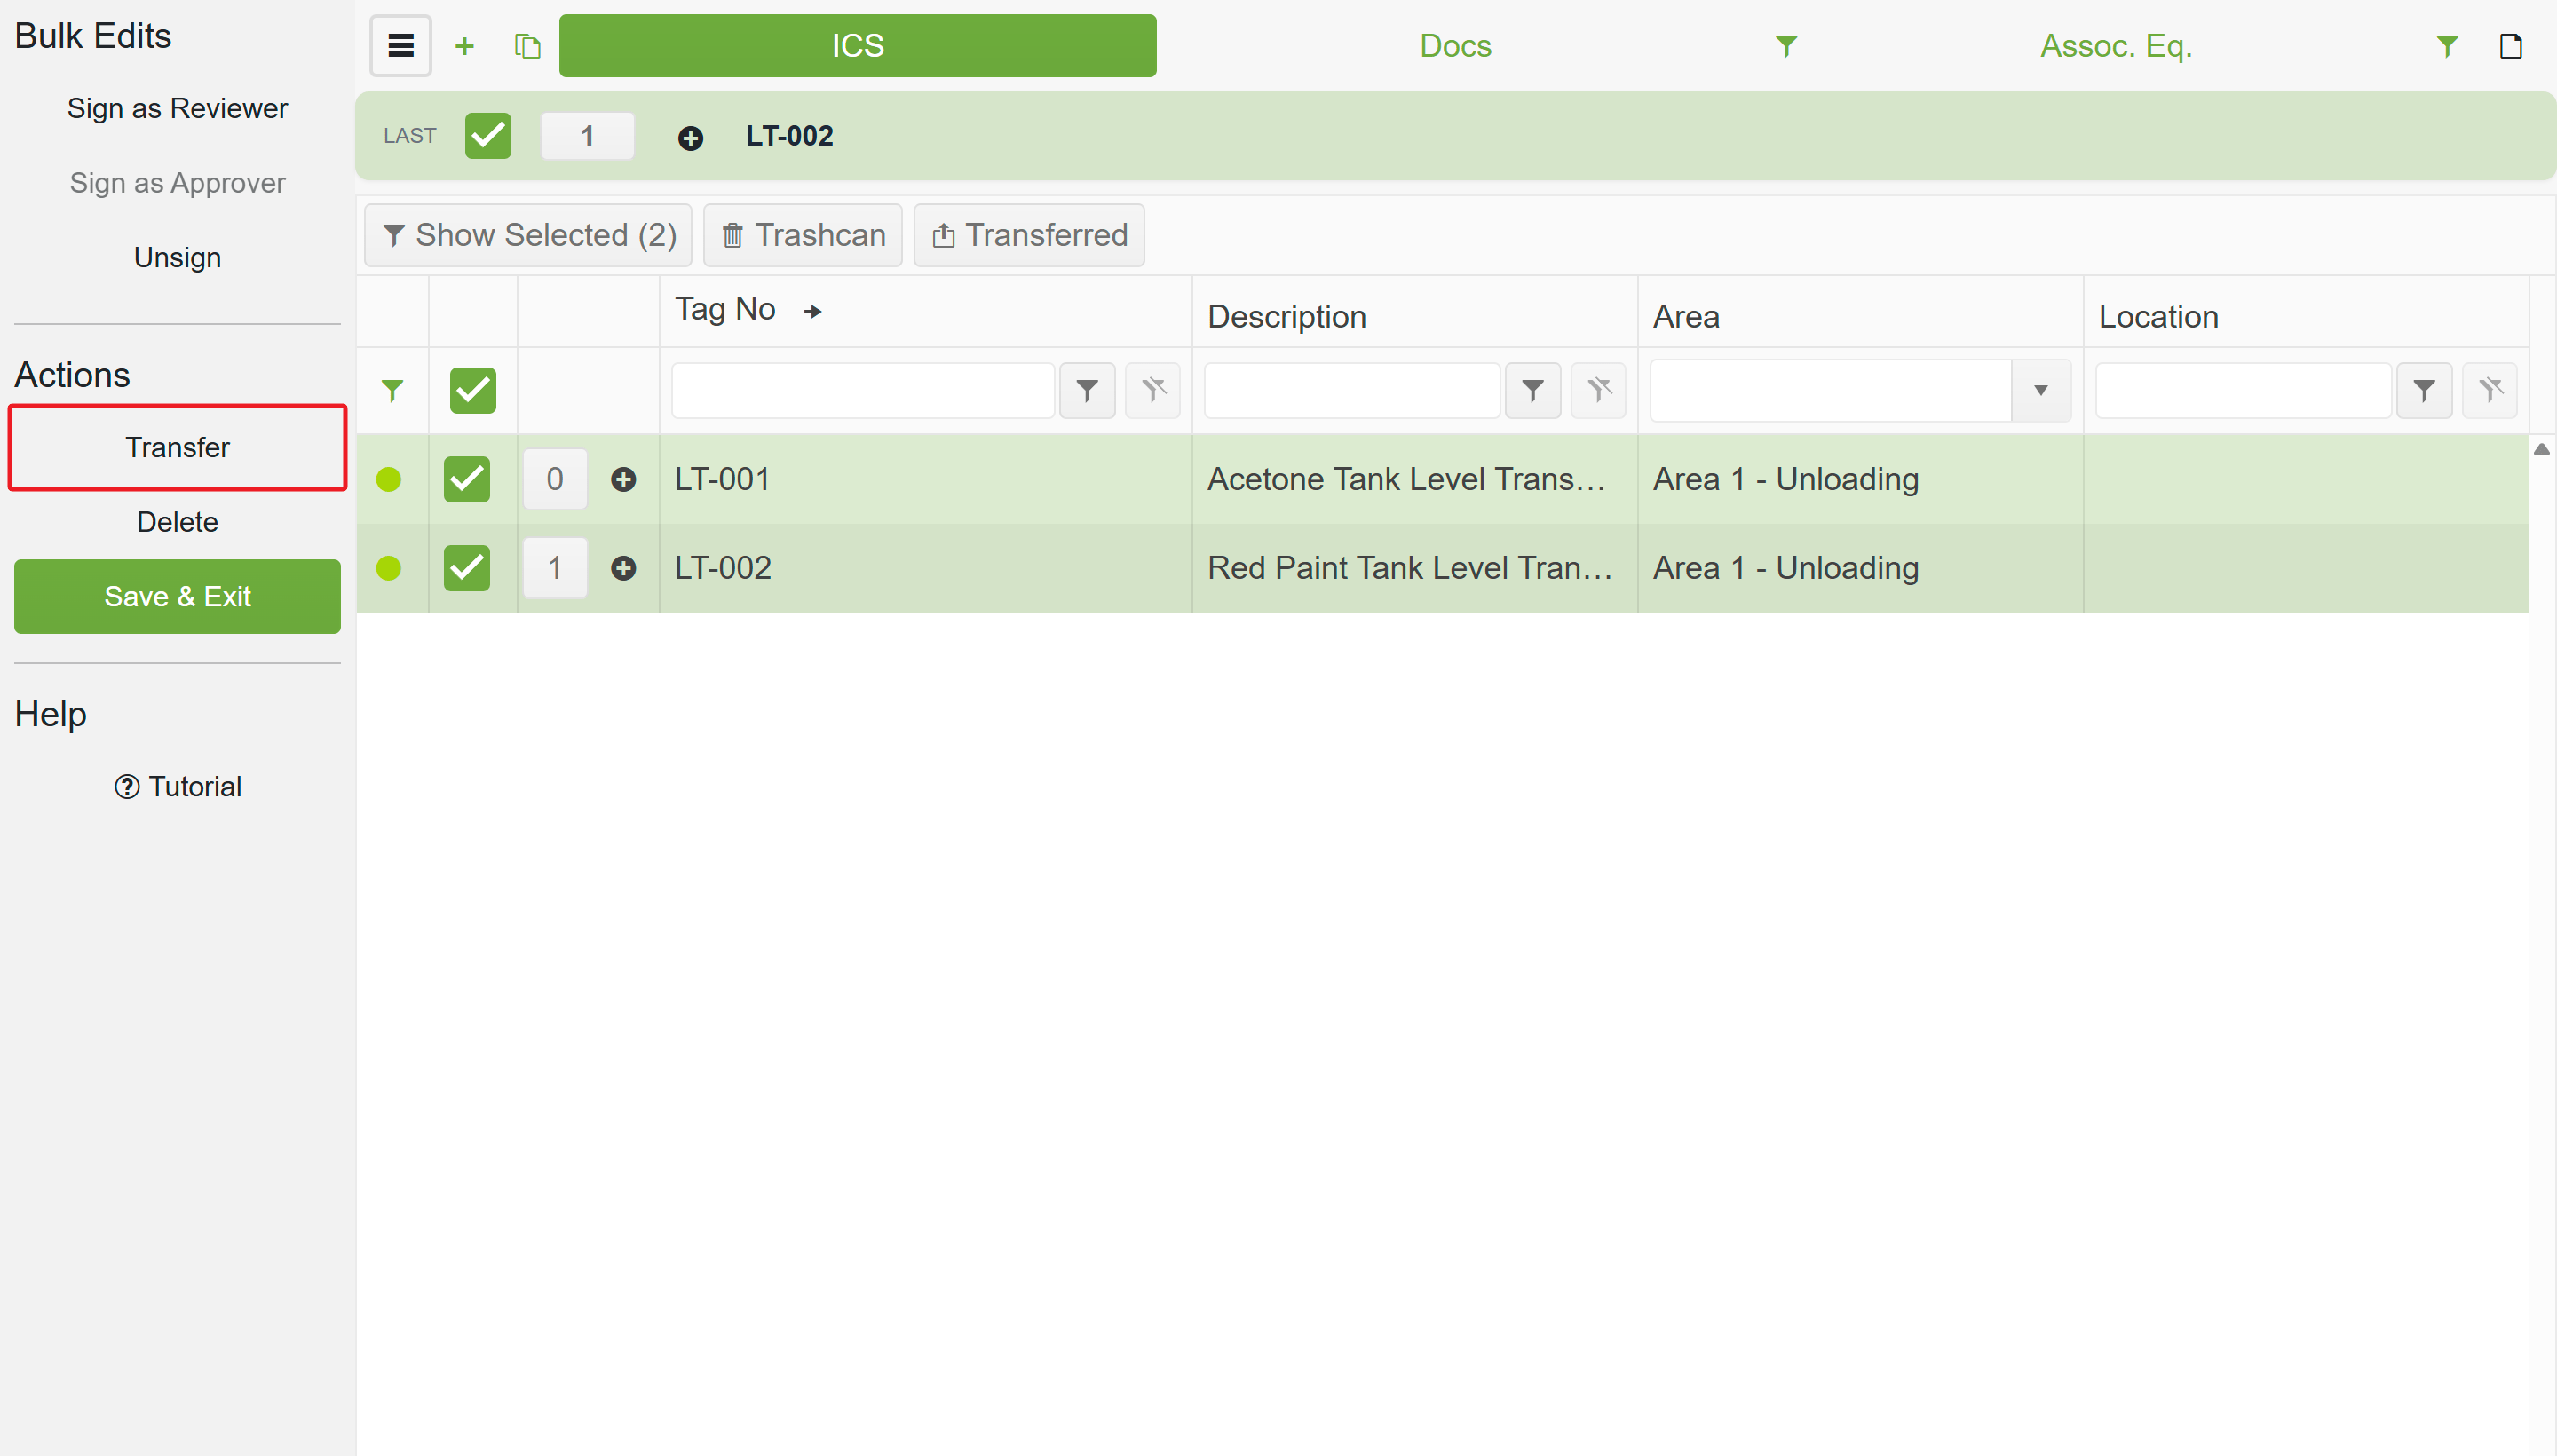
Tick the checkbox for each row you want to transfer.
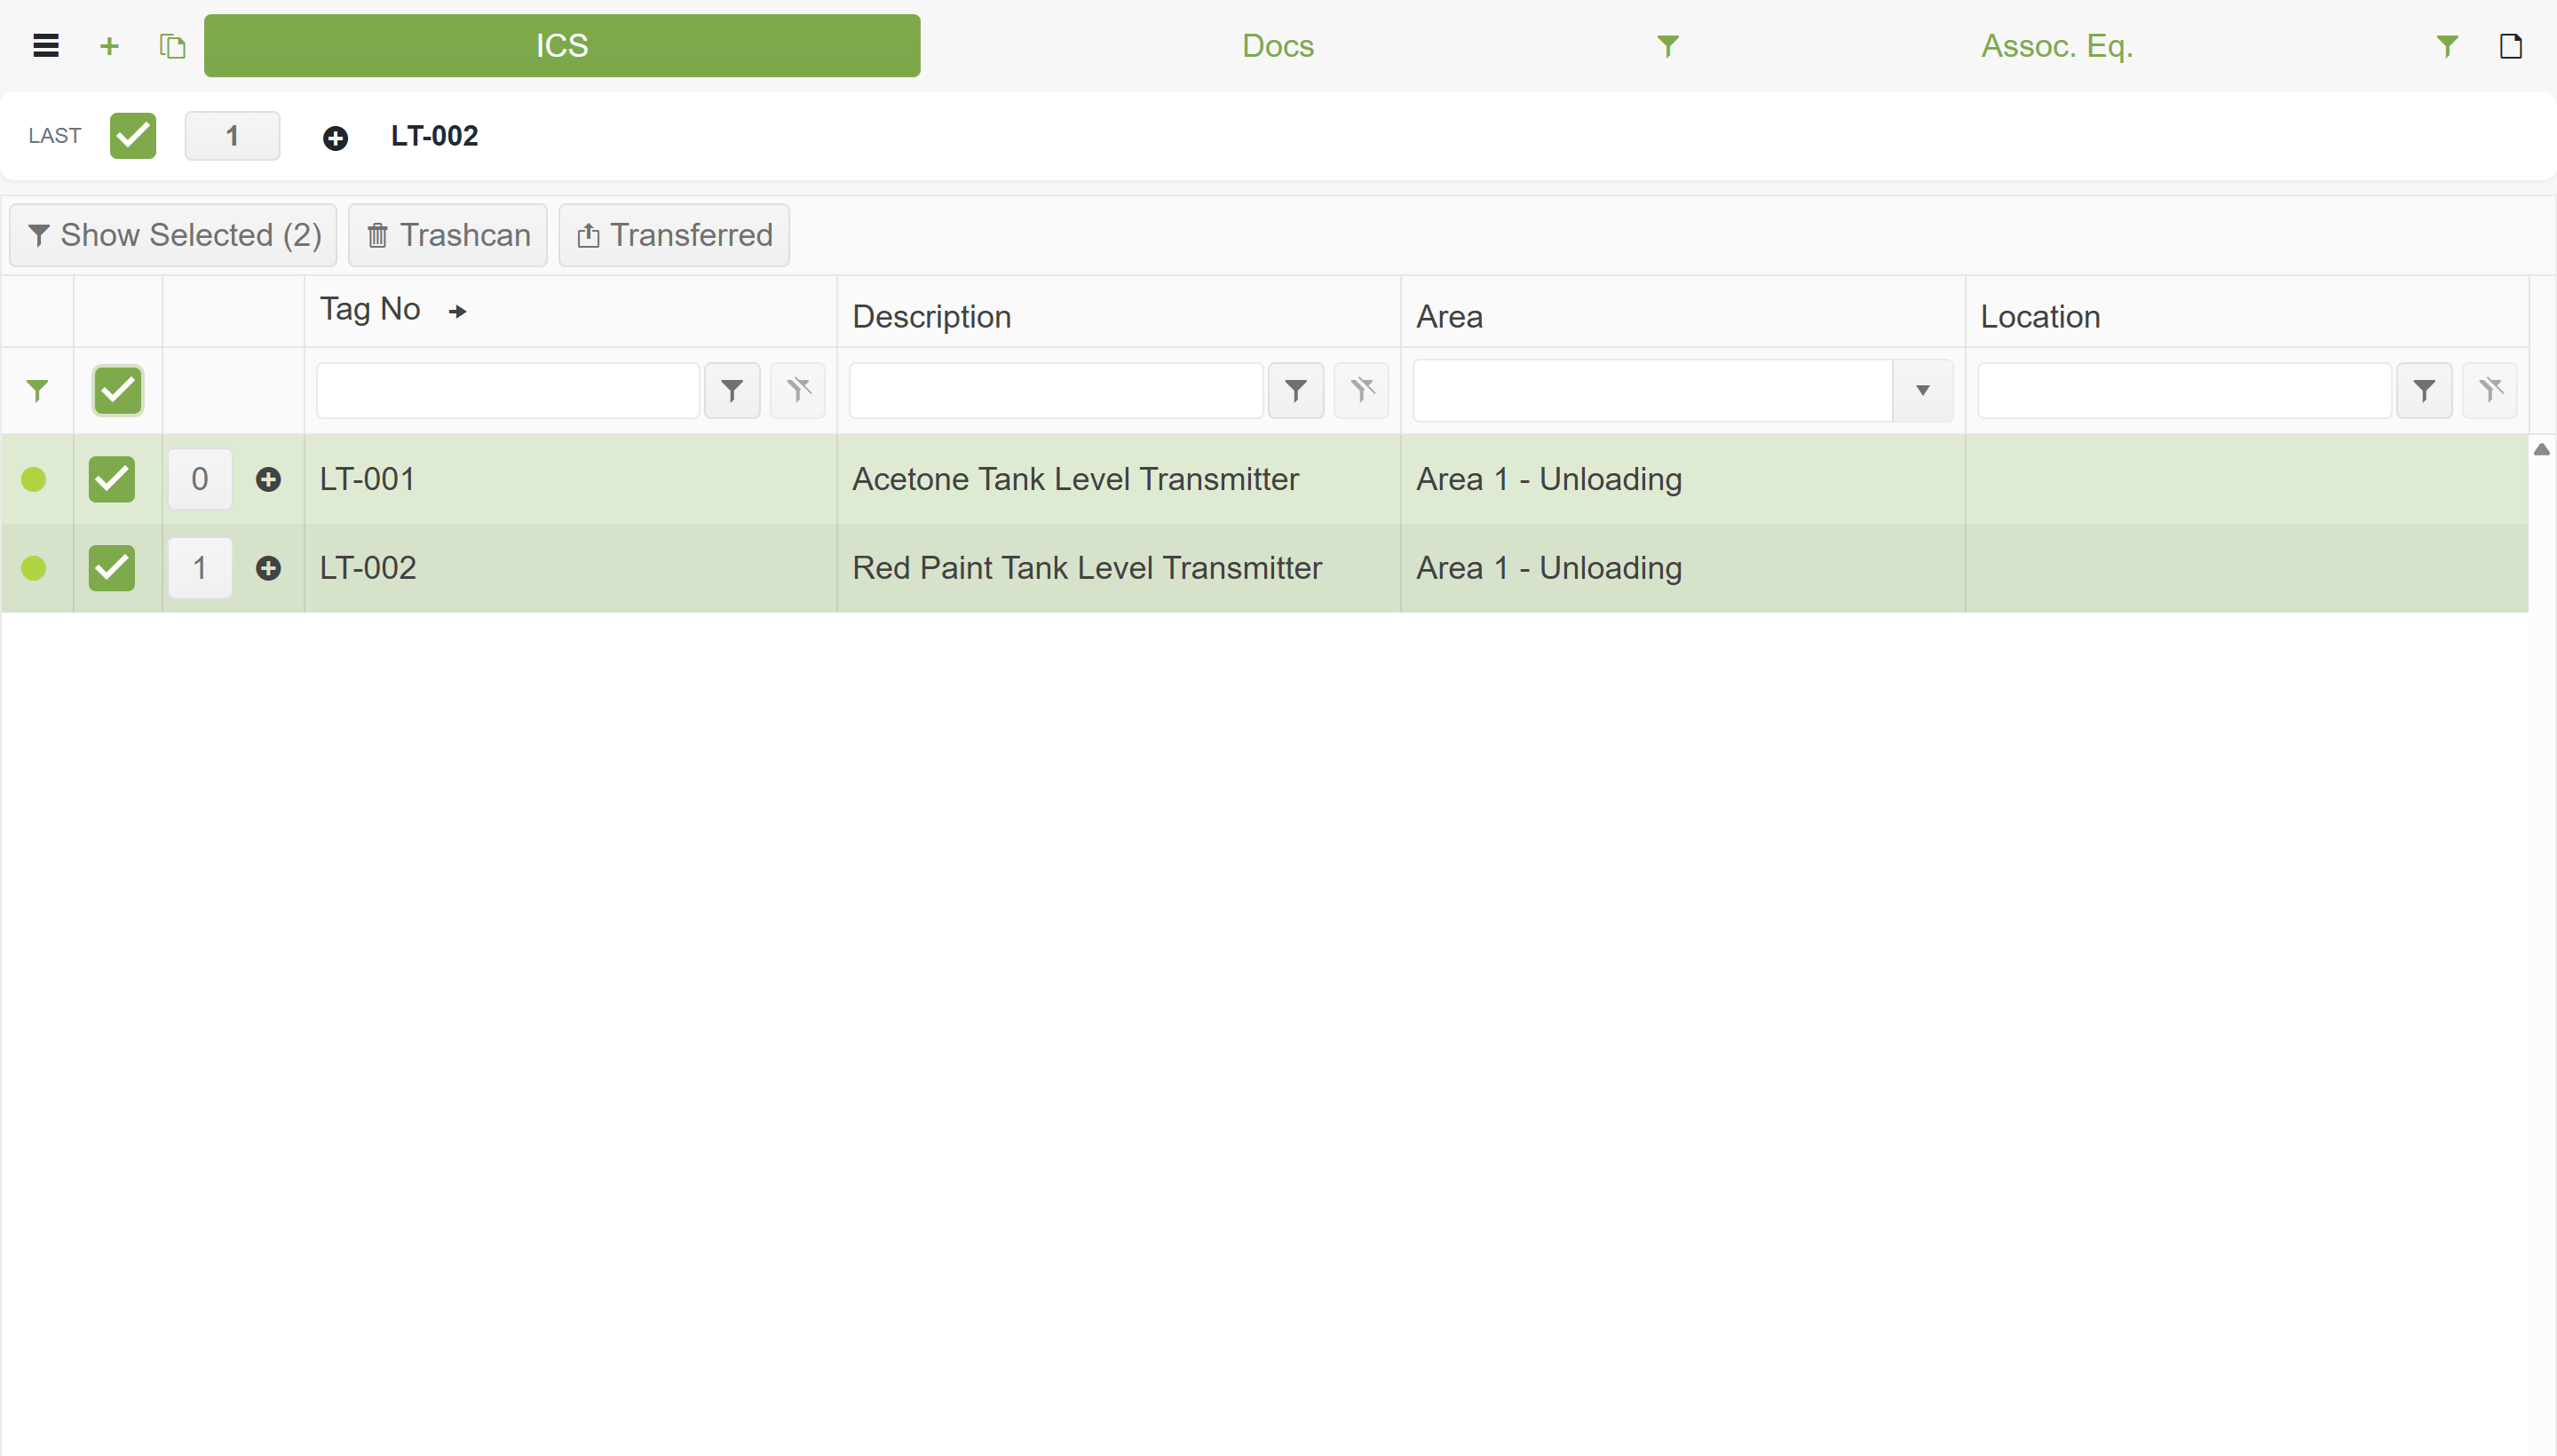
-
Open the sidebar menu (hamburger icon, top-left) and click Transfer.
-
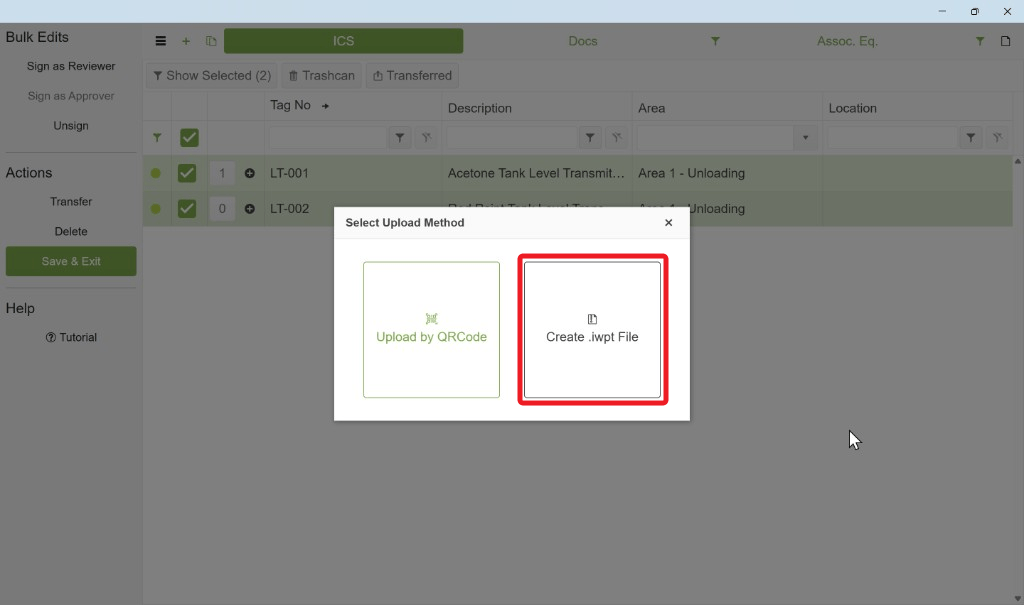
In Select Upload Method, choose Create .iwt File.
-
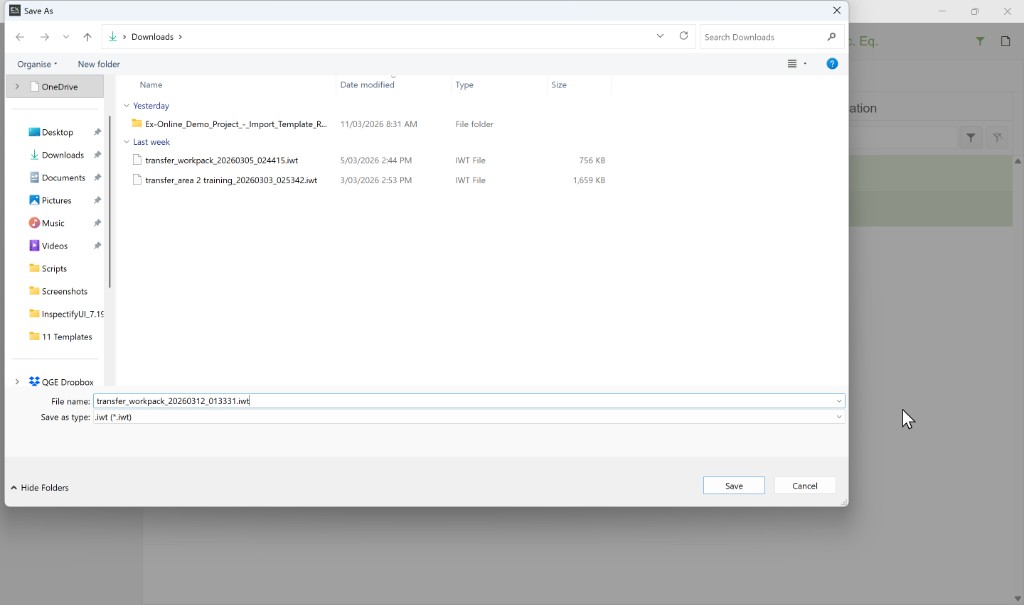
Save the file somewhere easy to find. The suggested filename includes the date and time.
-
A confirmation appears when the file is ready.
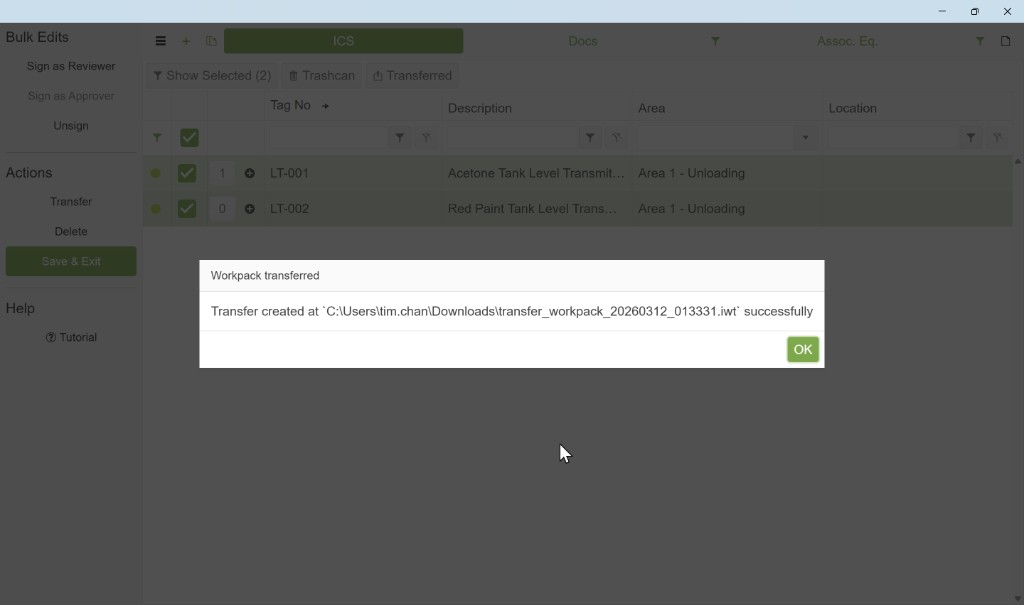
The .iwt file holds your inspection data, signatures, and photos — everything the Tag Browser needs to update the project.
Continue to Part 3: Upload Results to send your .iwt file (or QR code) back to the Tag Browser.