
Merging work packs
When several inspectors work from copies of the same IWP, merge their completed work packs on one device before uploading the results.
Merging on a single device
Section titled “Merging on a single device”Collect each inspector’s completed .iwp file onto one device (via USB, file share, or cloud storage), then load them all into the Inspection App.
-
Open the Inspection App and load each inspector’s IWP using the + button.
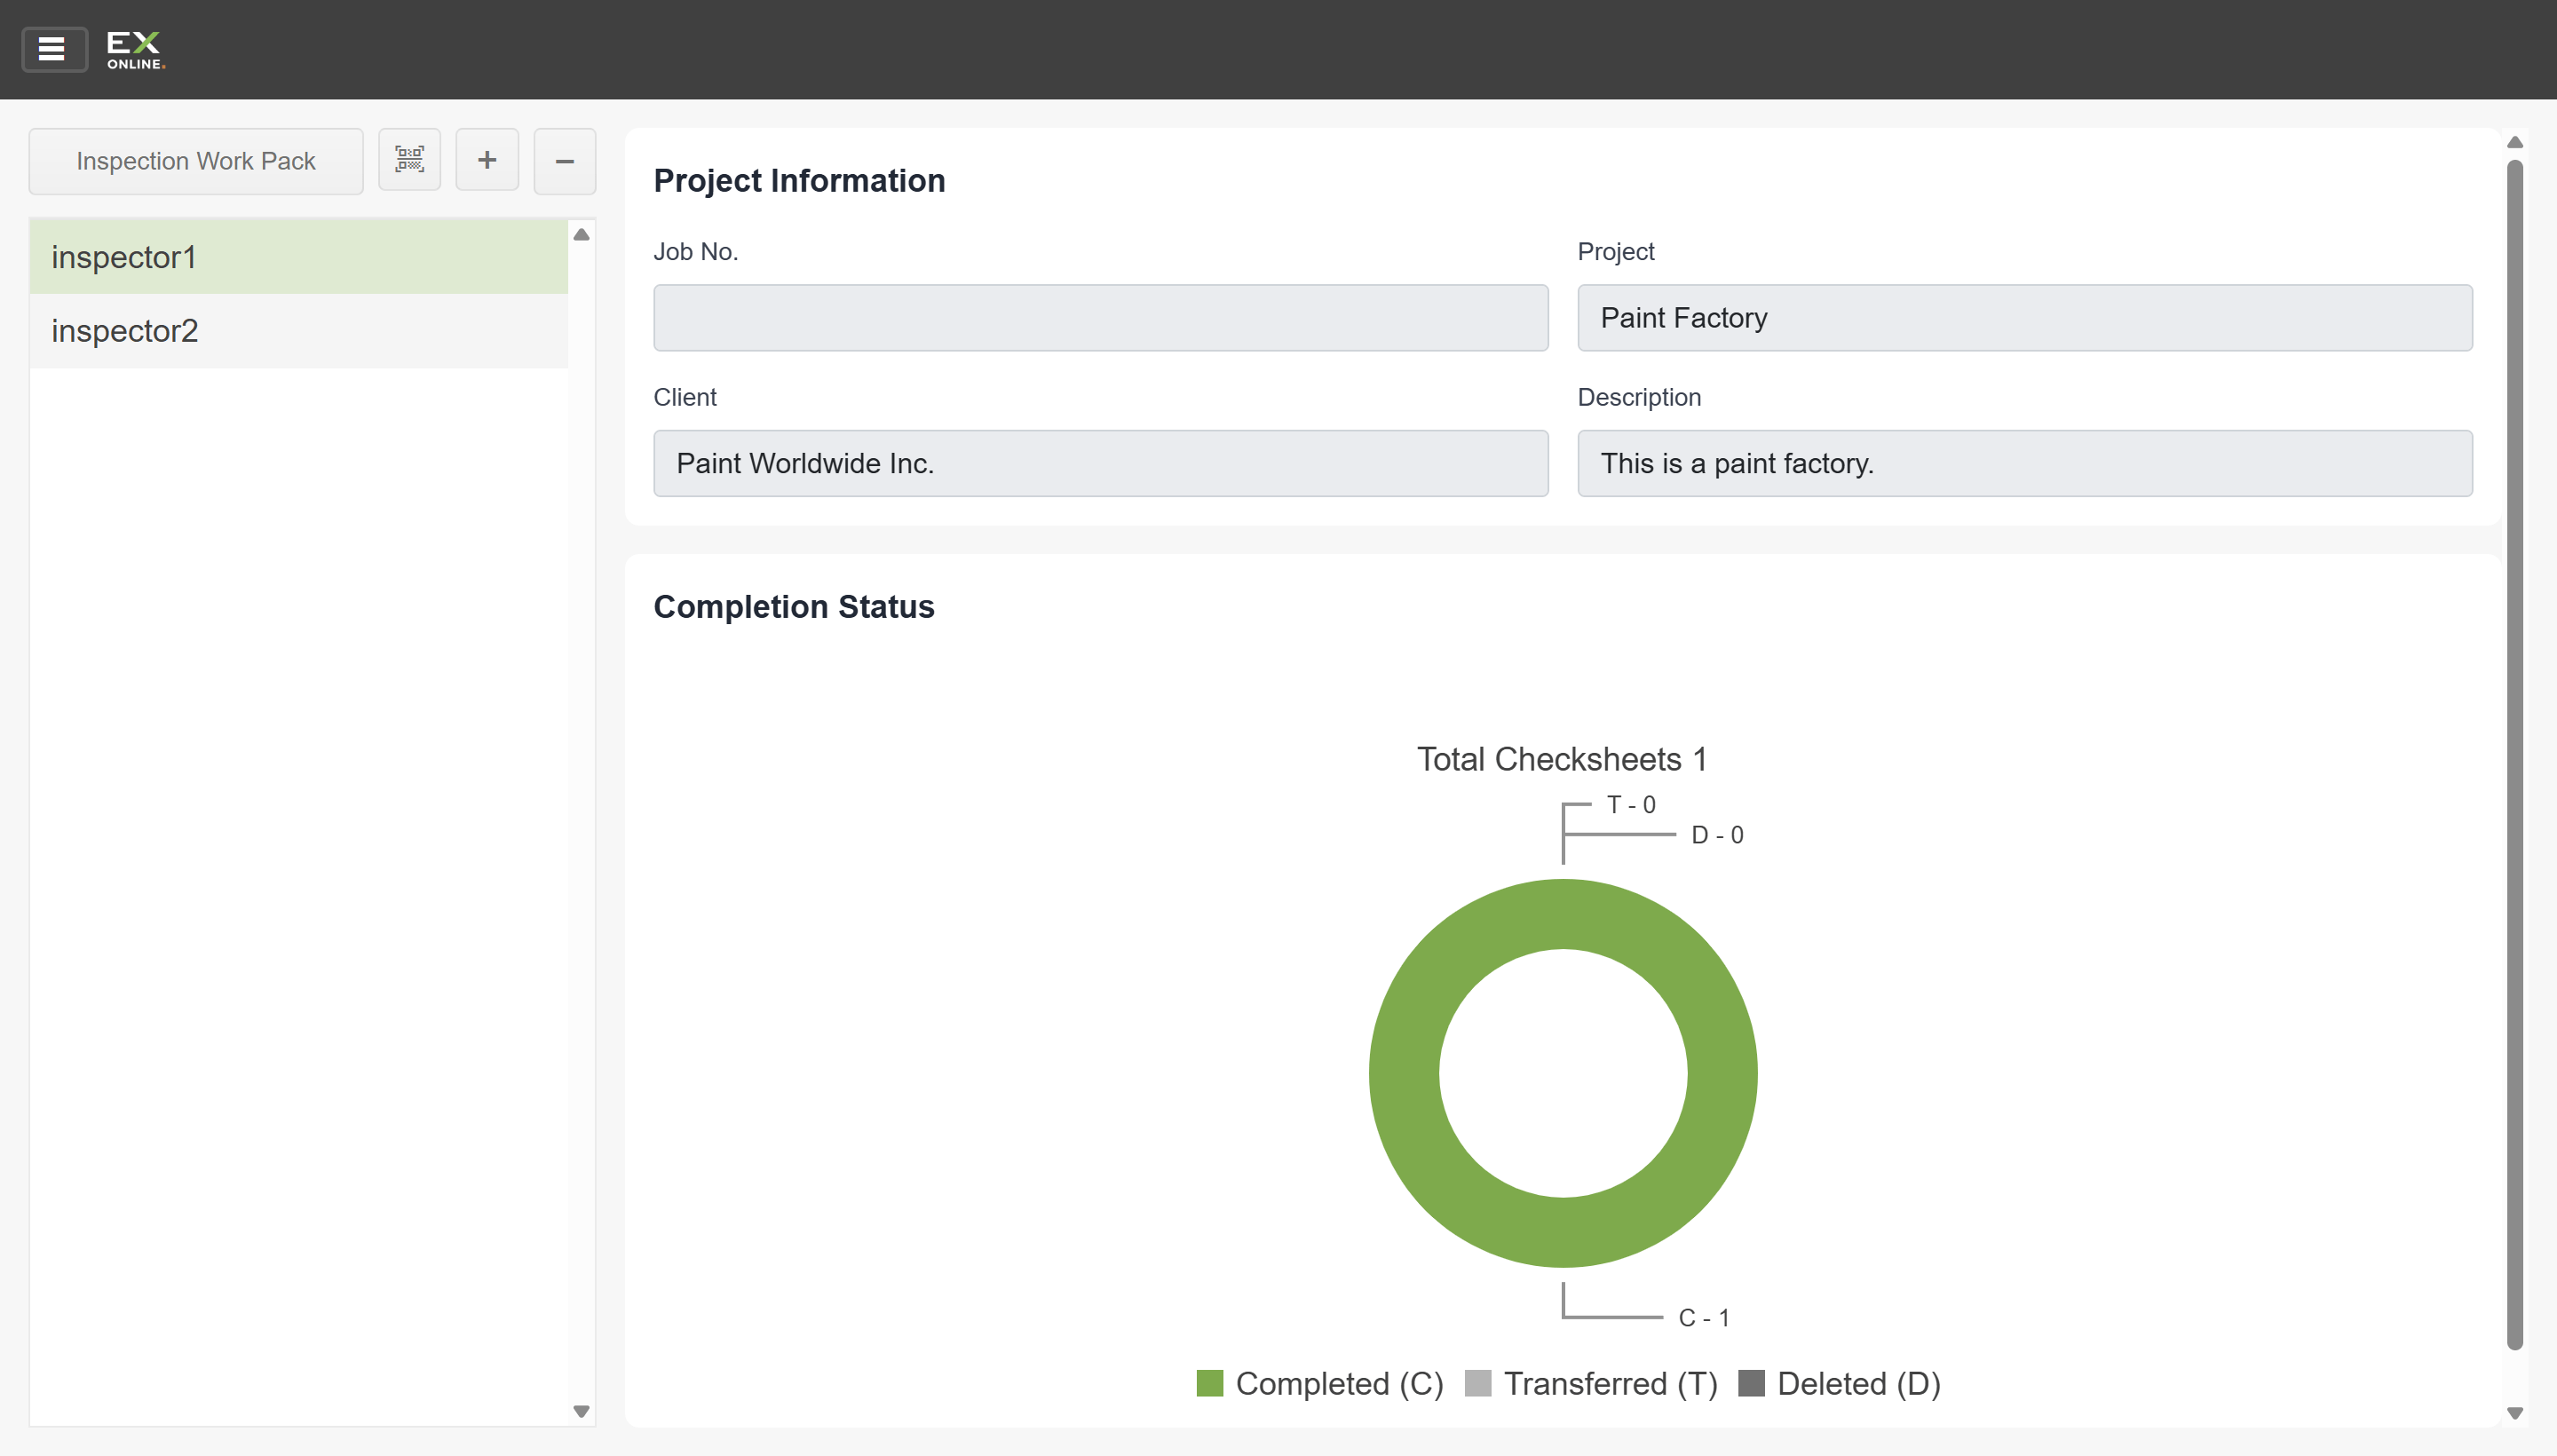
-
Select the IWP you want to merge into (the target), then open the Sidebar Menu (hamburger icon) and click Merge.
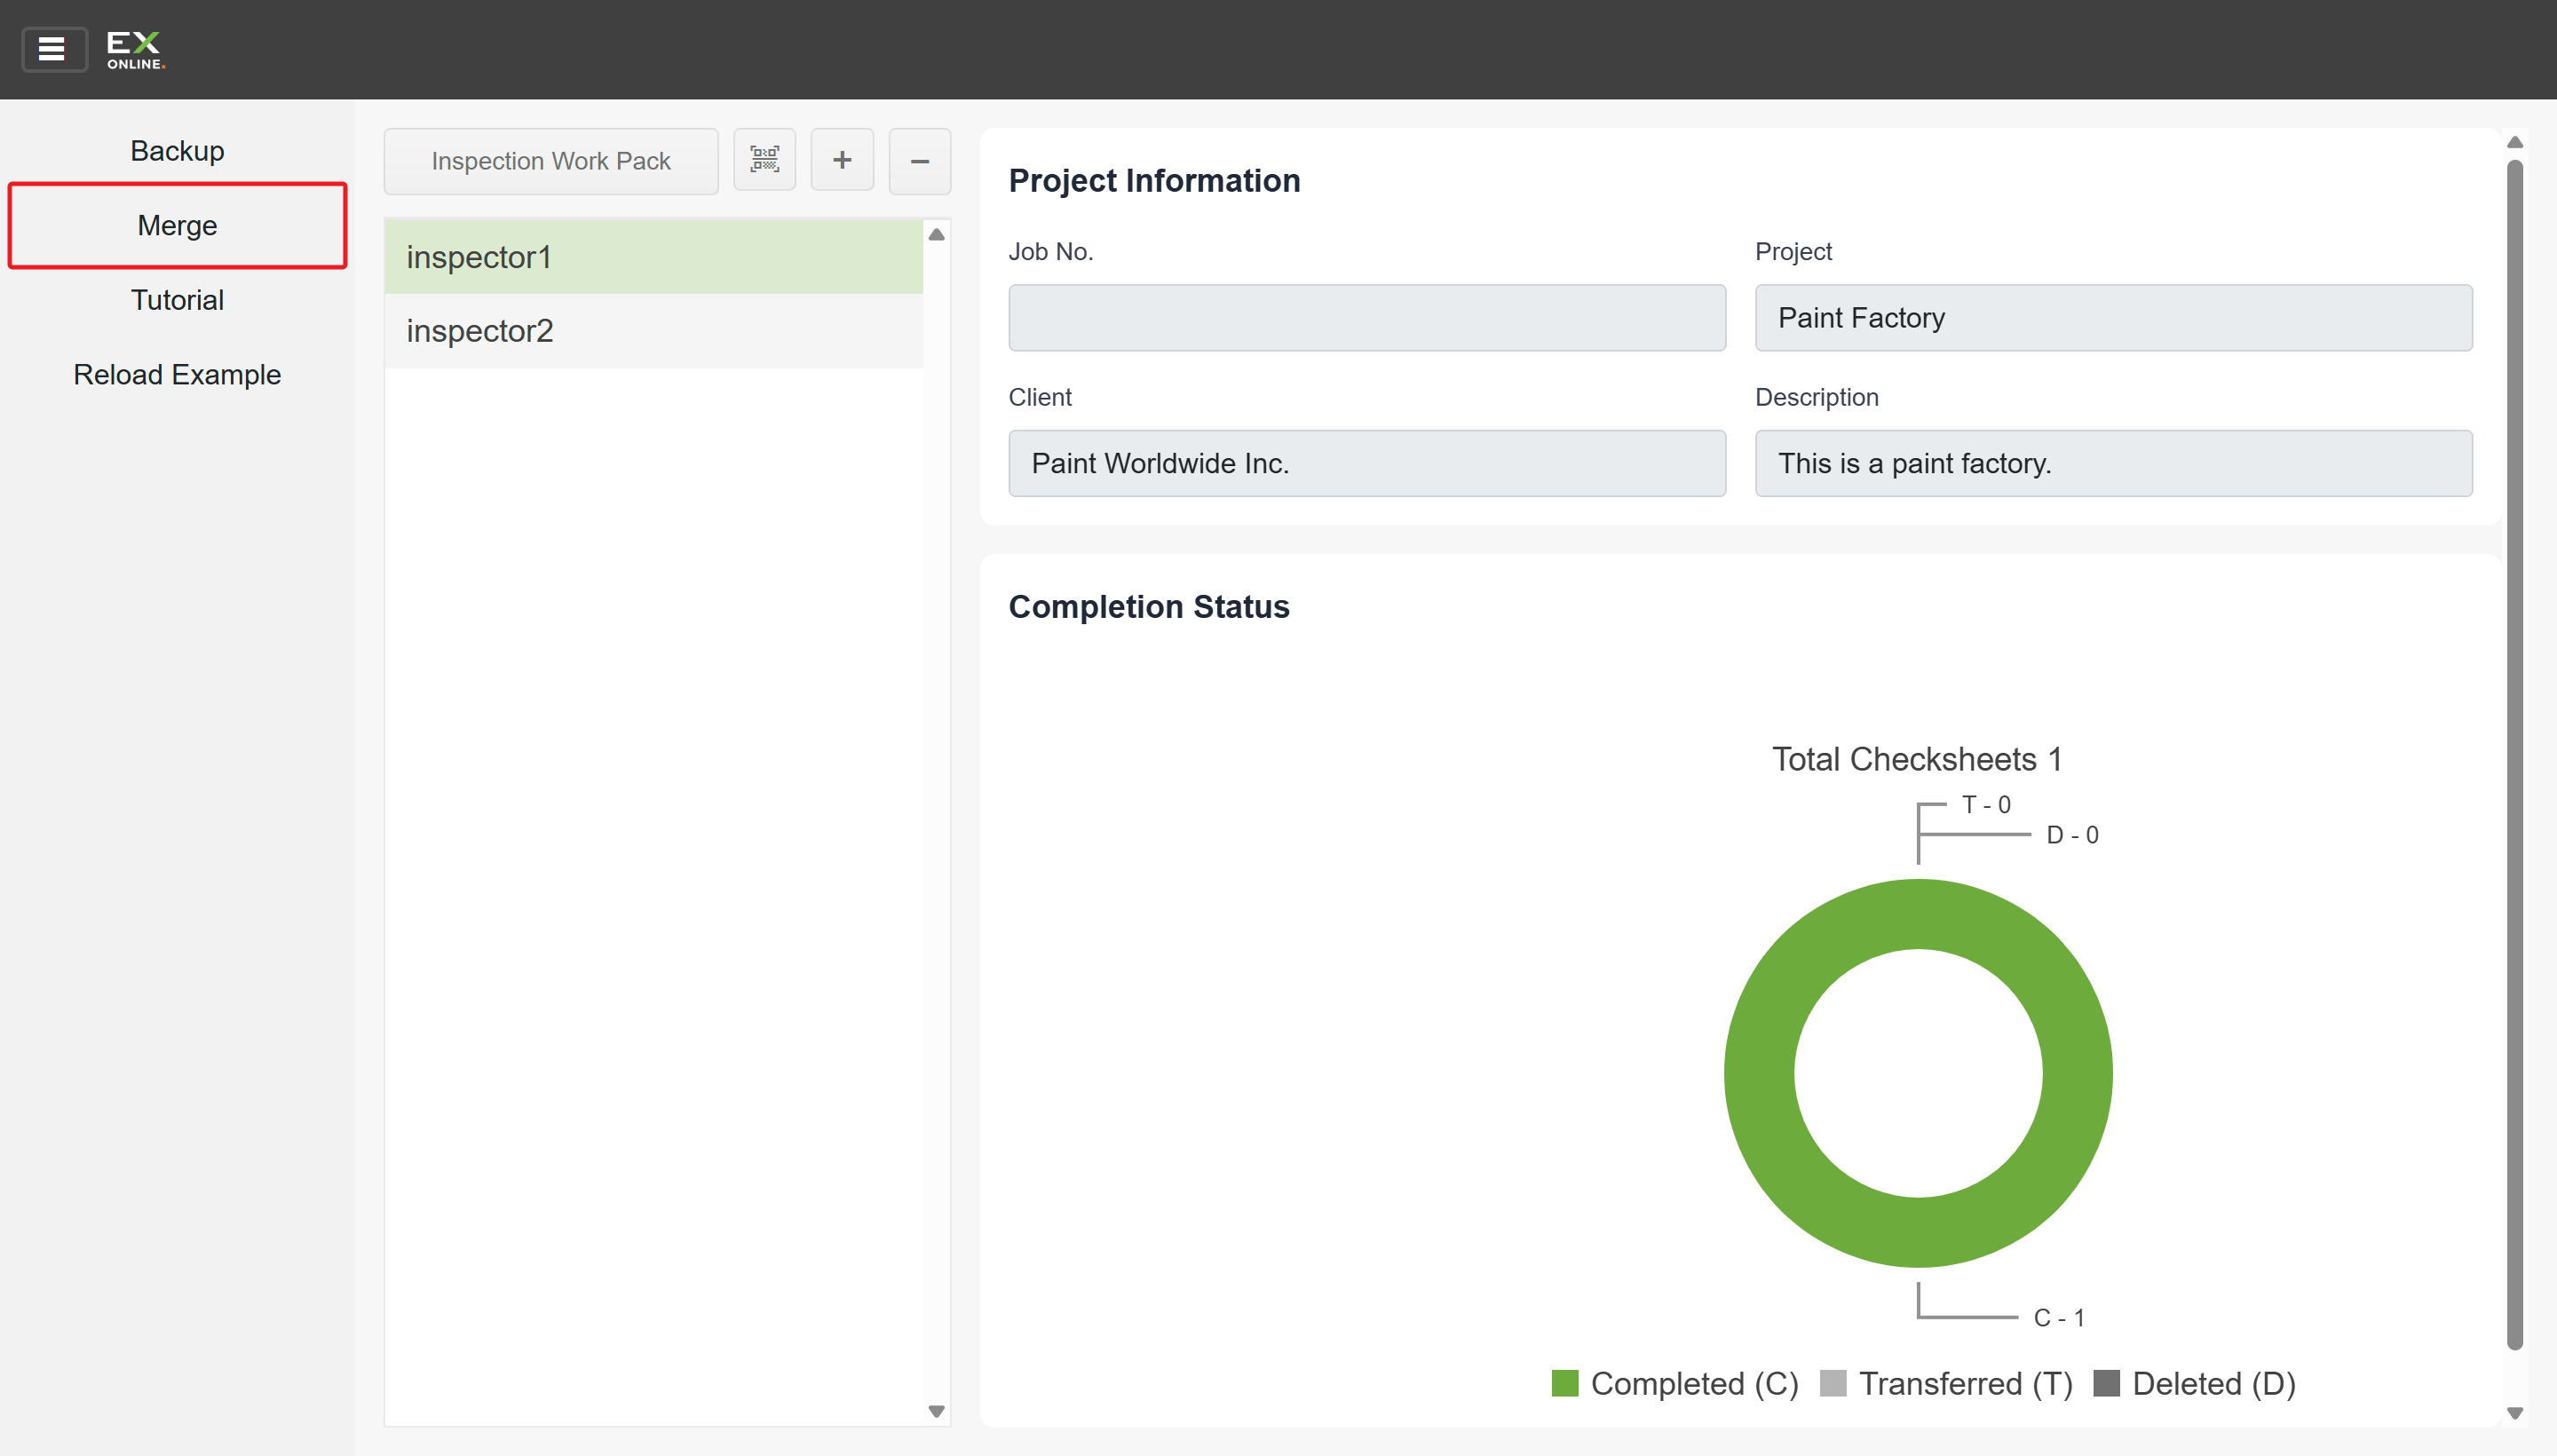
-
In the Merge workpack dialog, select the work pack to merge from, then click Start merge.
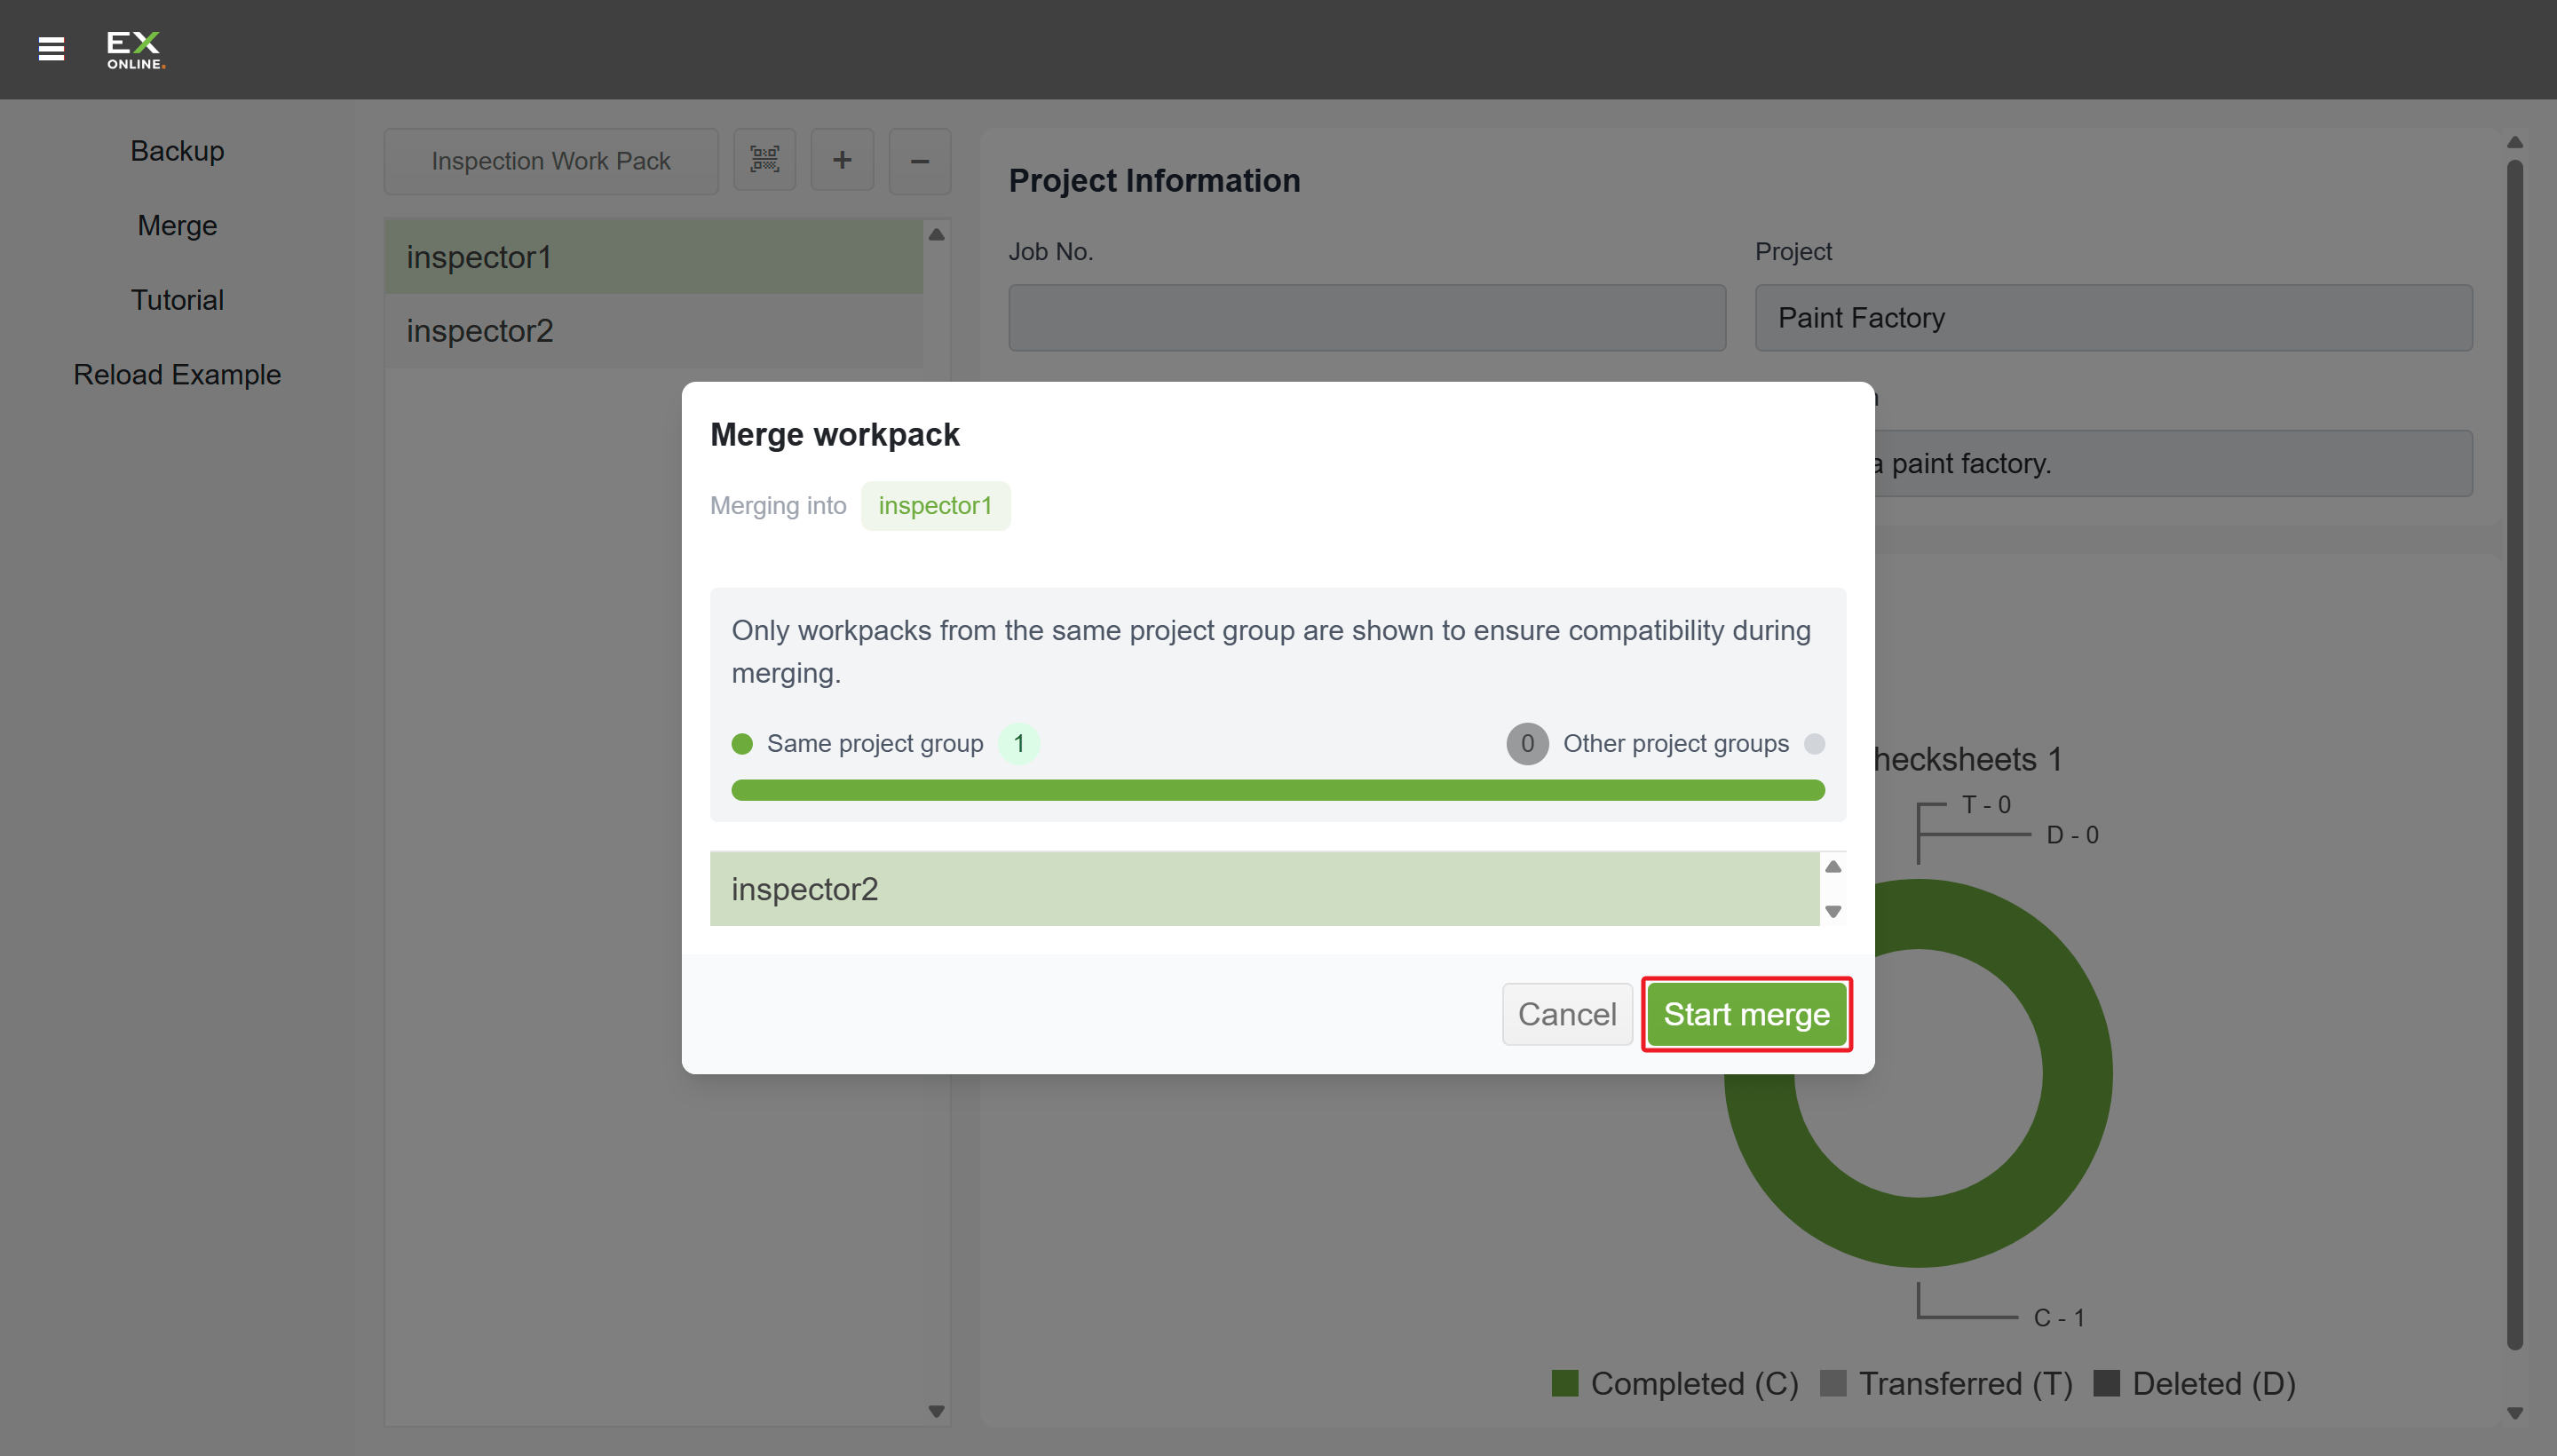
-
If there are no conflicts, name the merged work pack and click OK.
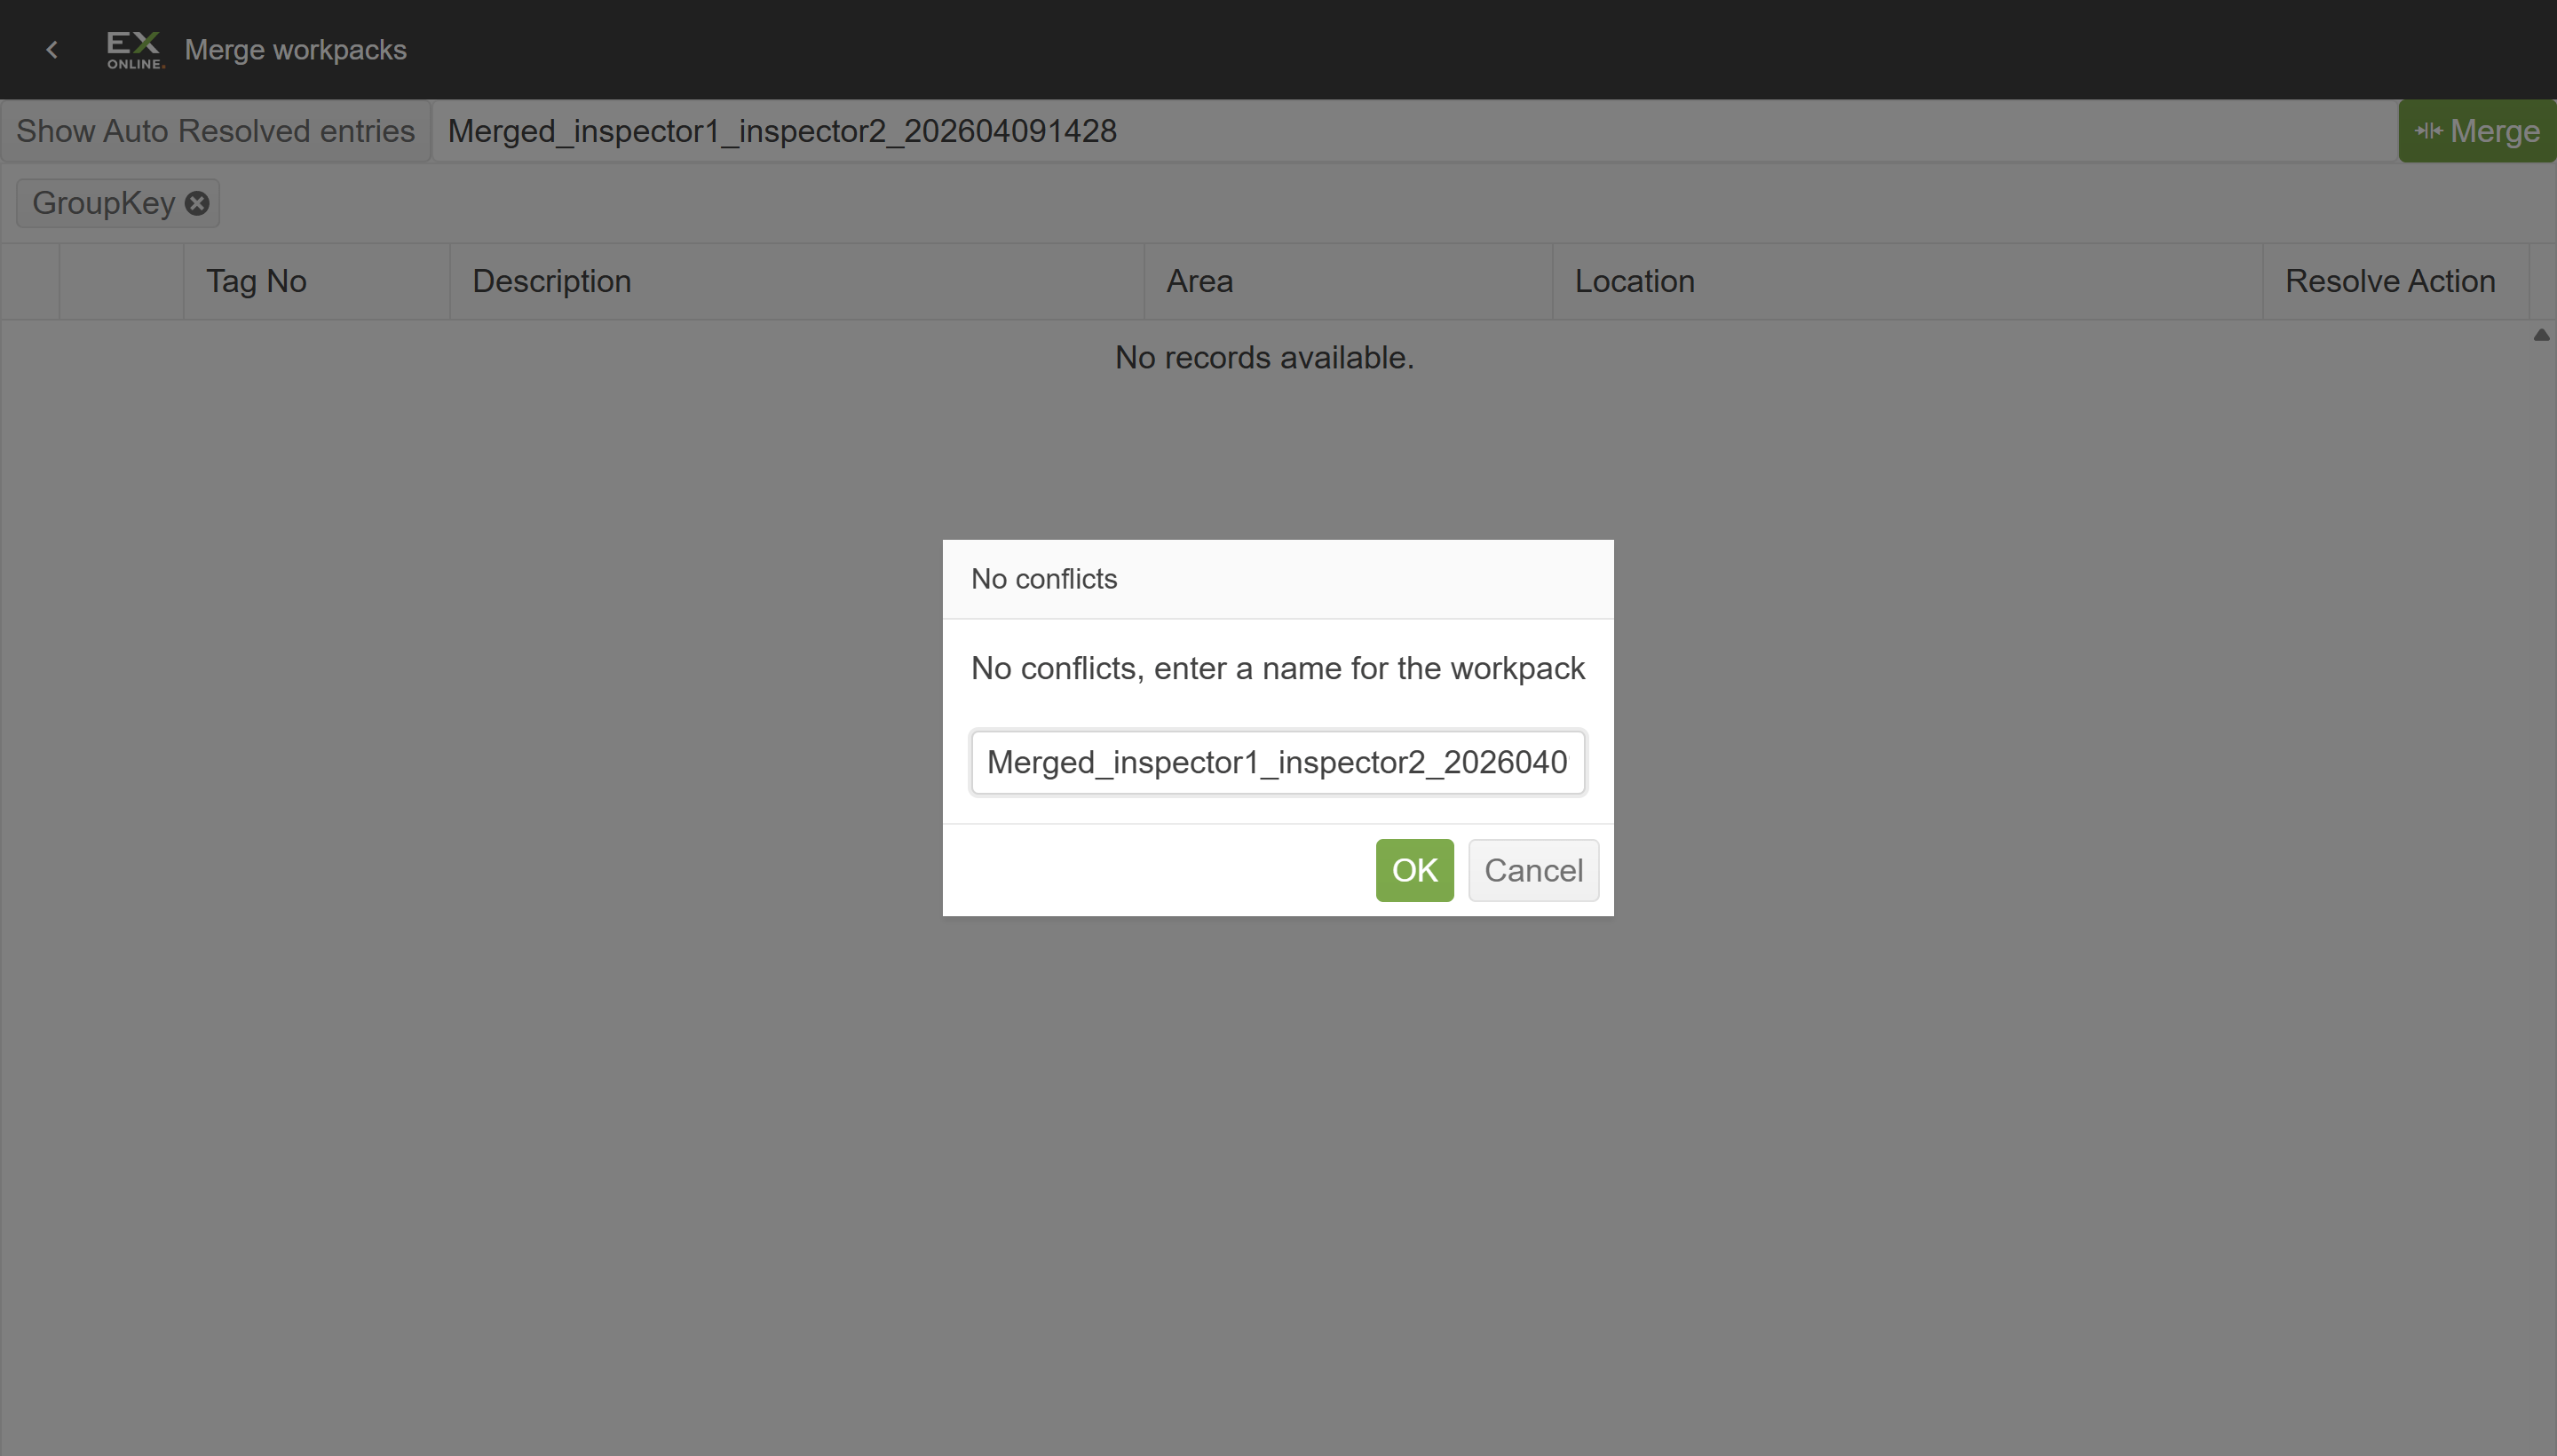
-
The merged work pack appears in the IWP list.
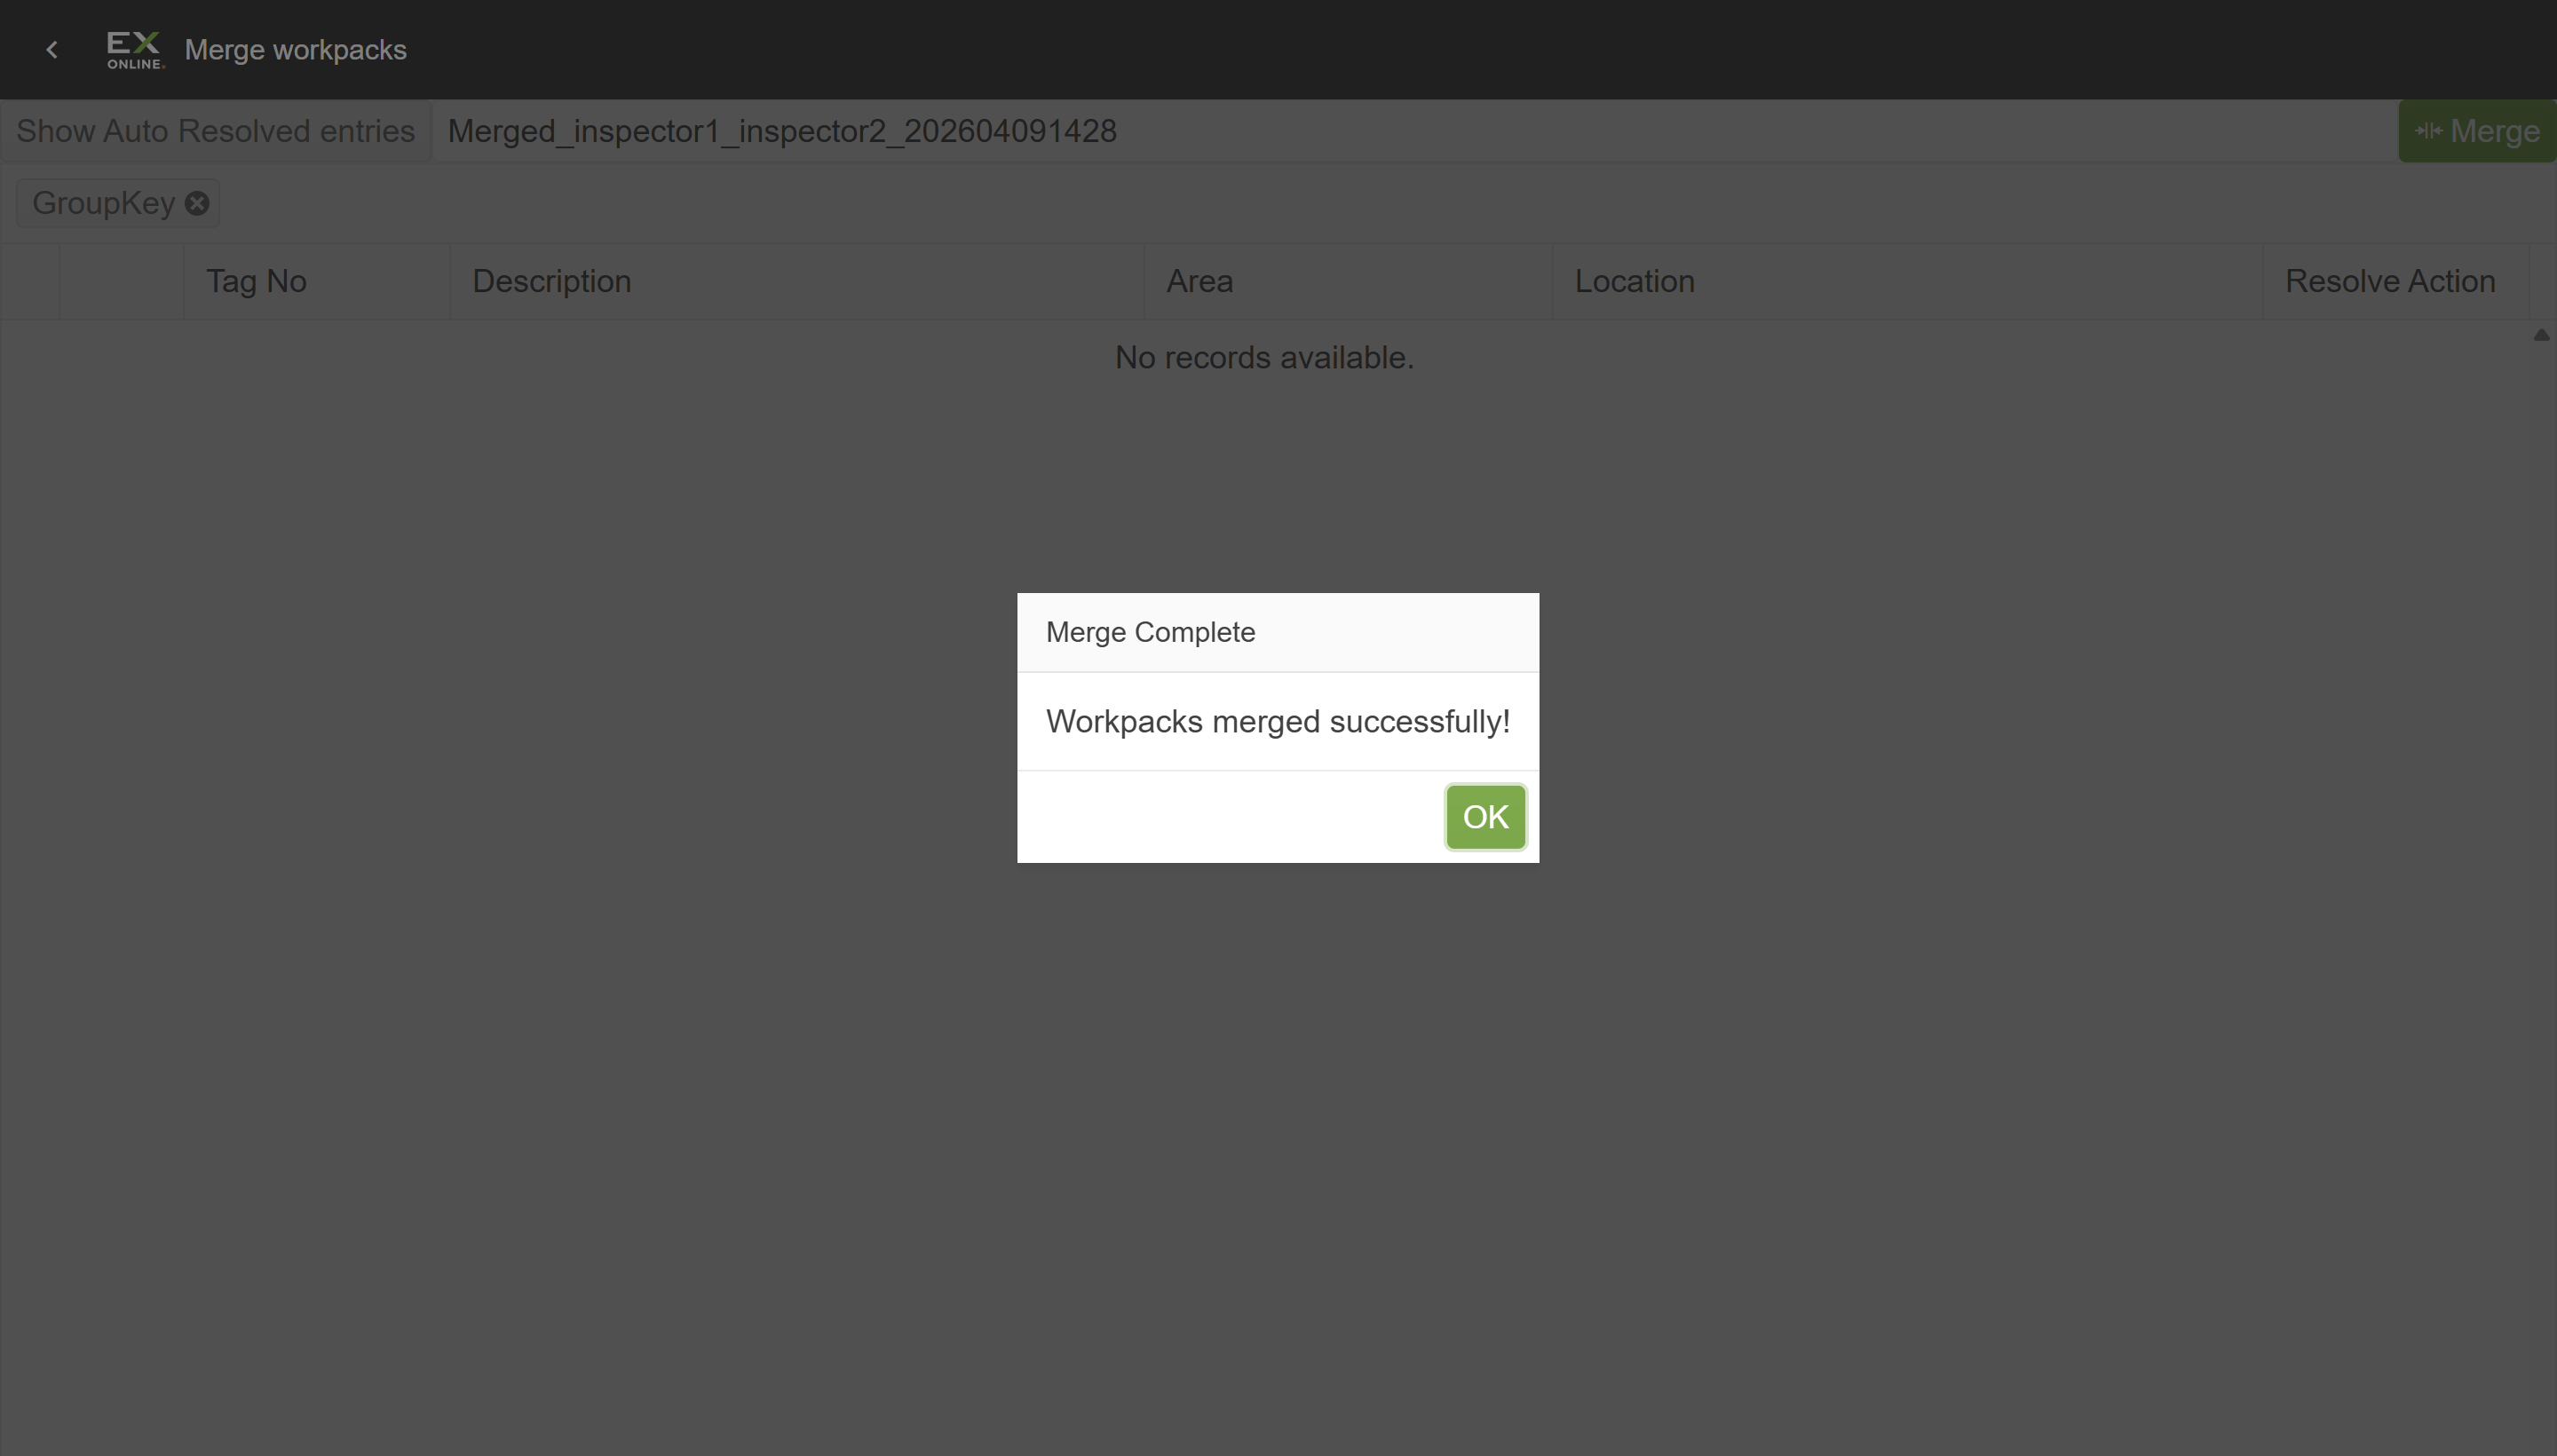
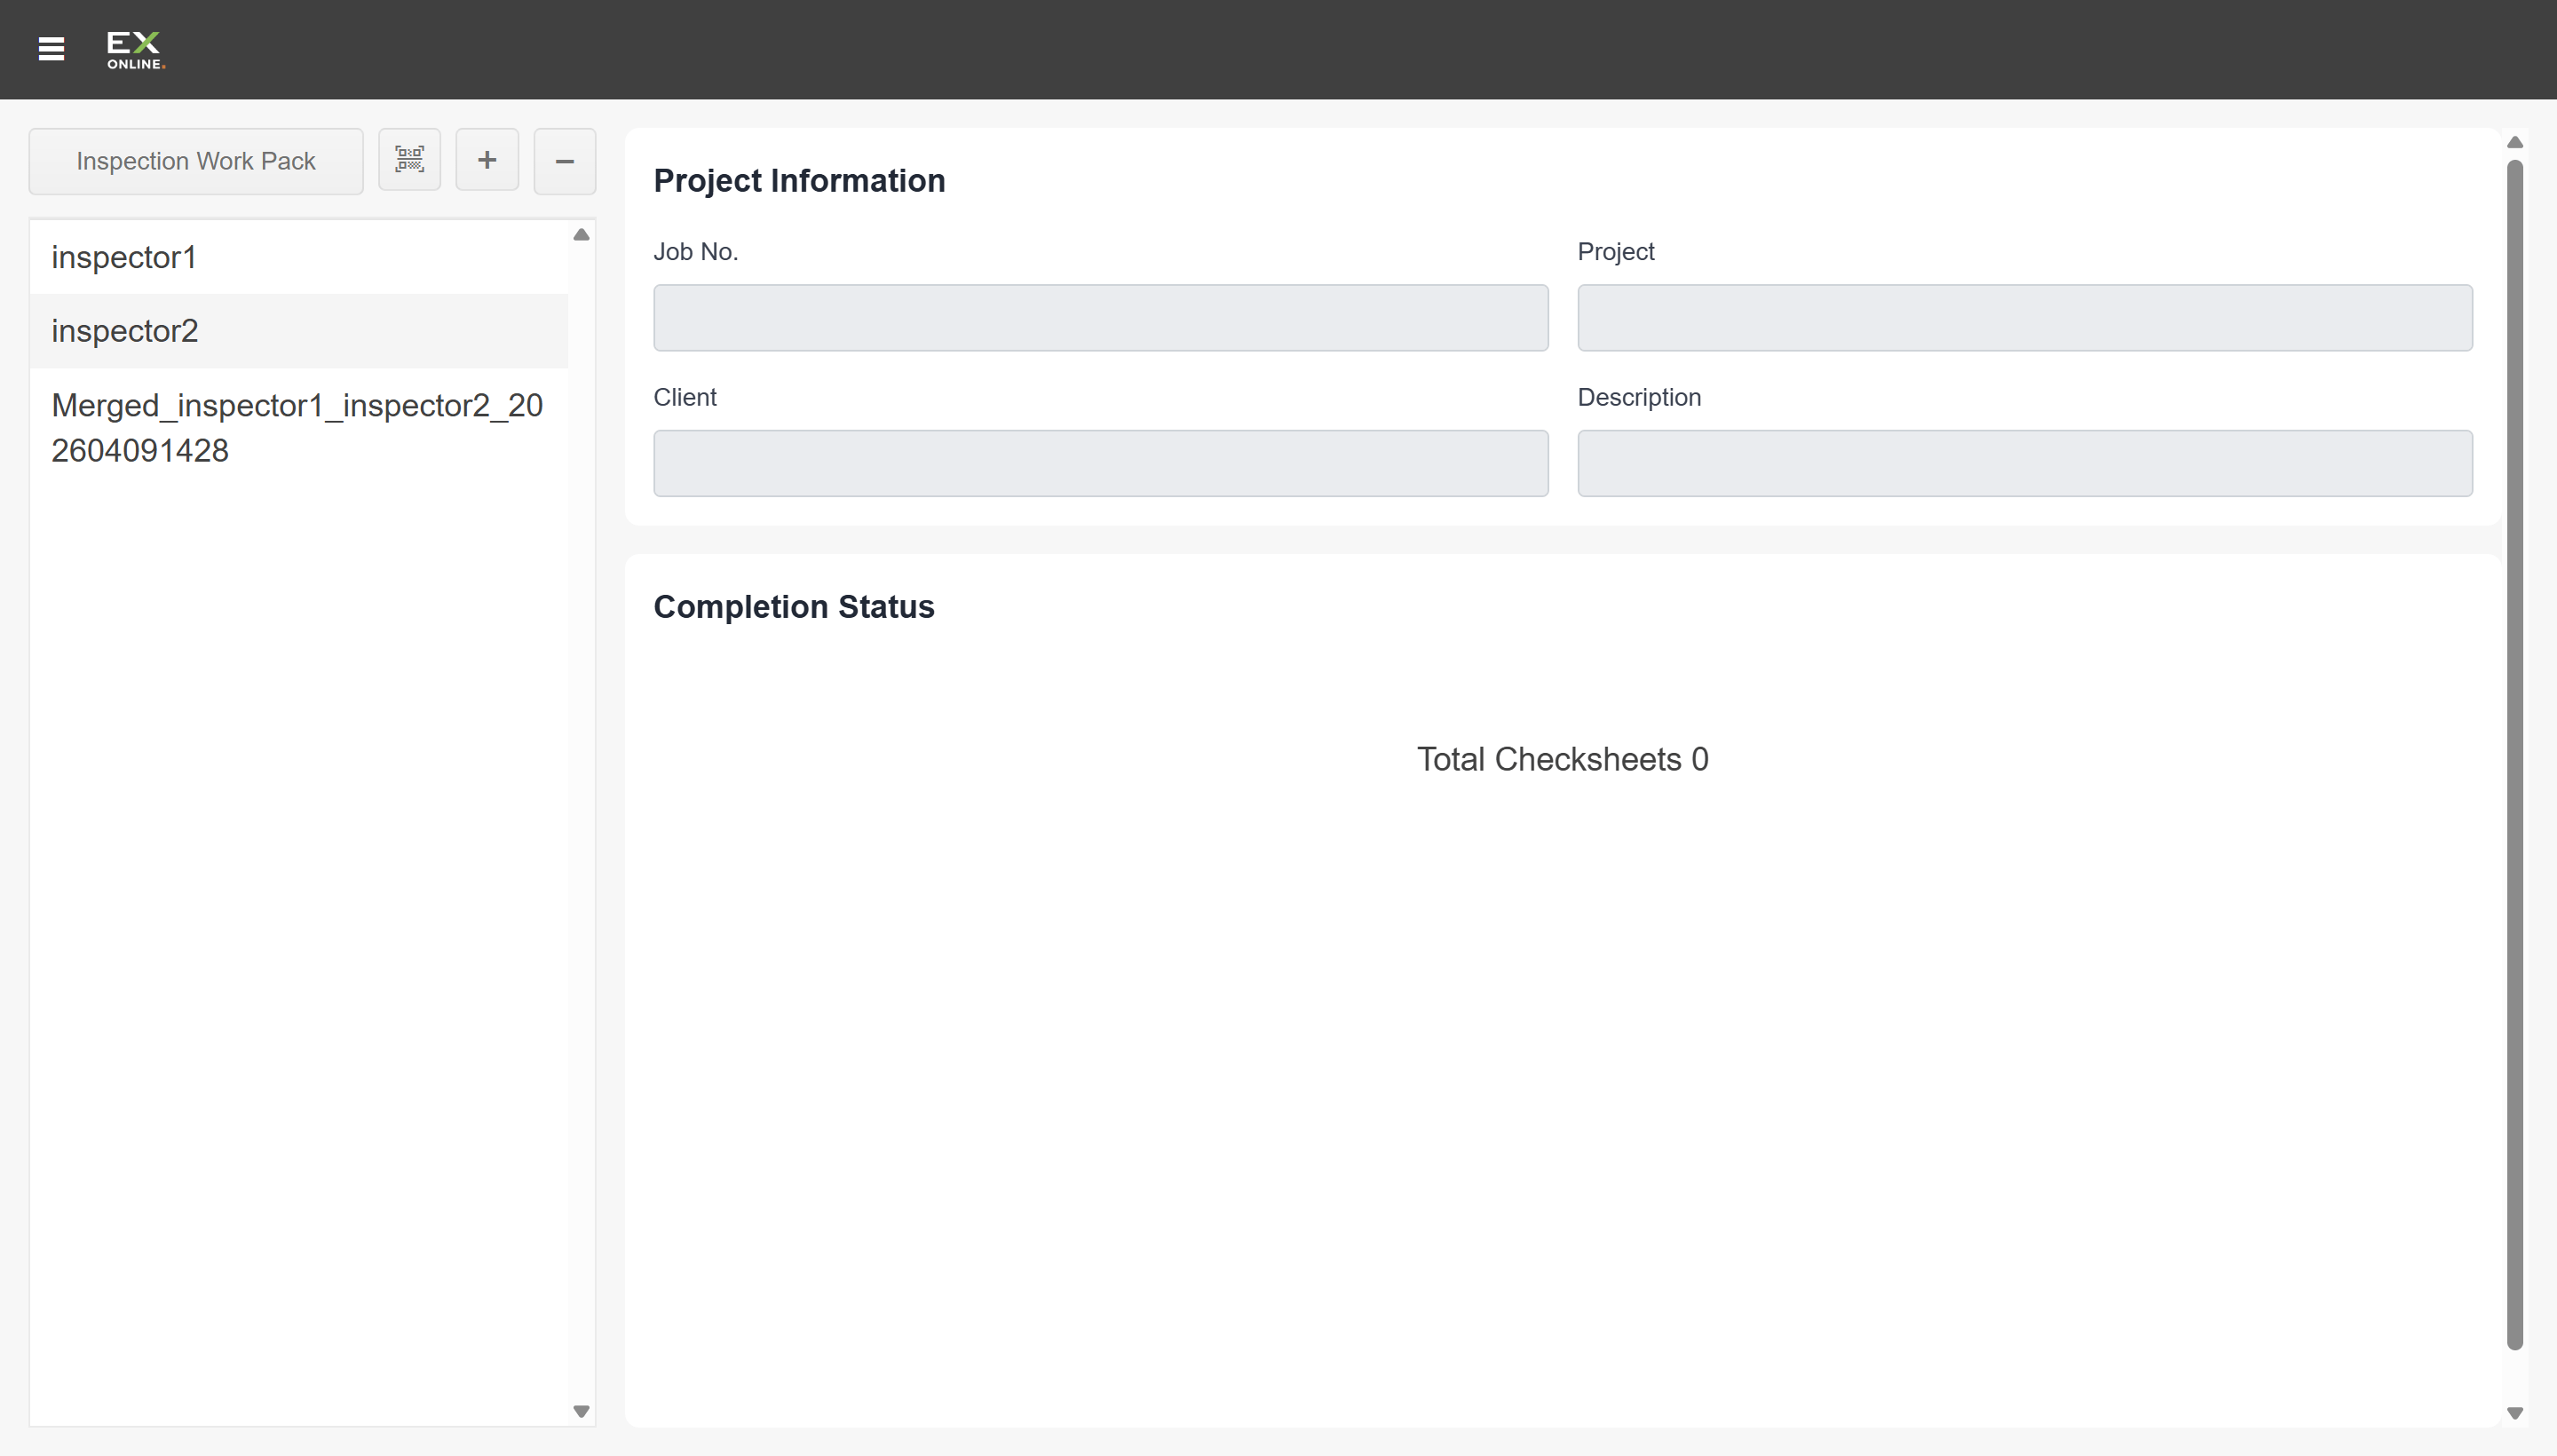
Once merged, upload the merged work pack as normal.
Resolving conflicts
Section titled “Resolving conflicts”If two inspectors completed the same equipment item, the merge pauses and shows the conflicts in a grid instead of completing automatically.
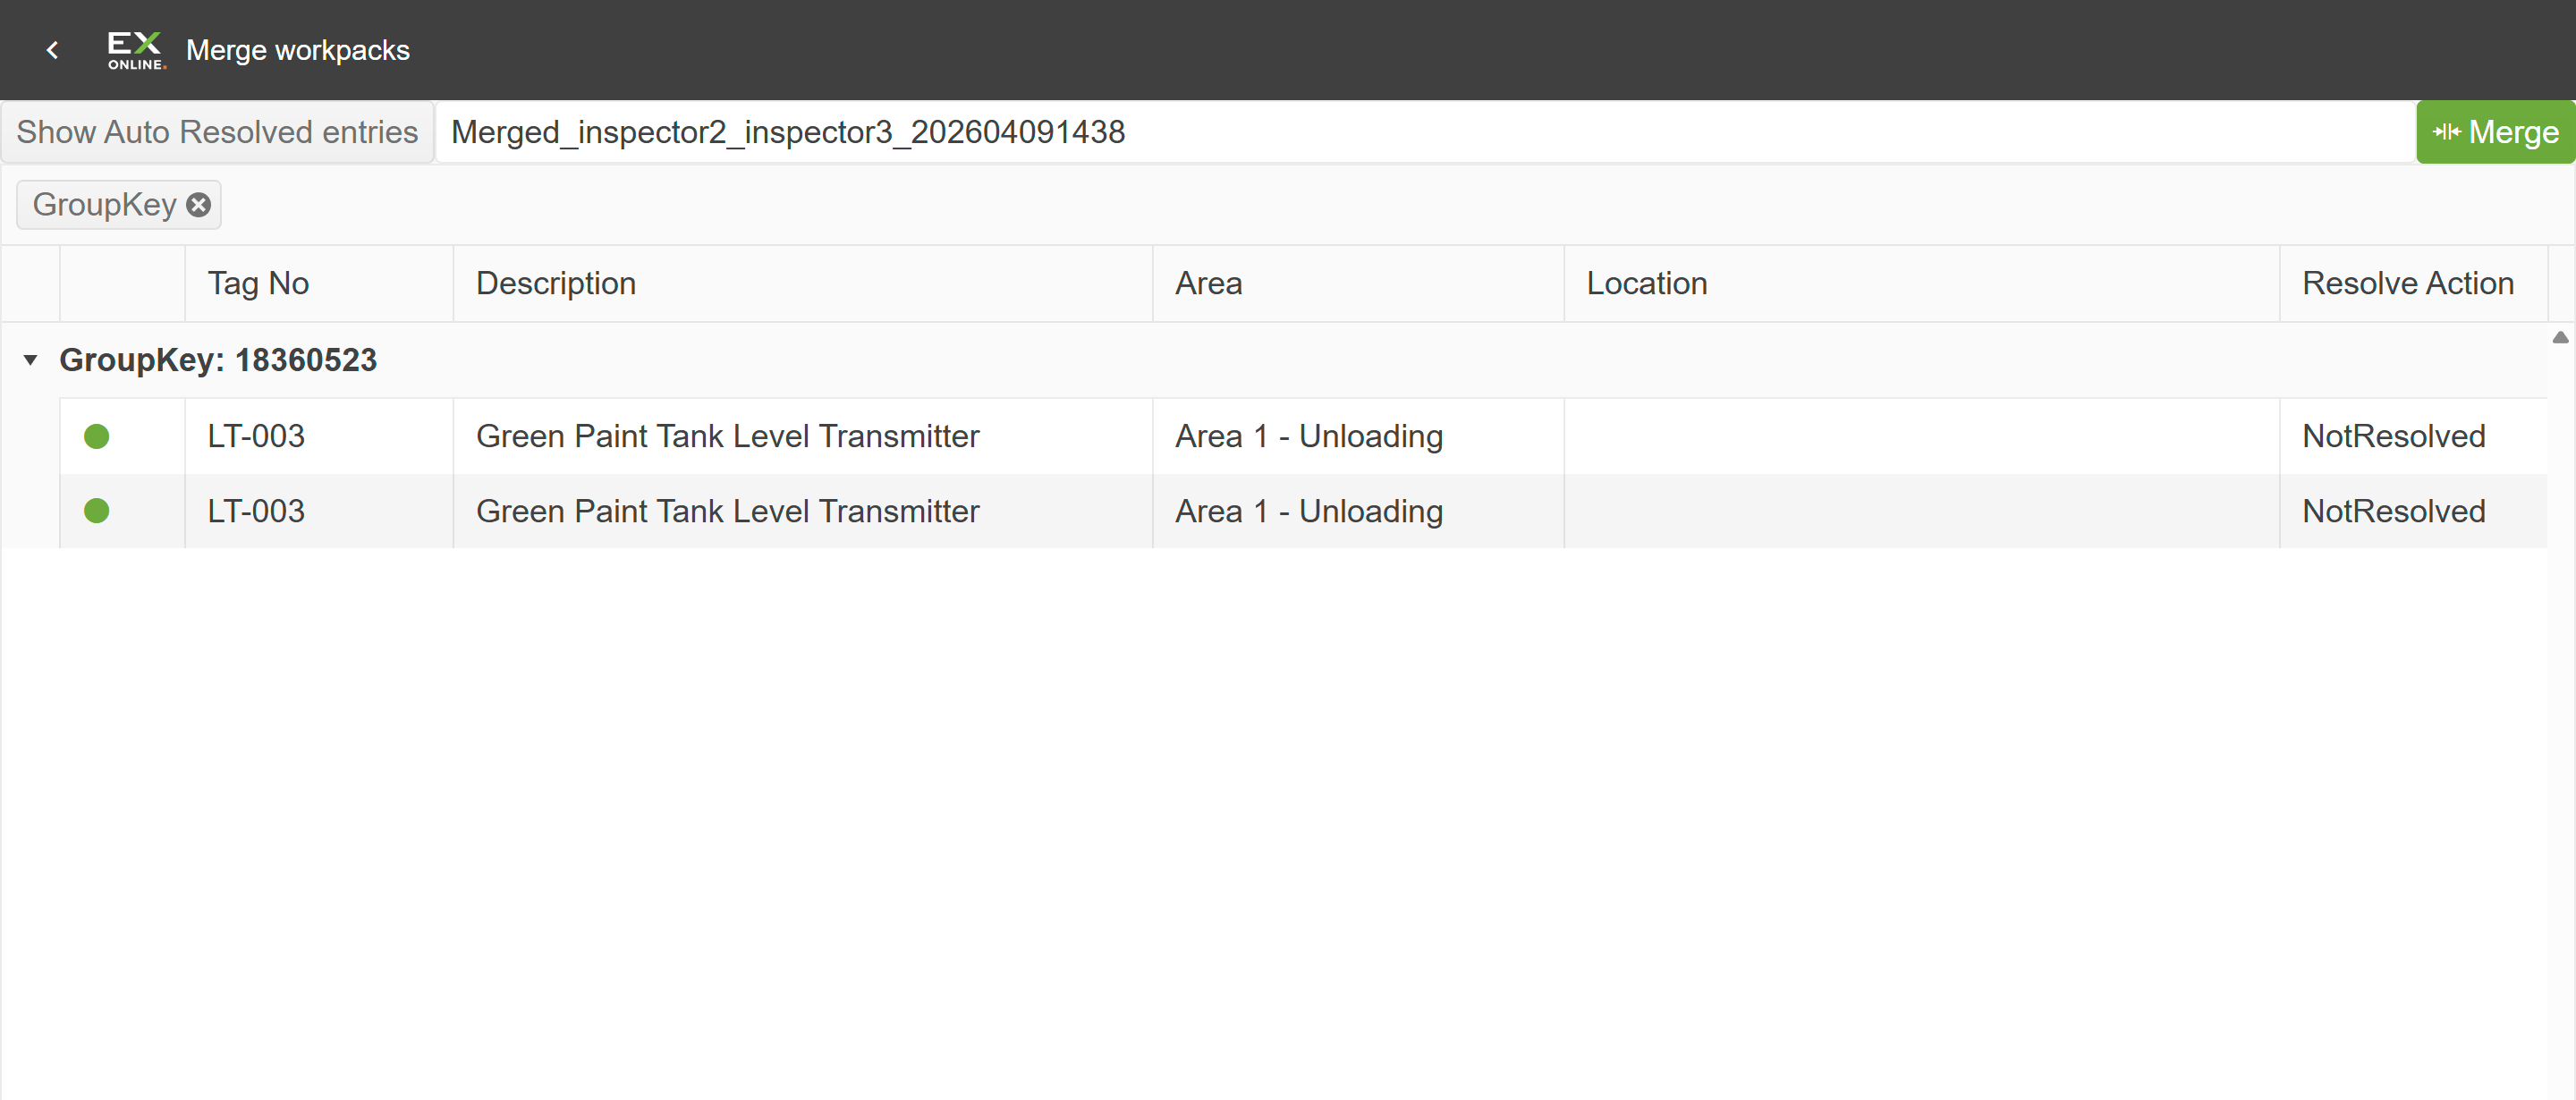
Double-click a conflict row to open a side-by-side comparison of the two check sheets. Each side has its own resolve buttons:
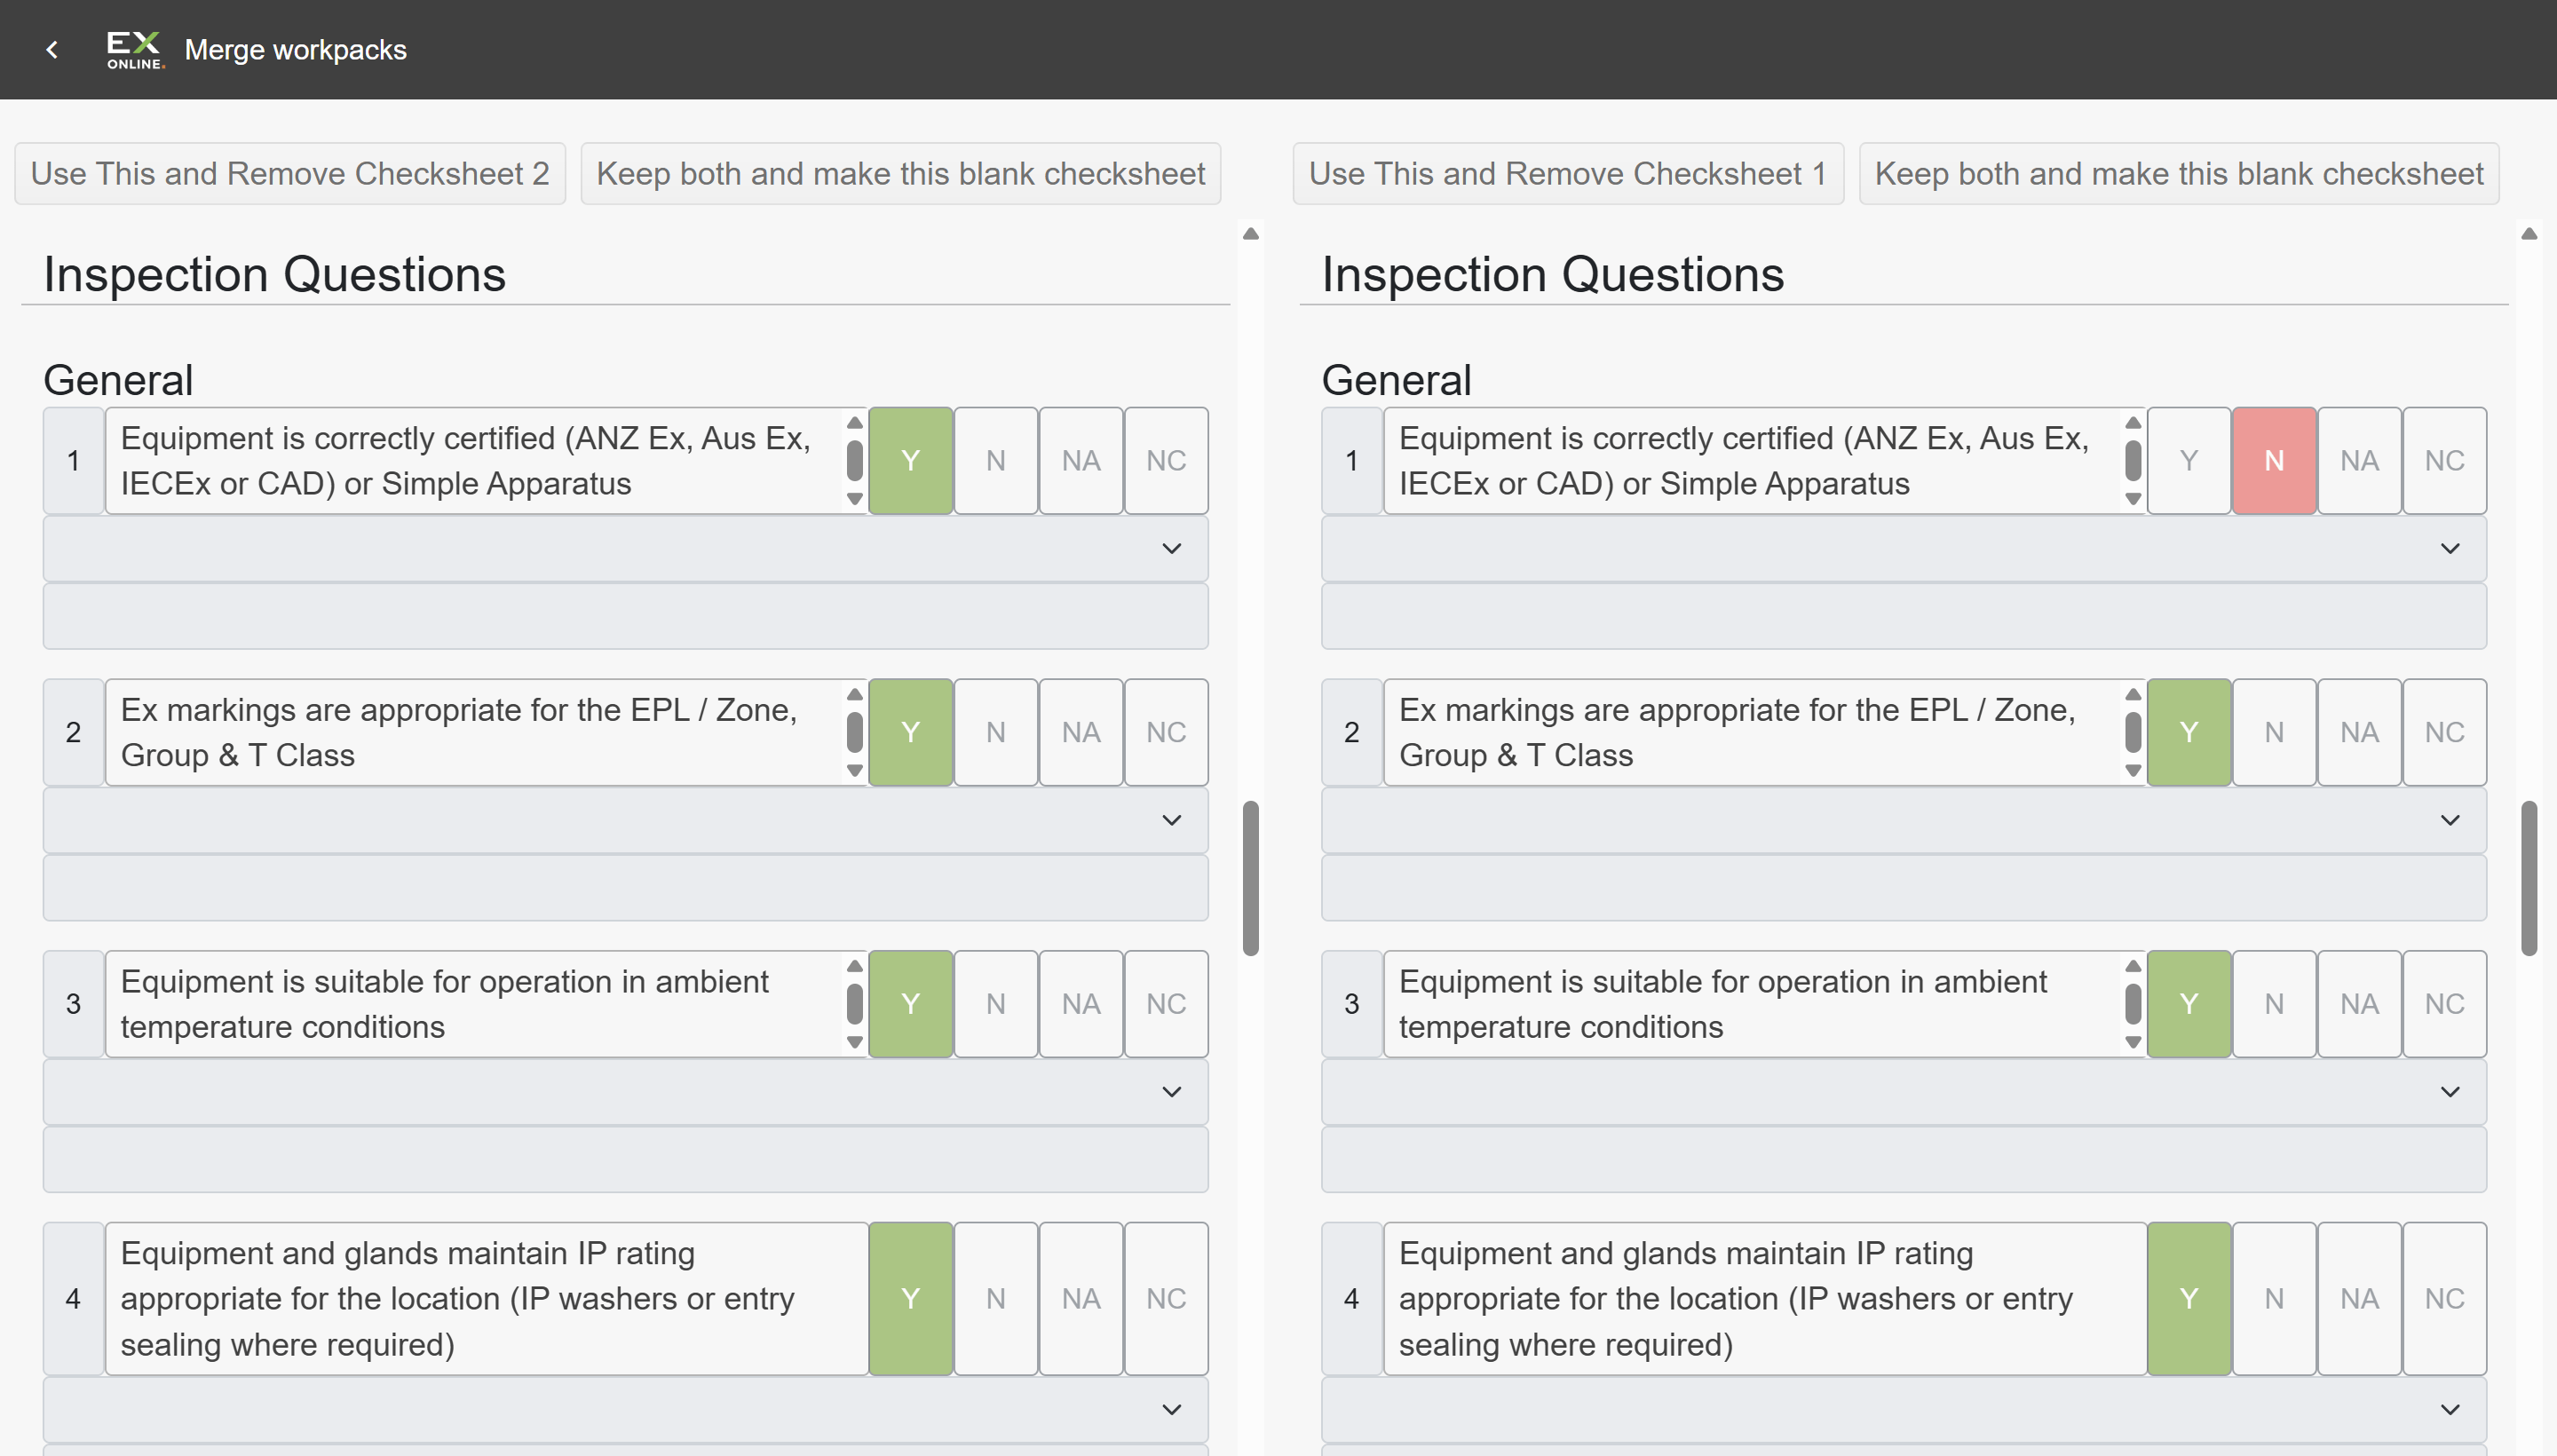
For each conflicted check sheet, choose one of the resolve actions:
| Action | Effect |
|---|---|
| Use This and Remove Checksheet N | Keep this version and discard the other |
| Keep both and make this blank checksheet | Keep both — the current check sheet becomes a blank for re-inspection |
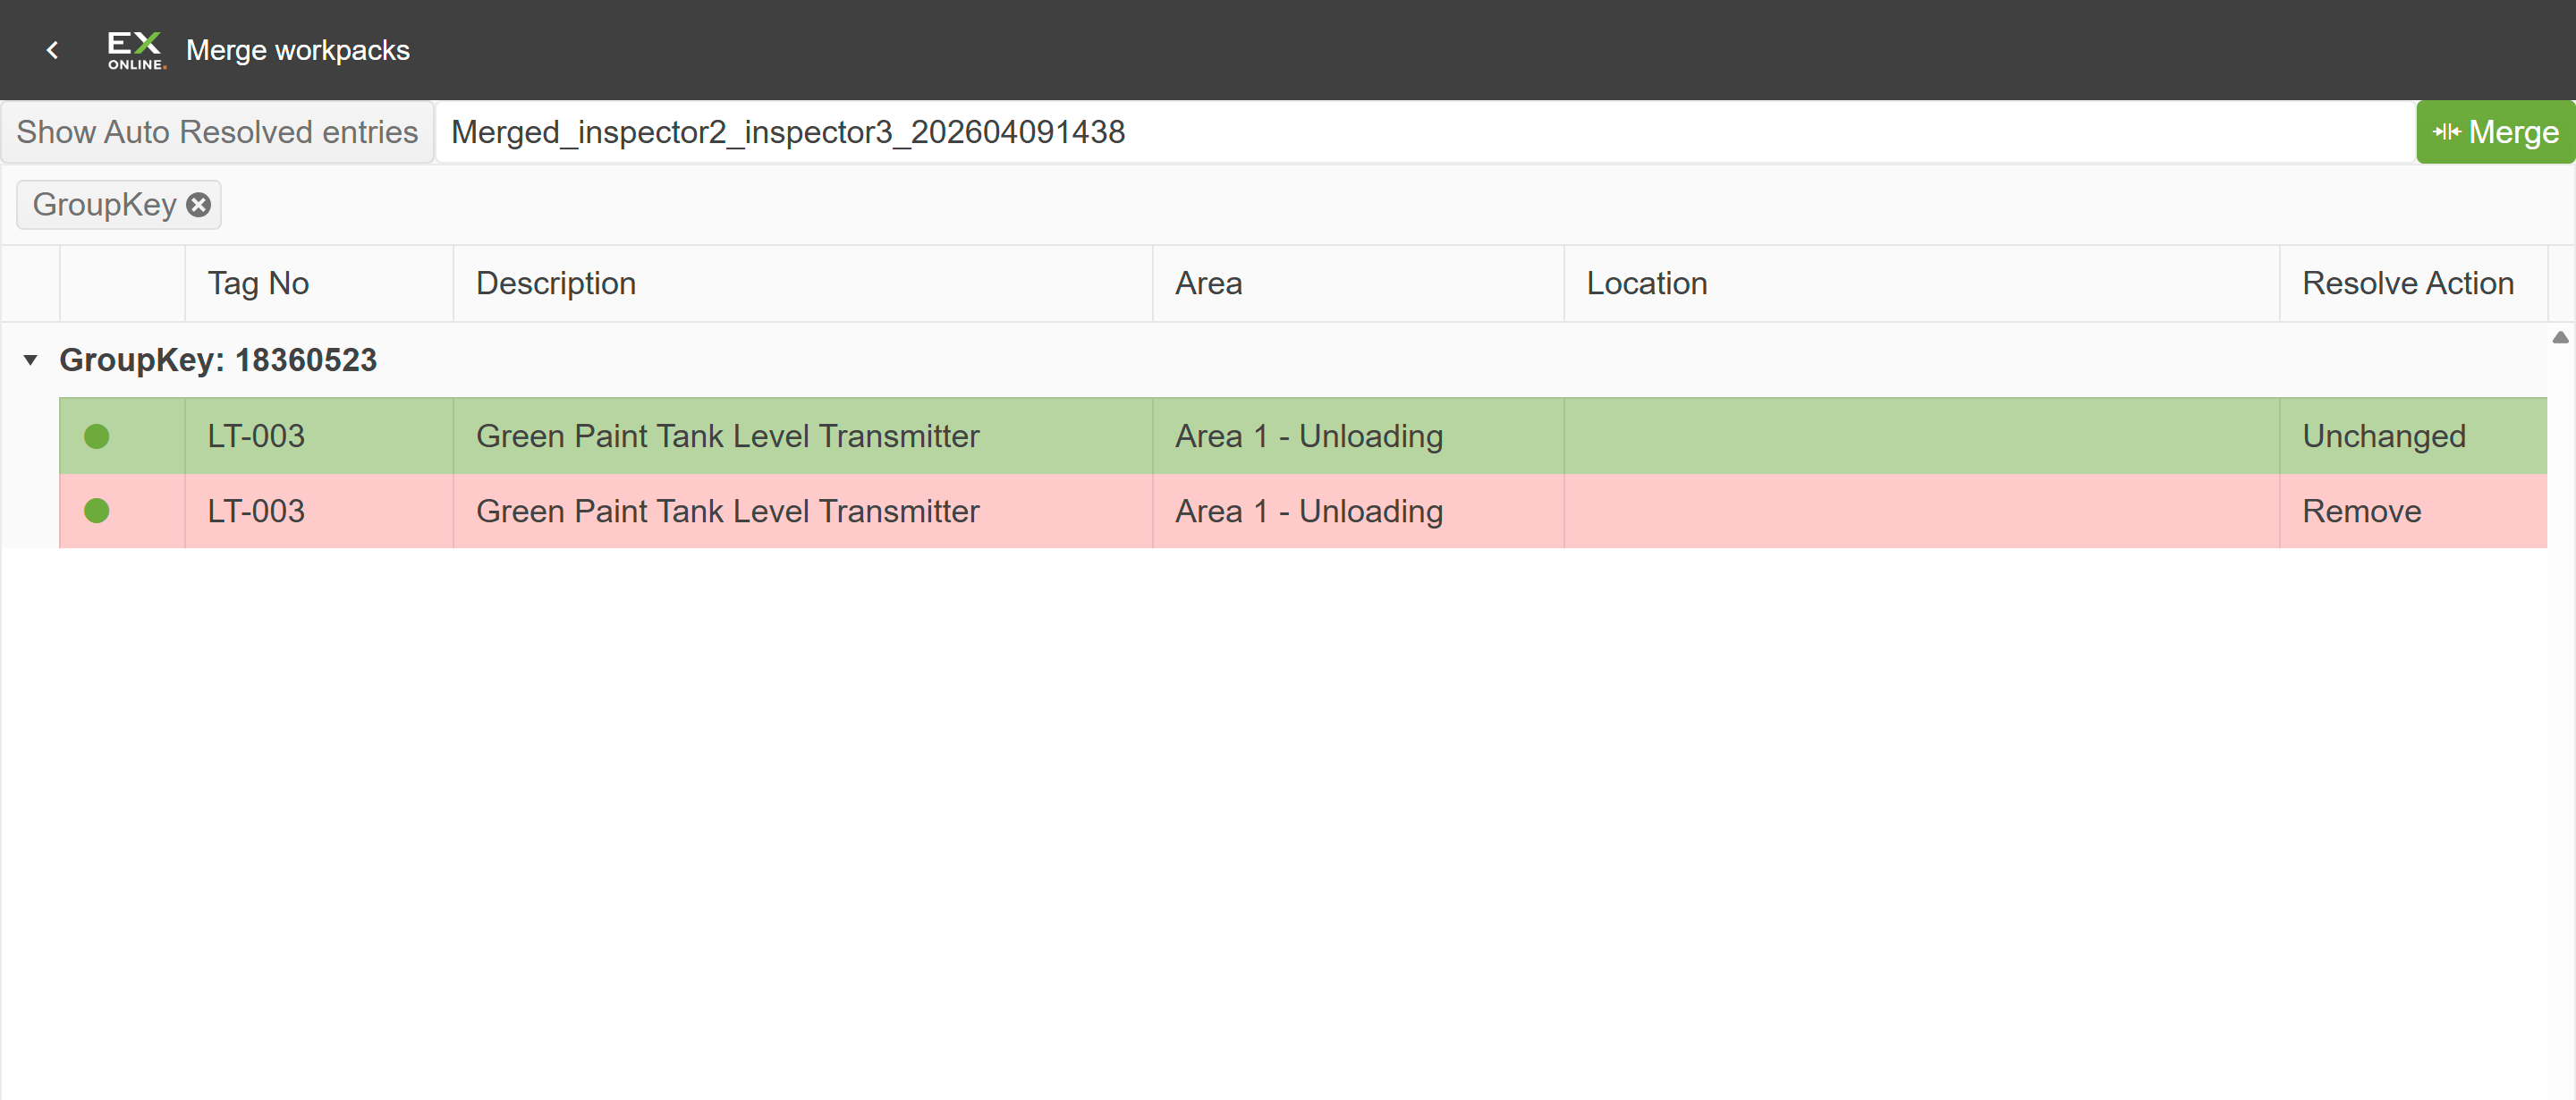
The grid updates to show the outcome. For example, choosing Use This and Remove Checksheet marks one row Unchanged and the other Remove:
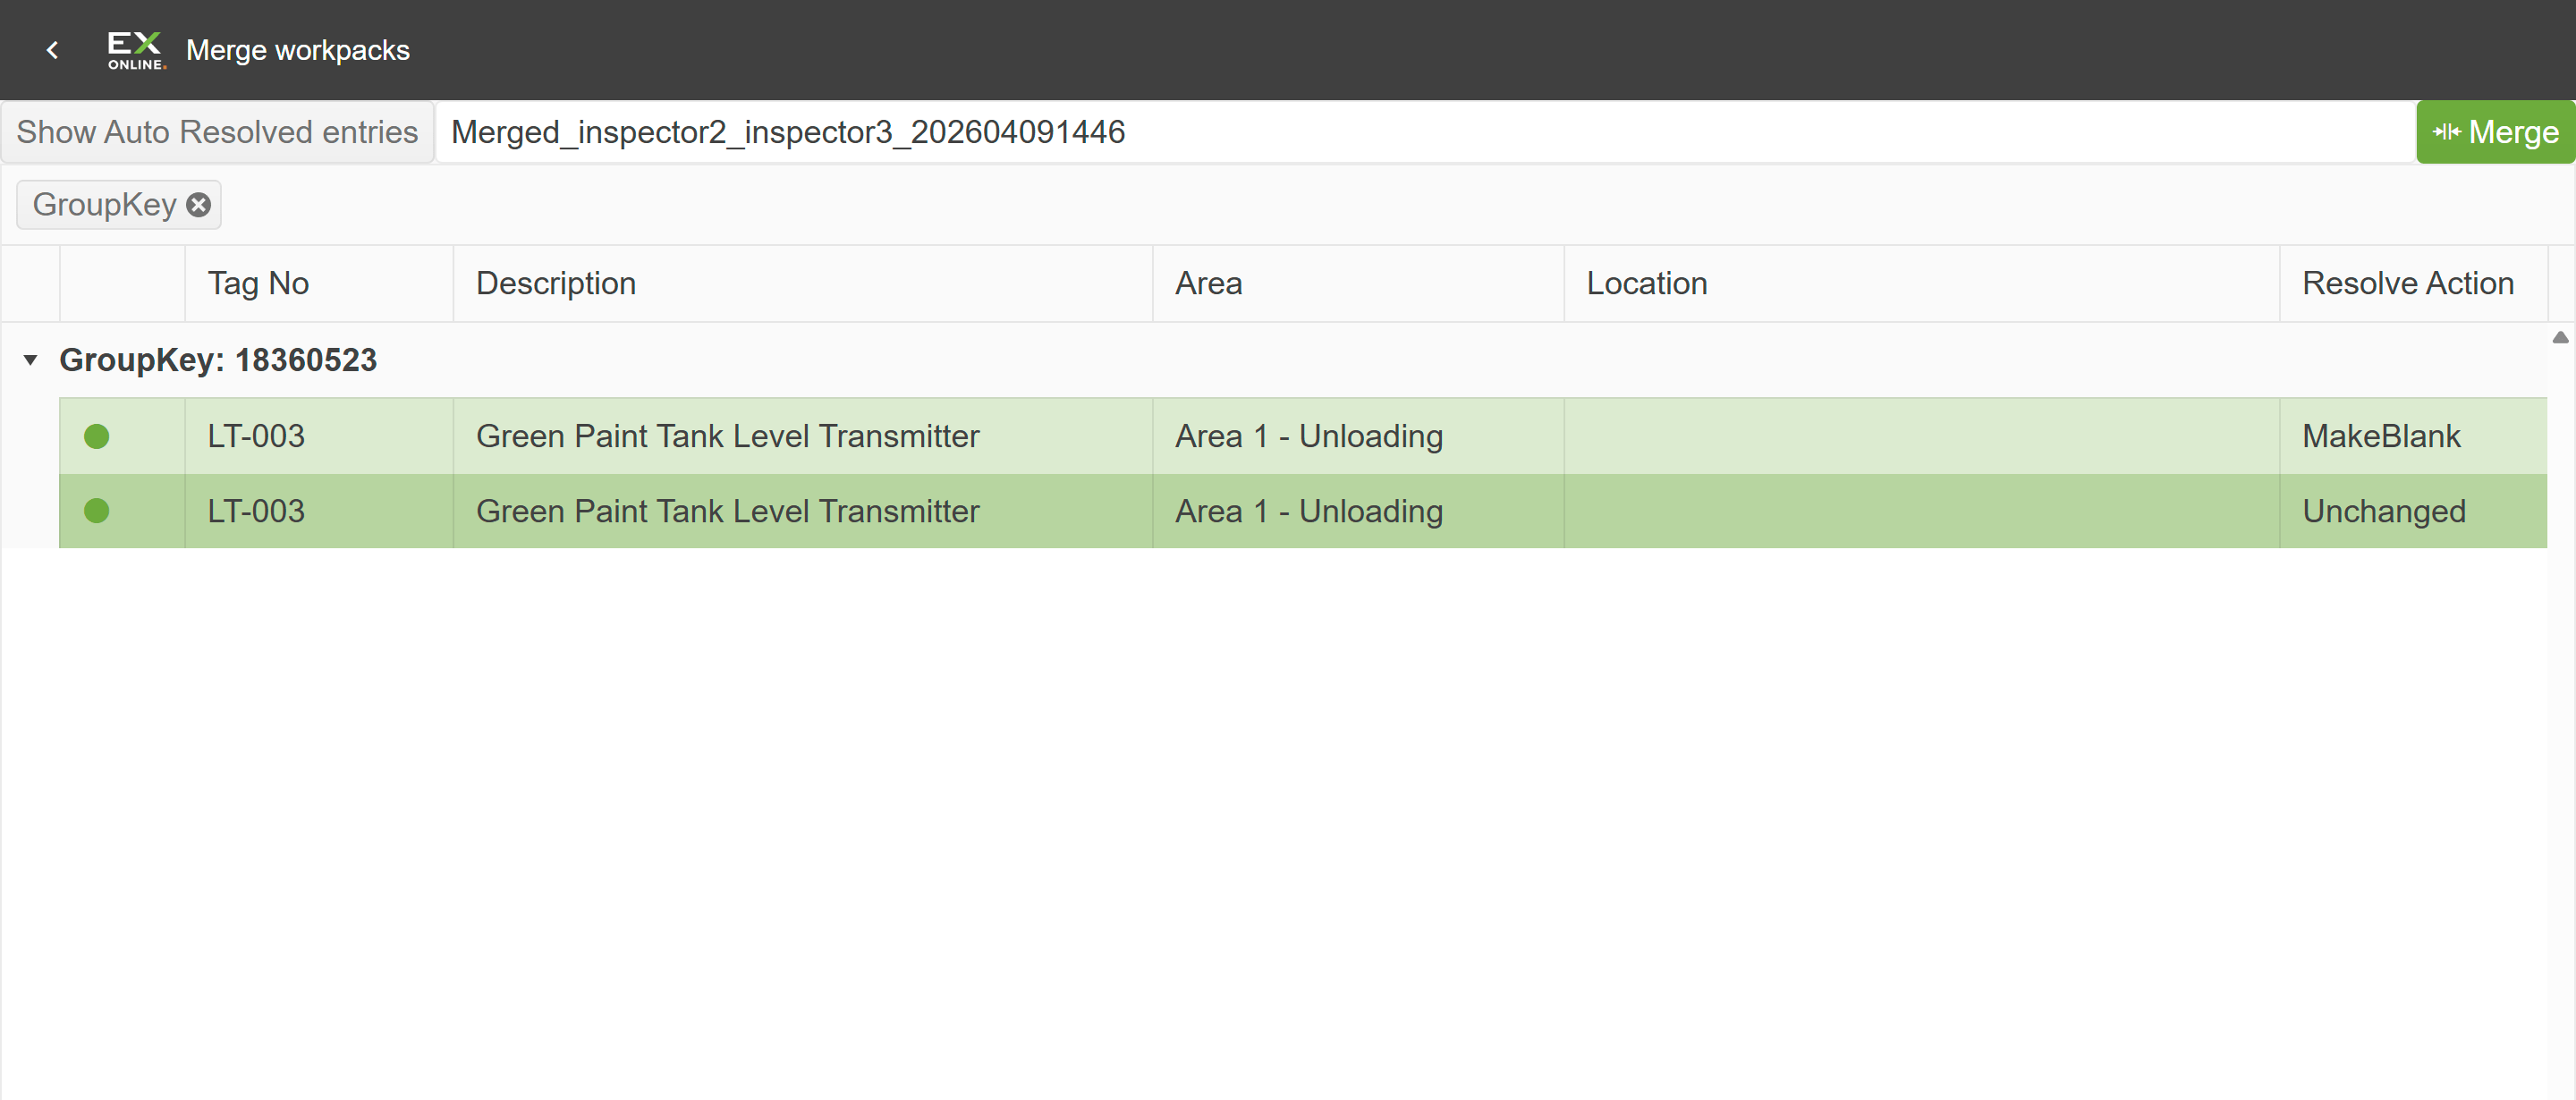
Choosing Keep both and make this blank checksheet marks one row MakeBlank (wiped for re-inspection) and the other Unchanged:
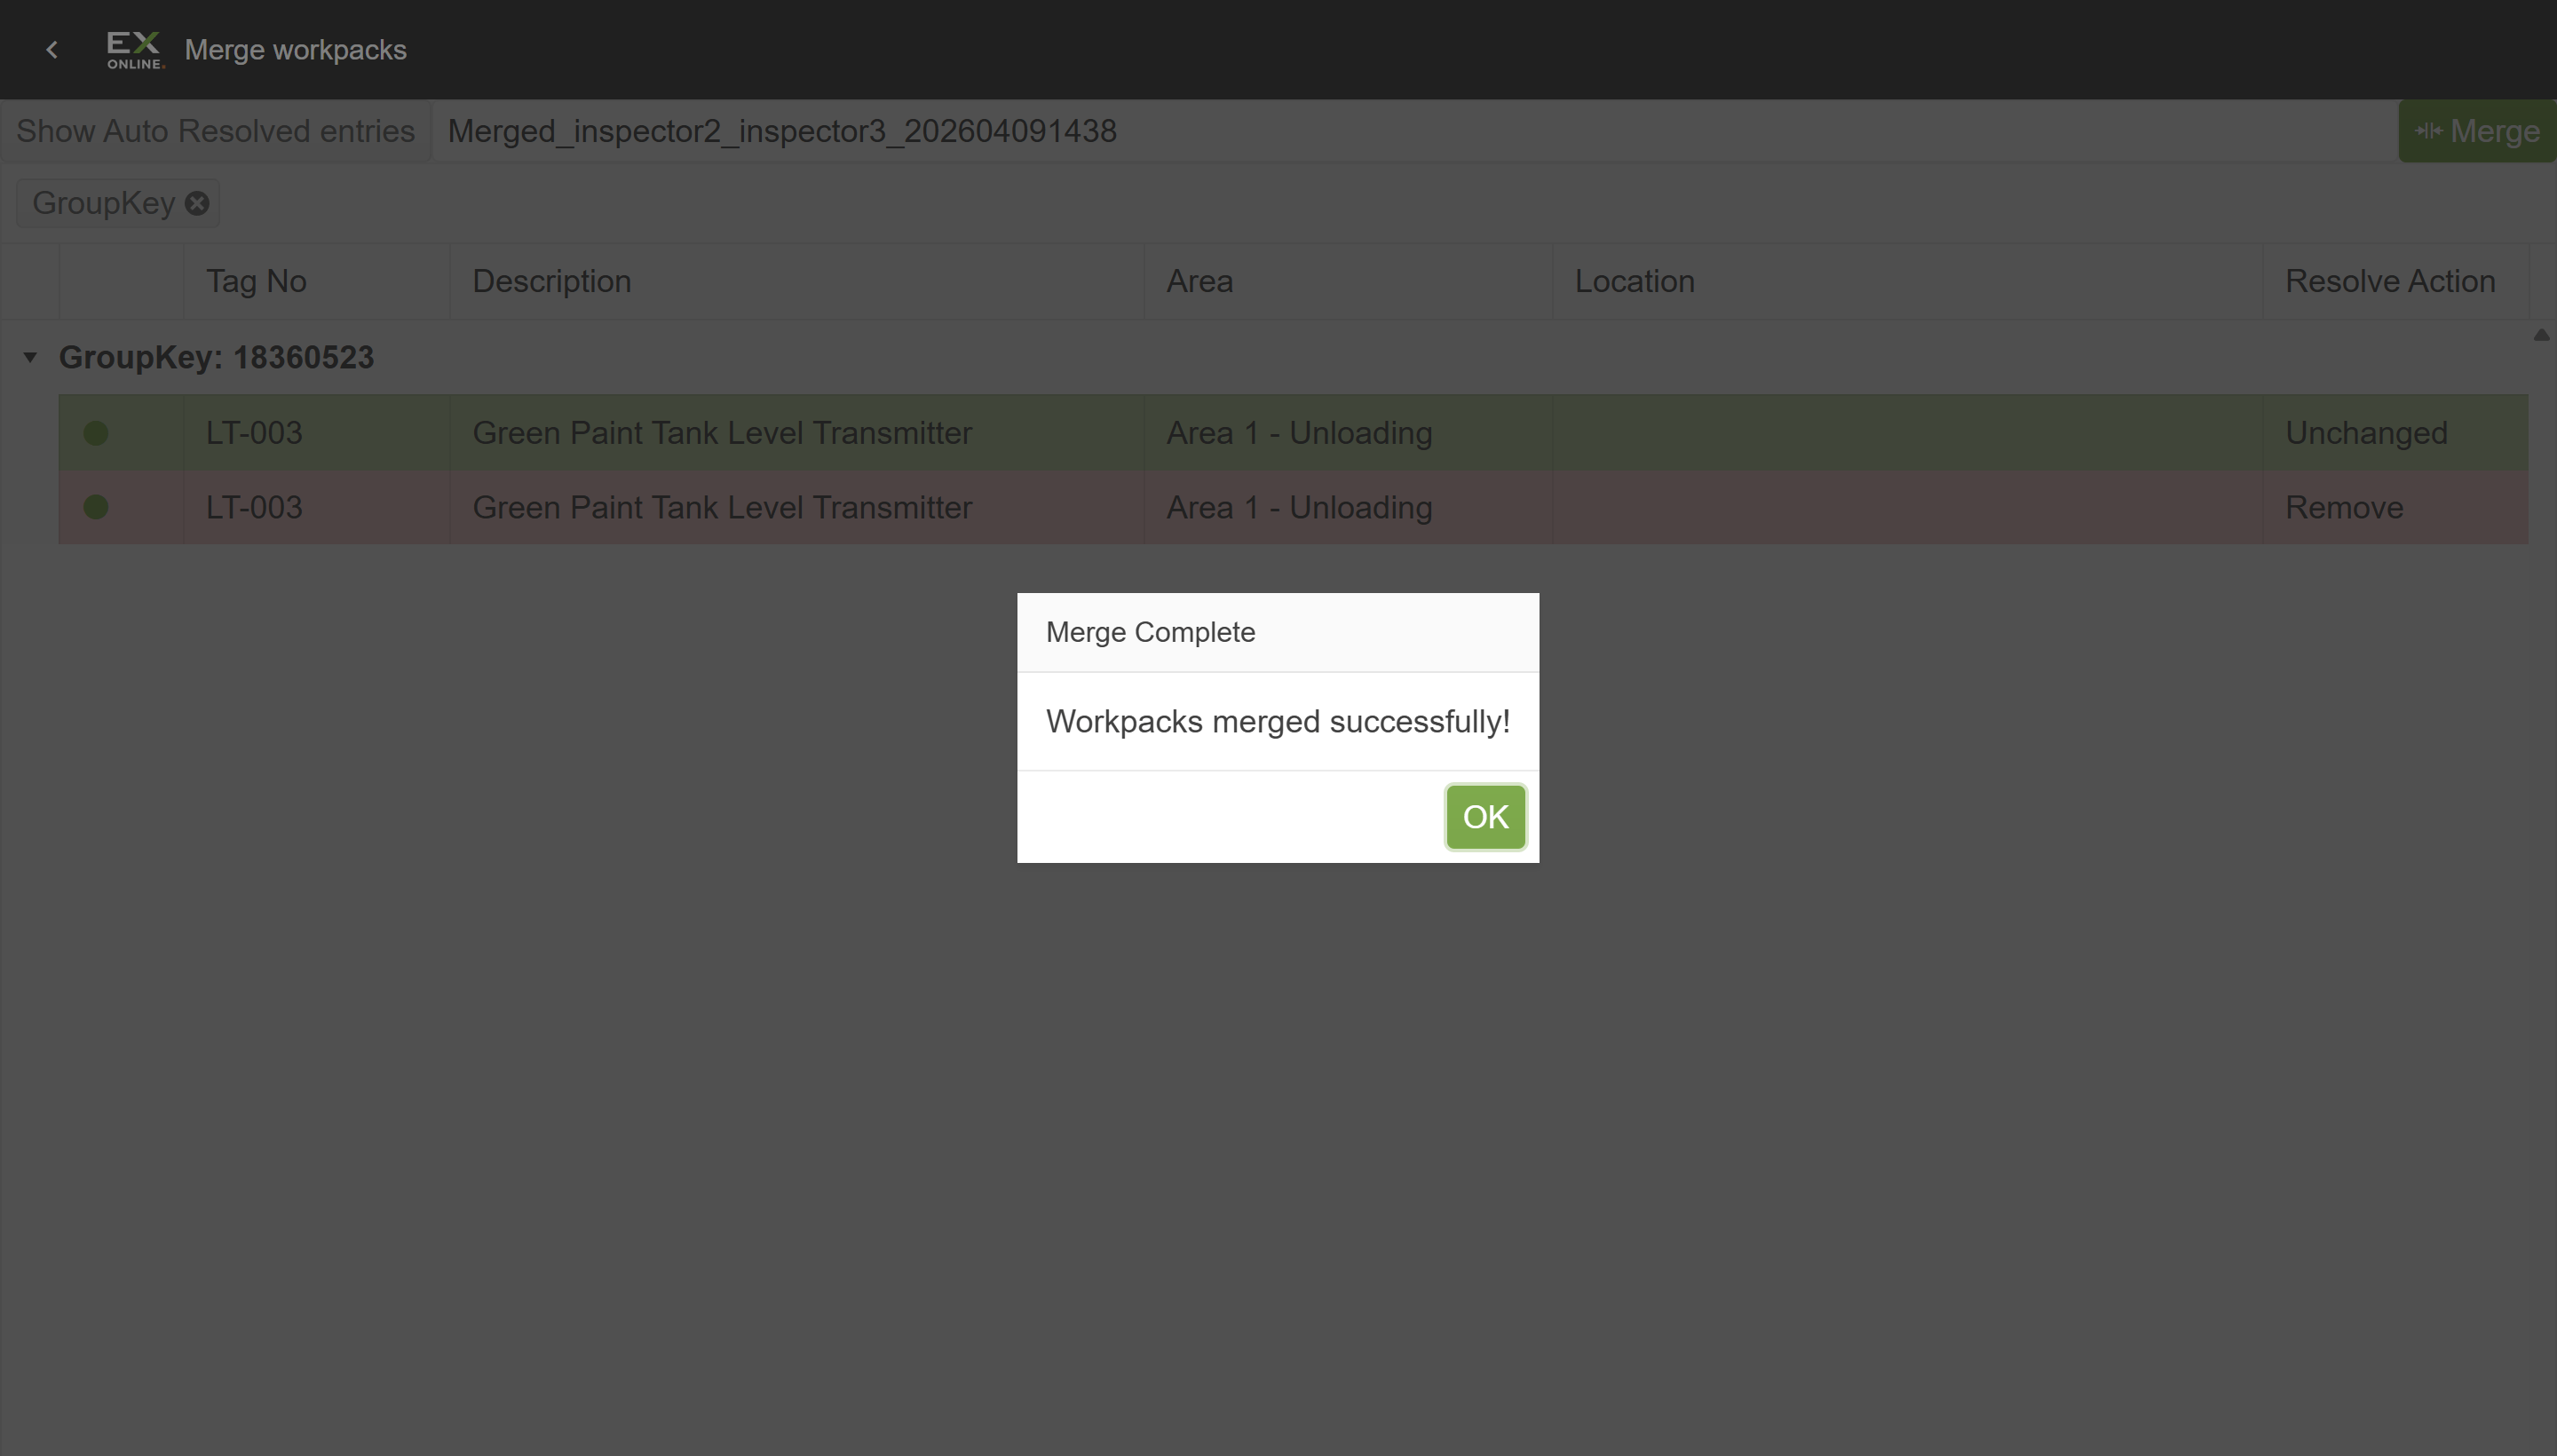
Once every conflict shows a resolve action other than NotResolved, click the green Merge button in the toolbar to finalise.
Related topics
Section titled “Related topics”- Uploading Inspection Results — Upload completed results via file or QR code
- Reviewing and Approving Inspections — Hand off work packs for reviewer or approver sign-off
- Inspection App Reference — Full description of every screen and control